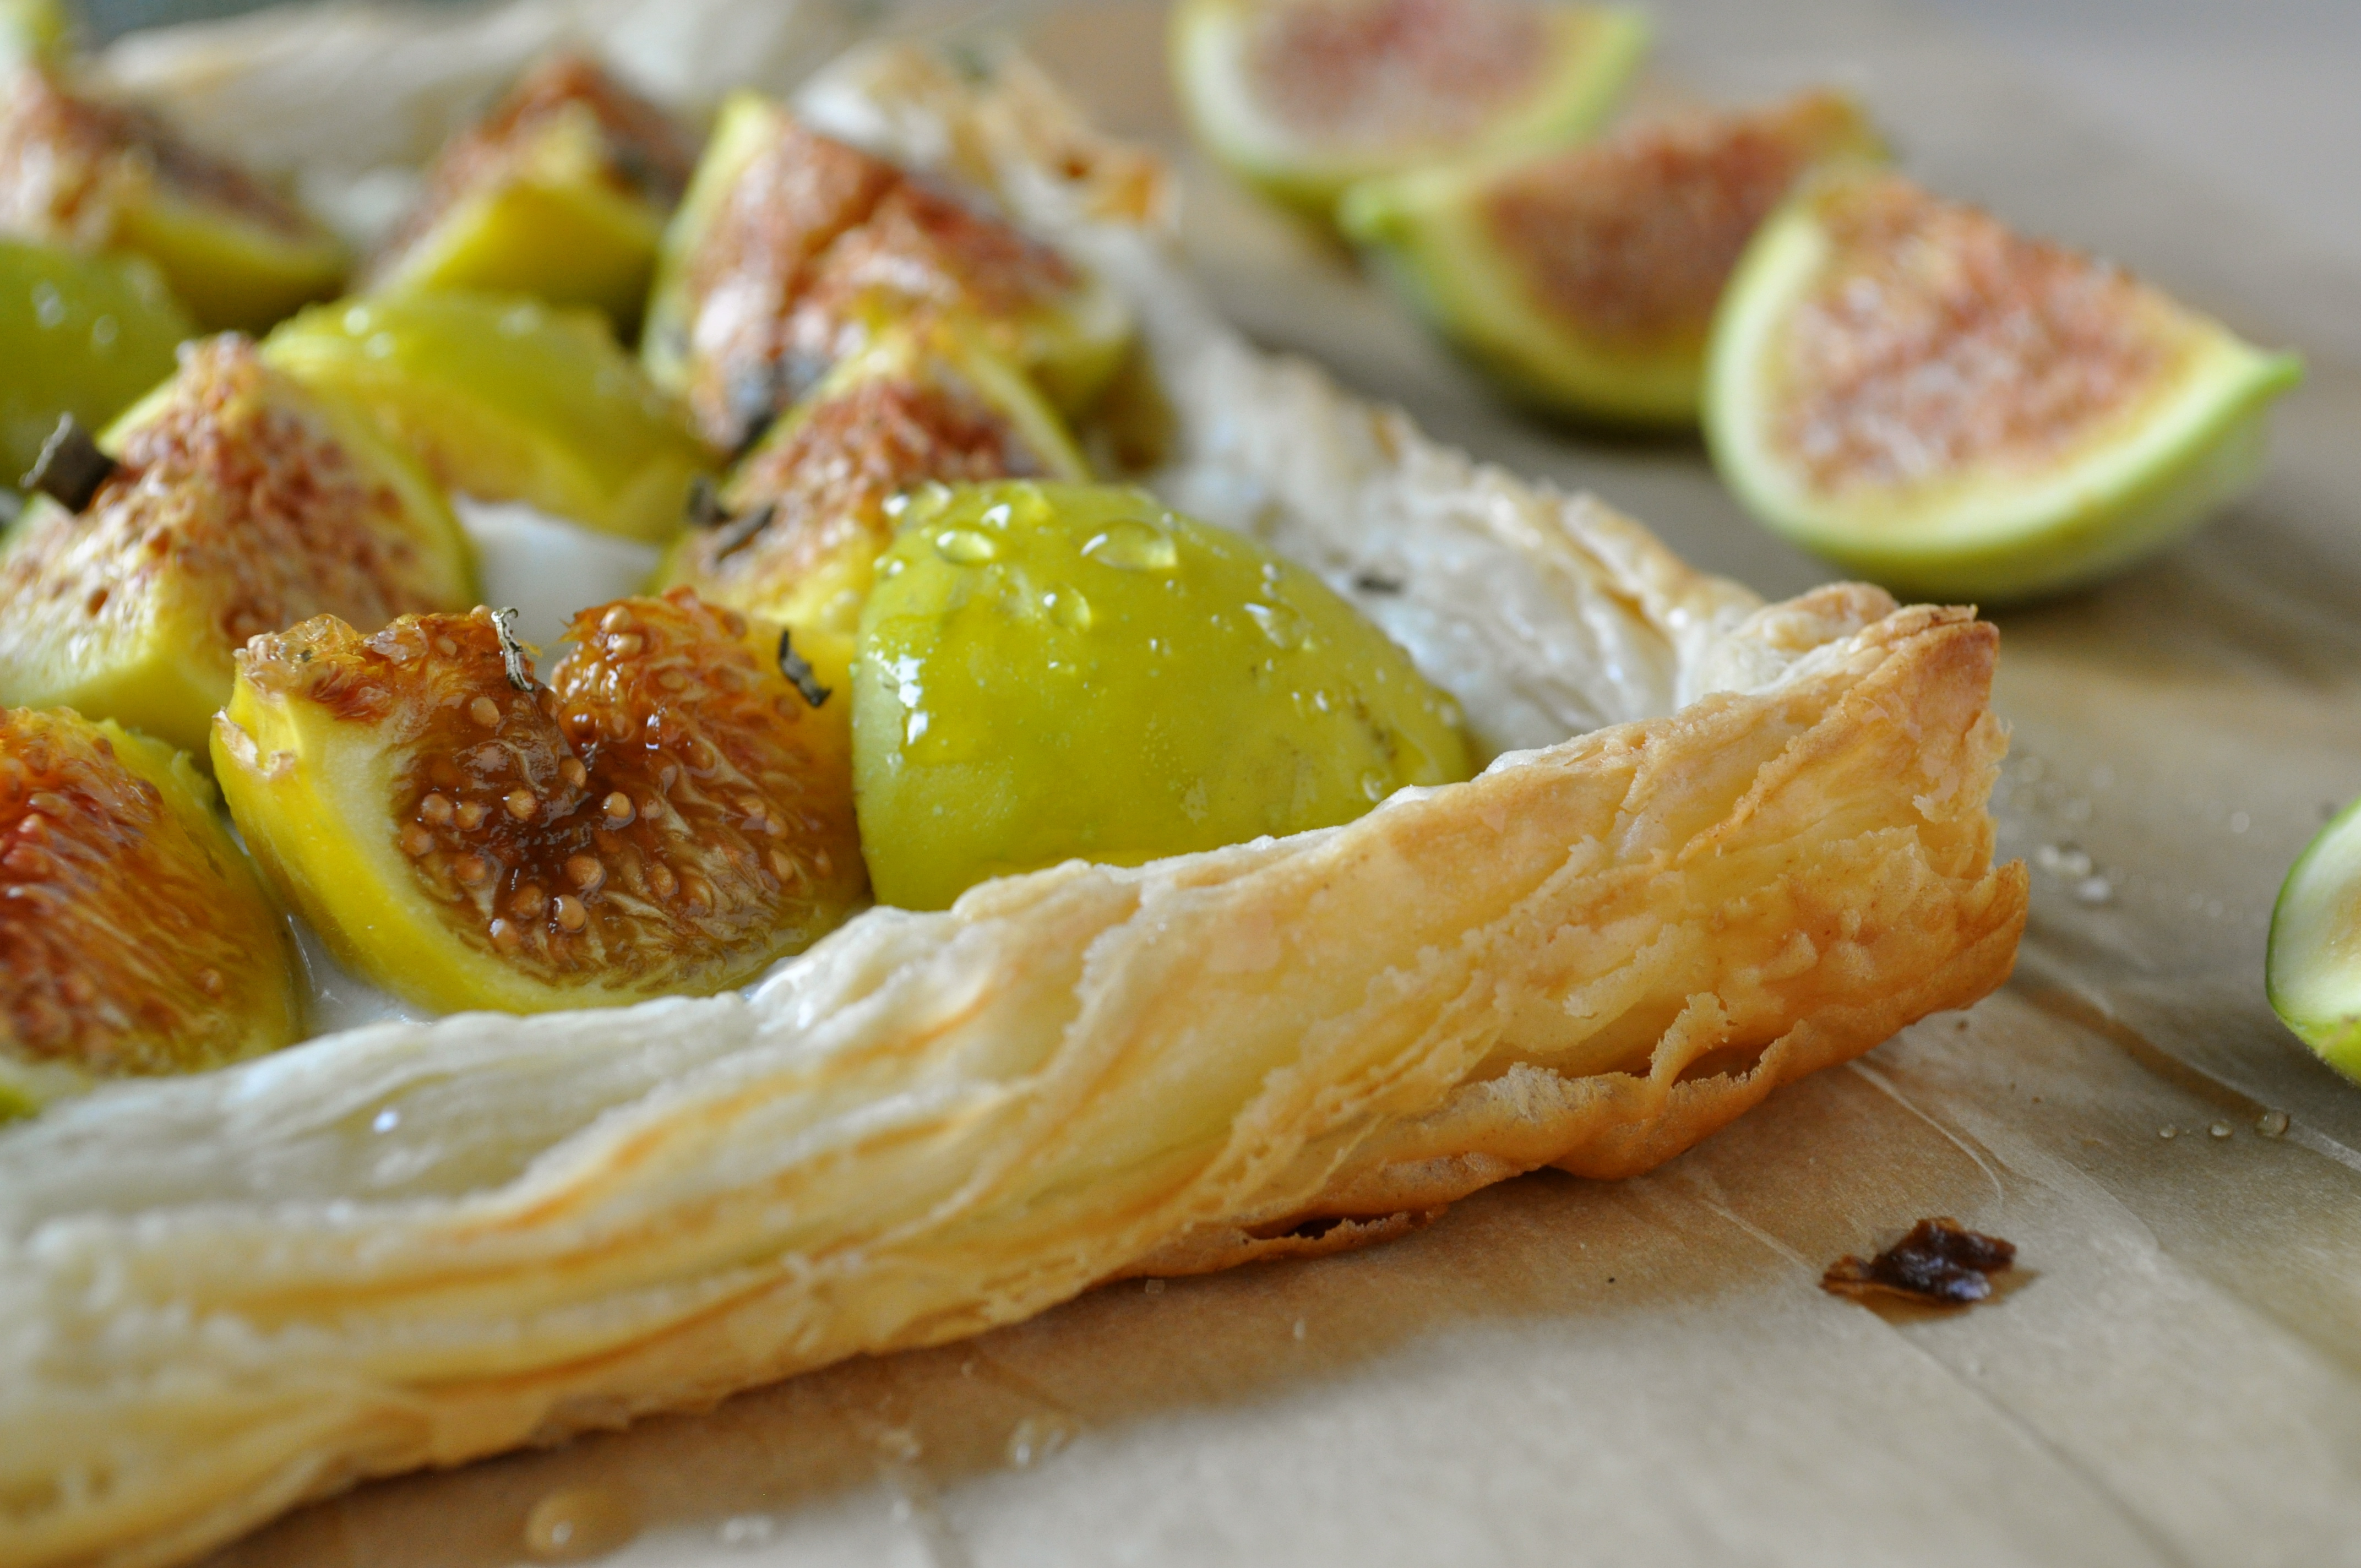
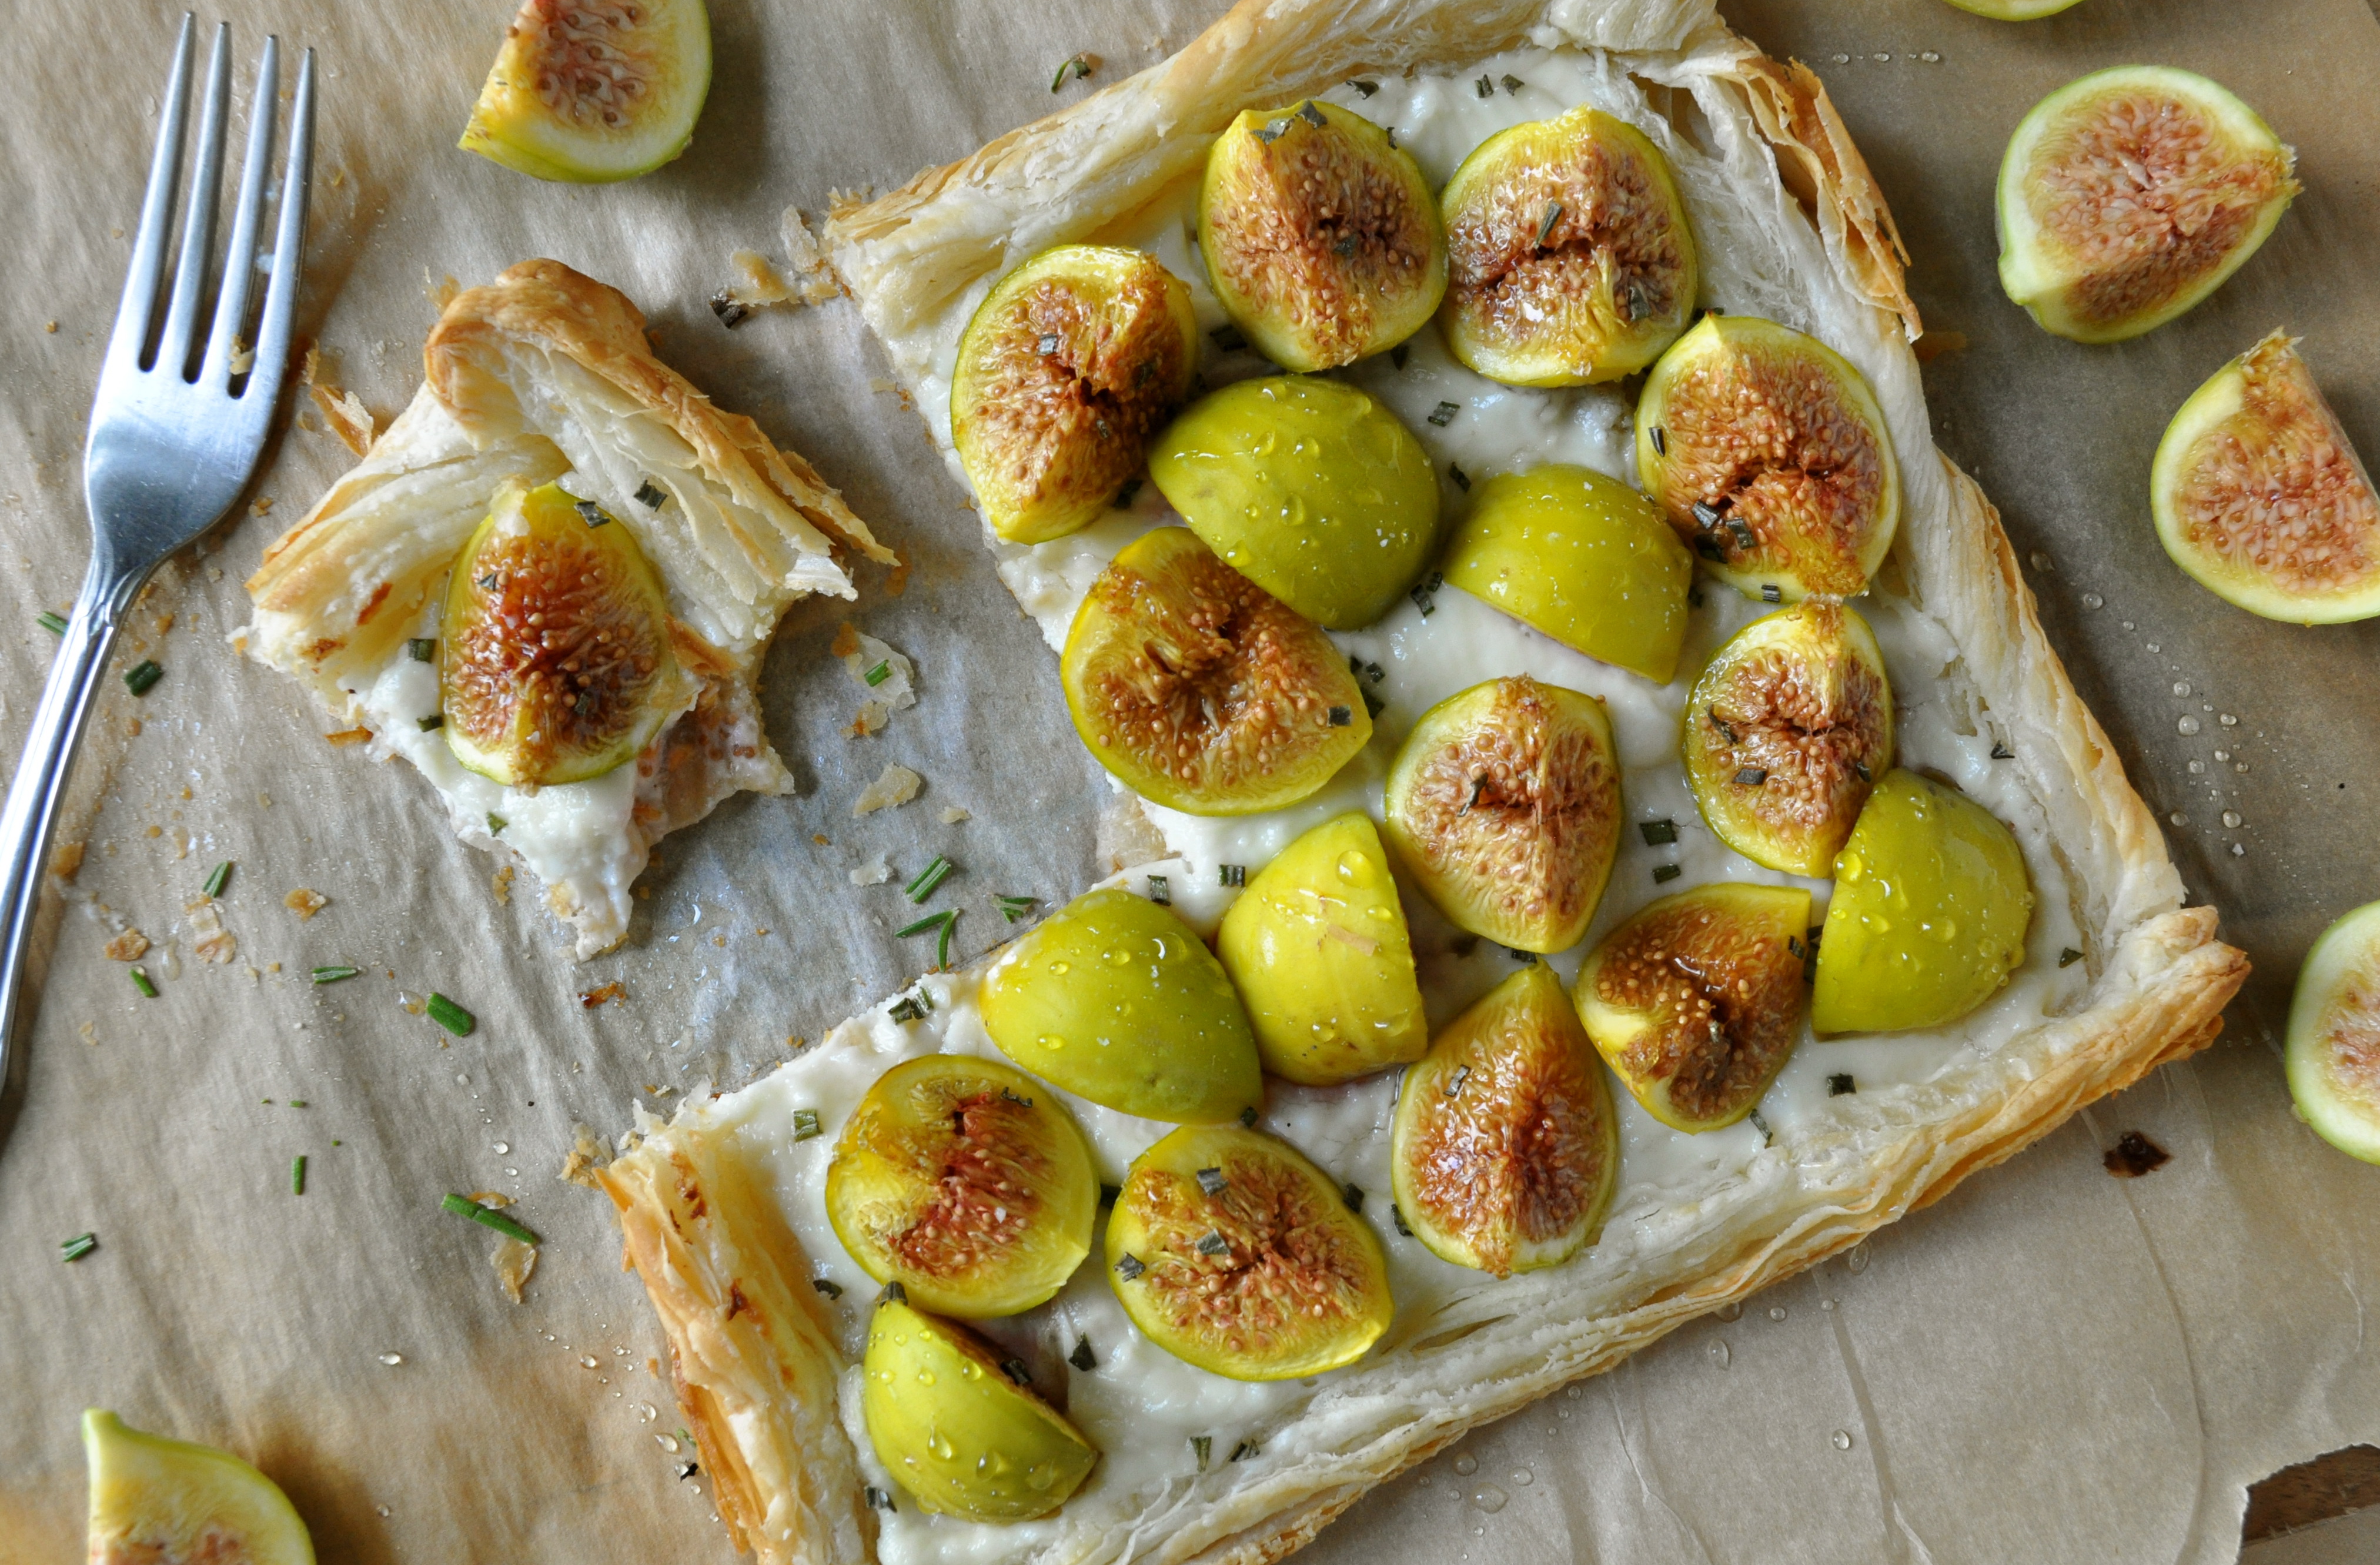
A Guest Post | Goat Cheese Tart with Honey and Figs

Aloha friends. Can I ask you a serious question?

Where the deuce did Summer go? One minute the heat has me more hot and bothered than a lonely housewife reading 50 Shades of Grey at a Magic Mike screening (thanks someecards), and the next minute I’m pulling out my boots, scarves, and turning on my seat heaters during my early morning commute to work. What gives?

Just like that, Fall is here. Don’t get me wrong, I love Fall. Crisp air, gorgeous colors, cozy sweaters, delicious treats (aka. pumpkin everything)…I adore it all. Unfortunately, around these parts, Fall lasts a cool hot minute and then it’s suddenly Winter. For six. long. months.

However…these days I’m focusing my efforts on being a glass half full kind of gal, so let’s nip this Winter talk in the bud and hone in on something positive.

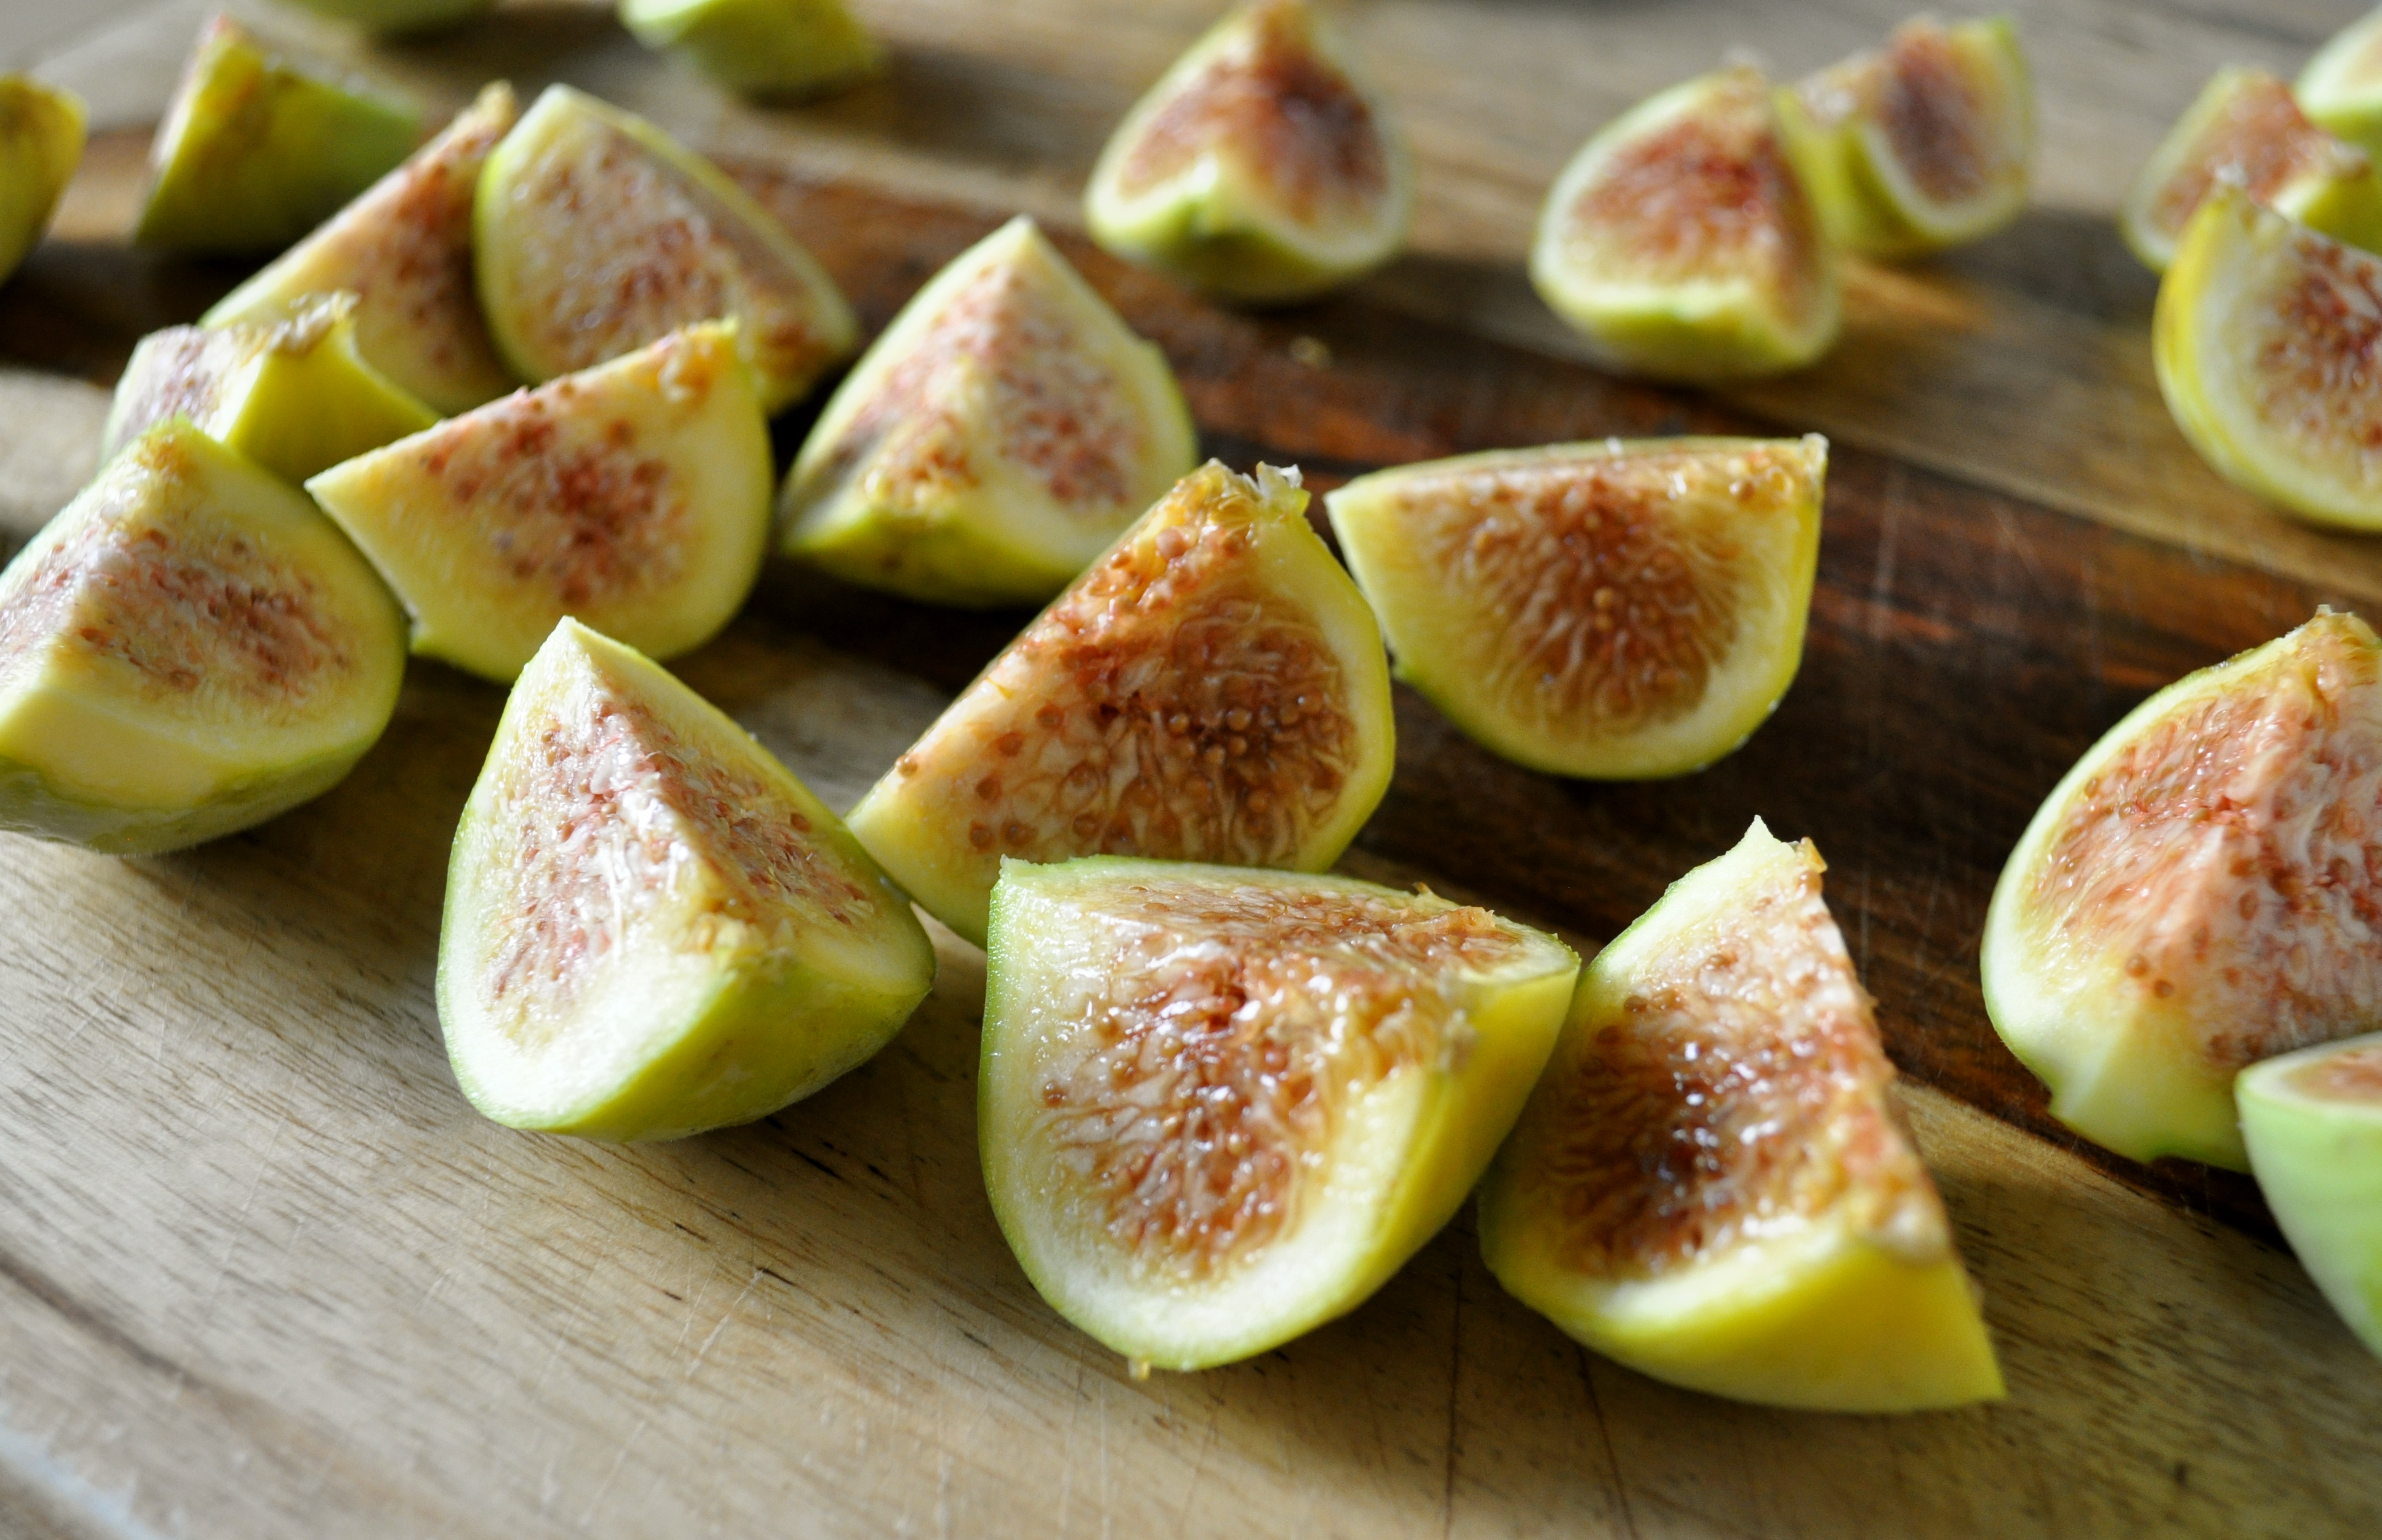
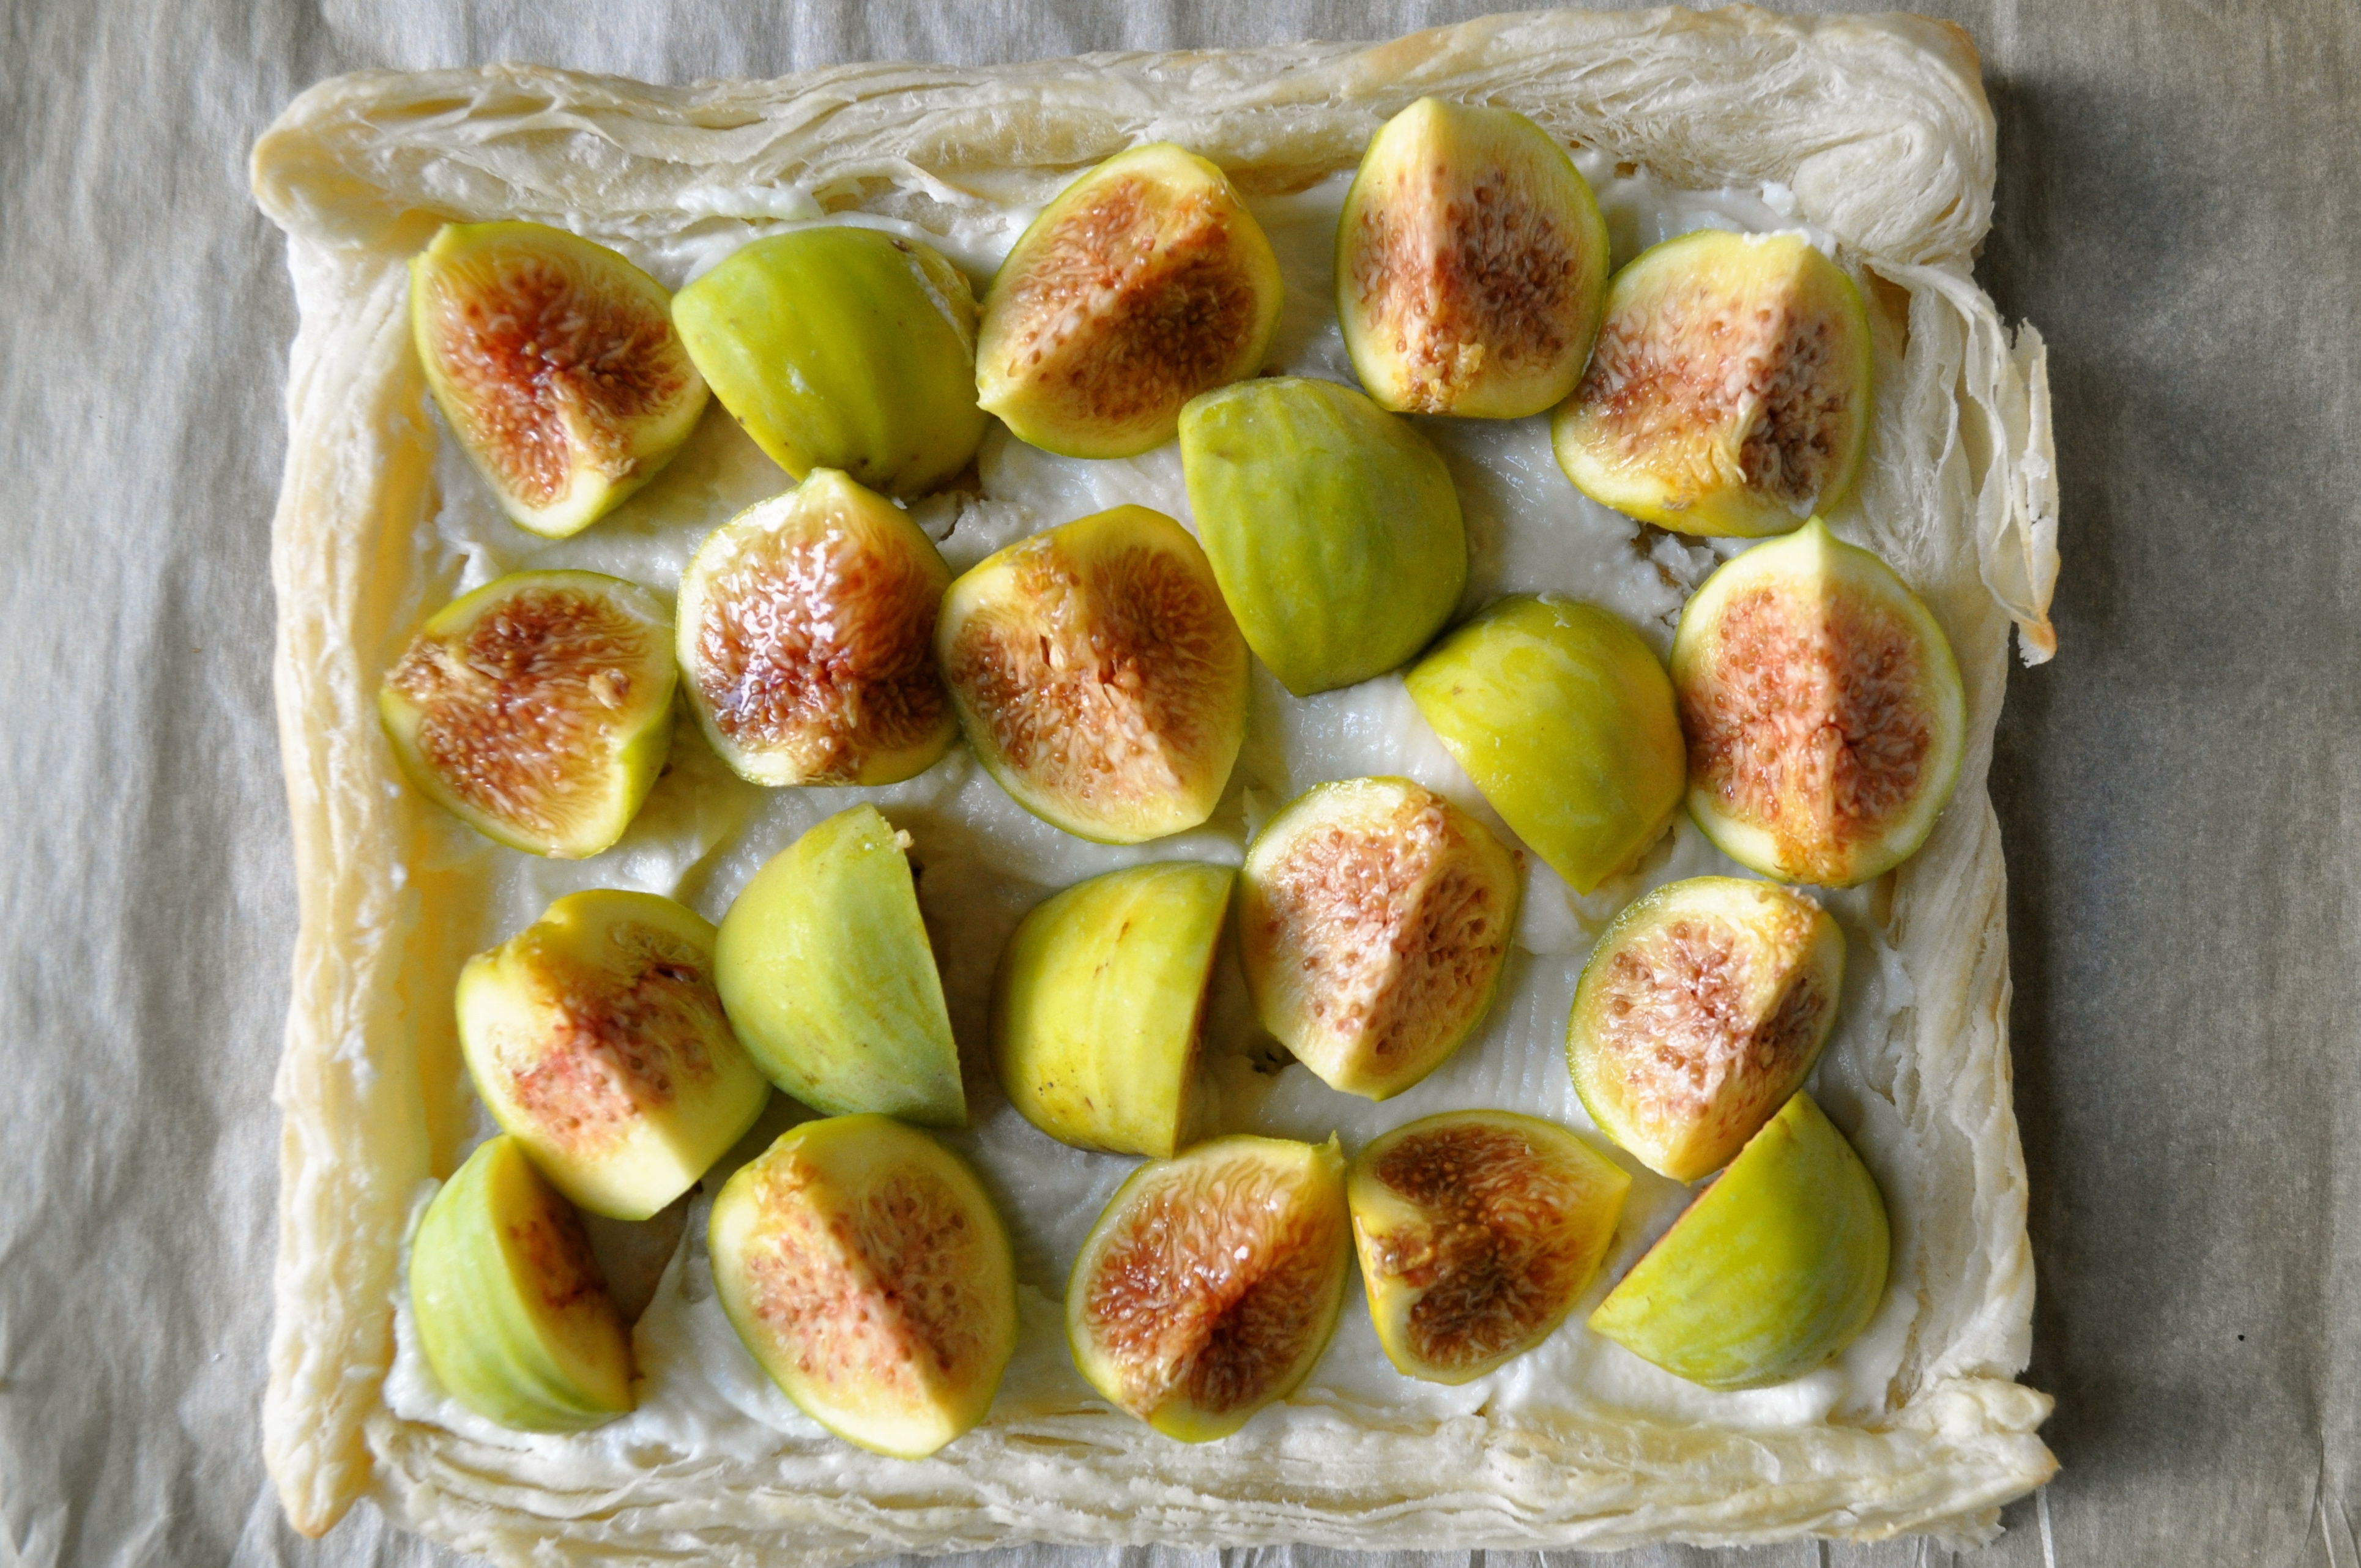
Did you know that fresh figs are in season in late Summer/early Fall? Did you know that if you pair up fresh figs with puff pastry, creamy goat cheese, honey, and fresh rosemary, little tiny leprechauns will do a dance on your taste buds and fireworks will erupt in the sky?

You didn’t?! Well then, get your fannies on over to my lovely friend Kristy’s blog, A Gastronomical Sovereignty, where I tell you exactly how to make this taste bud extravaganza (aka. a Goat Cheese Tart with Honey and Figs) happen. And while you’re there, check out Kristy’s space – where she shares stories about her ethical culinary adventures, and drinks wine while she’s at it. No wonder we get along so well. 🙂

PS. Let’s reminisce about Summer. What was the best thing you did/saw/ate over the past few months?
Some Things and a Pizza (Zucchini, Tomato, Feta, and Balsamic)


Well hello there strangers. Long time no see. Don’t worry, I’m not blaming you. I take full responsibility for our lack of chatting lately, and the lack of sharing going on around here. You see, I’ve been on holidays for the last week and a half. I wish I could say that I’ve been on a beach or lounging lakeside somewhere far away from here, sipping on cocktails and exerting myself as little as possible. But no, this summer I’m having a little staycation right within my humble abode. As lovely as vacations are, staycations can be rather delightful as well. Staycations allow a person to forego the stress of packing, gratuitous spending, long days of traveling, and instead allow one to do things that need doing around the house (ie. tackling that dang room, which for the record, I still haven’t tackled), relax less than should be necessary while on holidays, and be productive with important projects, such as one’s food blog. While I am definitely succeeding with the first two things, clearly I have missed the mark on that last one. #epicfail


Trust me, I had the best of intentions going into this staycation of mine. I had envisioned baking or cooking up something fabulous on a daily basis, sharing a recipe with you every other day, and basically overstaying my welcome on the interwebs over these couple of weeks. But the thing about staycations is, they allow you to really live, and put responsibility aside when other things come up – things like invitations for patio drinks at 2pm/4pm/8pm on a beautiful summer day, a sporadic trip to the park to sit and read a good book, sleeping in way later than necessary, random backyard/living room yoga, or quick little road trips to visit friends that you just don’t see often enough. My mantra for my holidays? You only live once. YOLO! And sometimes, when you’re in the thick of YOLO’ing, blogging takes a back seat for a short while. PS. If you require further deets about YOLO’ing, Joy and Tracy got ya covered.


However, I did manage to whip up this simple and delicious summer pizza, and after taking the first bite, I snapped a couple of photos so that I could share it with you. But first, a couple of things…

First of all, I joined Pinterest. Finally! I realize I’m a bit behind the eight ball on this one, but better late than never. Too be honest, I was a little stumped by Pinterest when I first checked it out a few months ago (pins? boards? say what?), but a friend gave me a quick tutorial last week (thanks J!) and I am officially obsessed. OBSESSED. If you wish to follow me, you can search for me under onceuponarecipe.

Secondly, I caved on another social media front and now Once Upon a Recipe has a Facebook page! Check it out here.


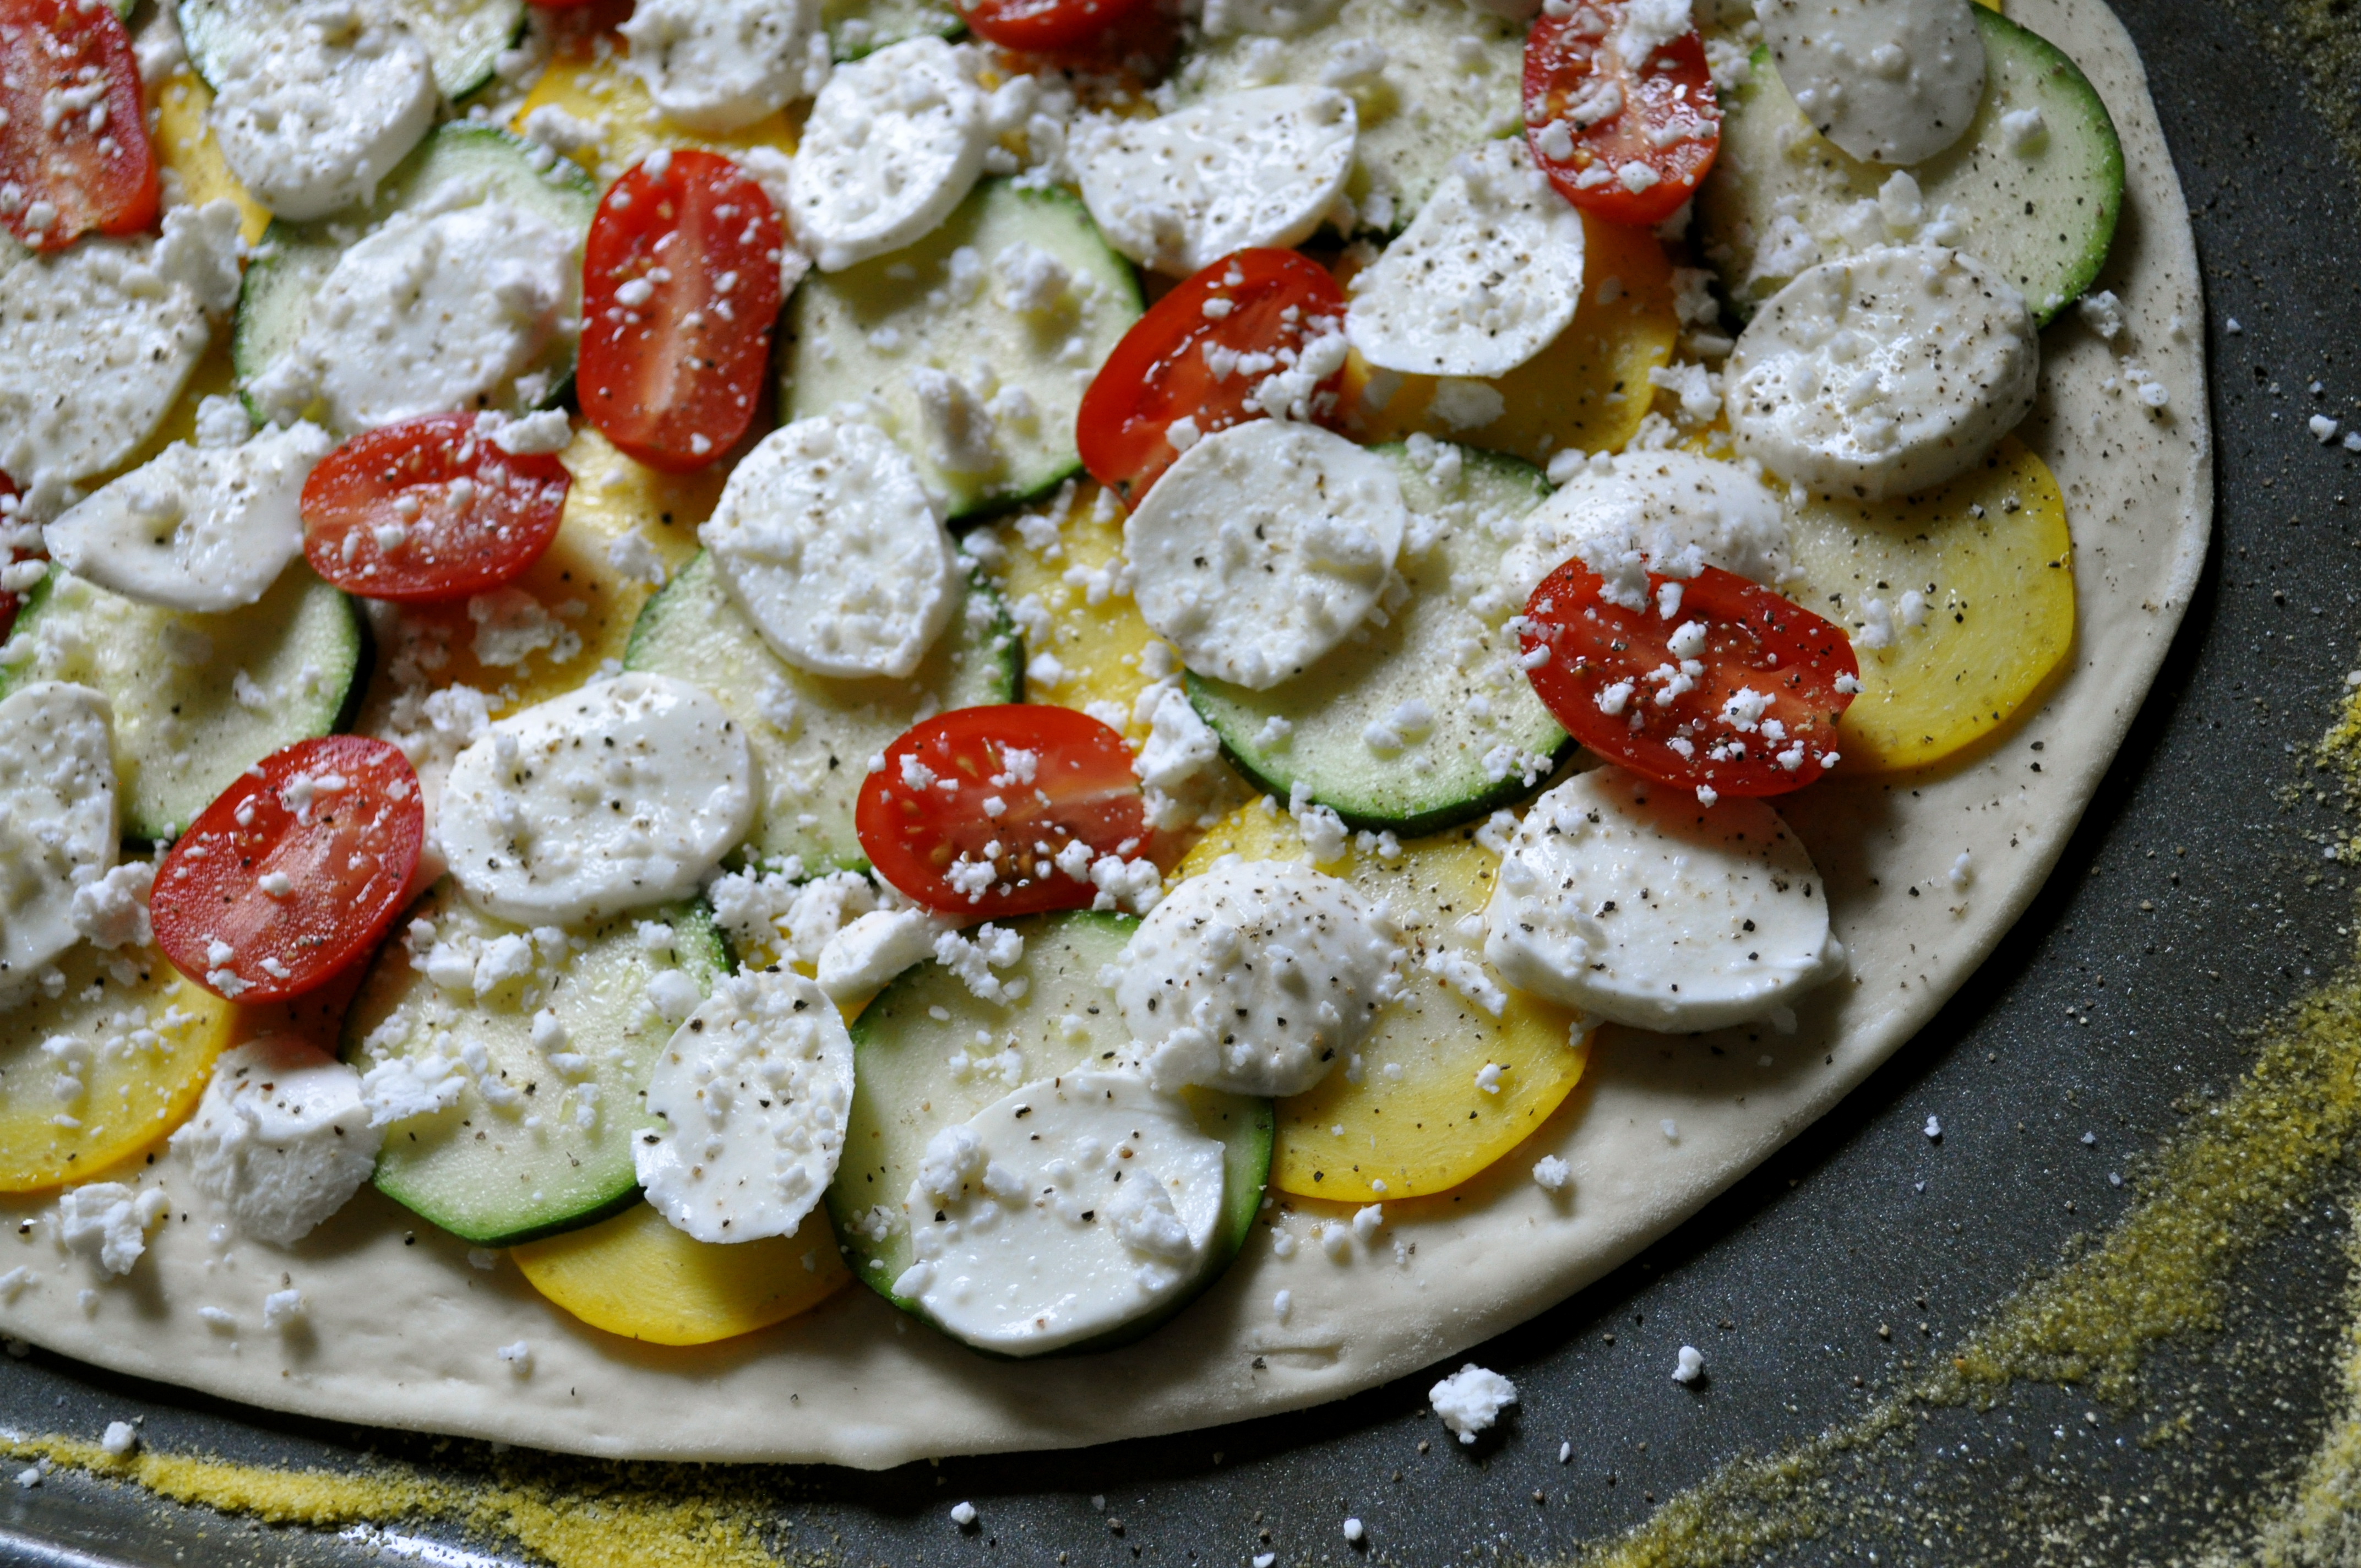
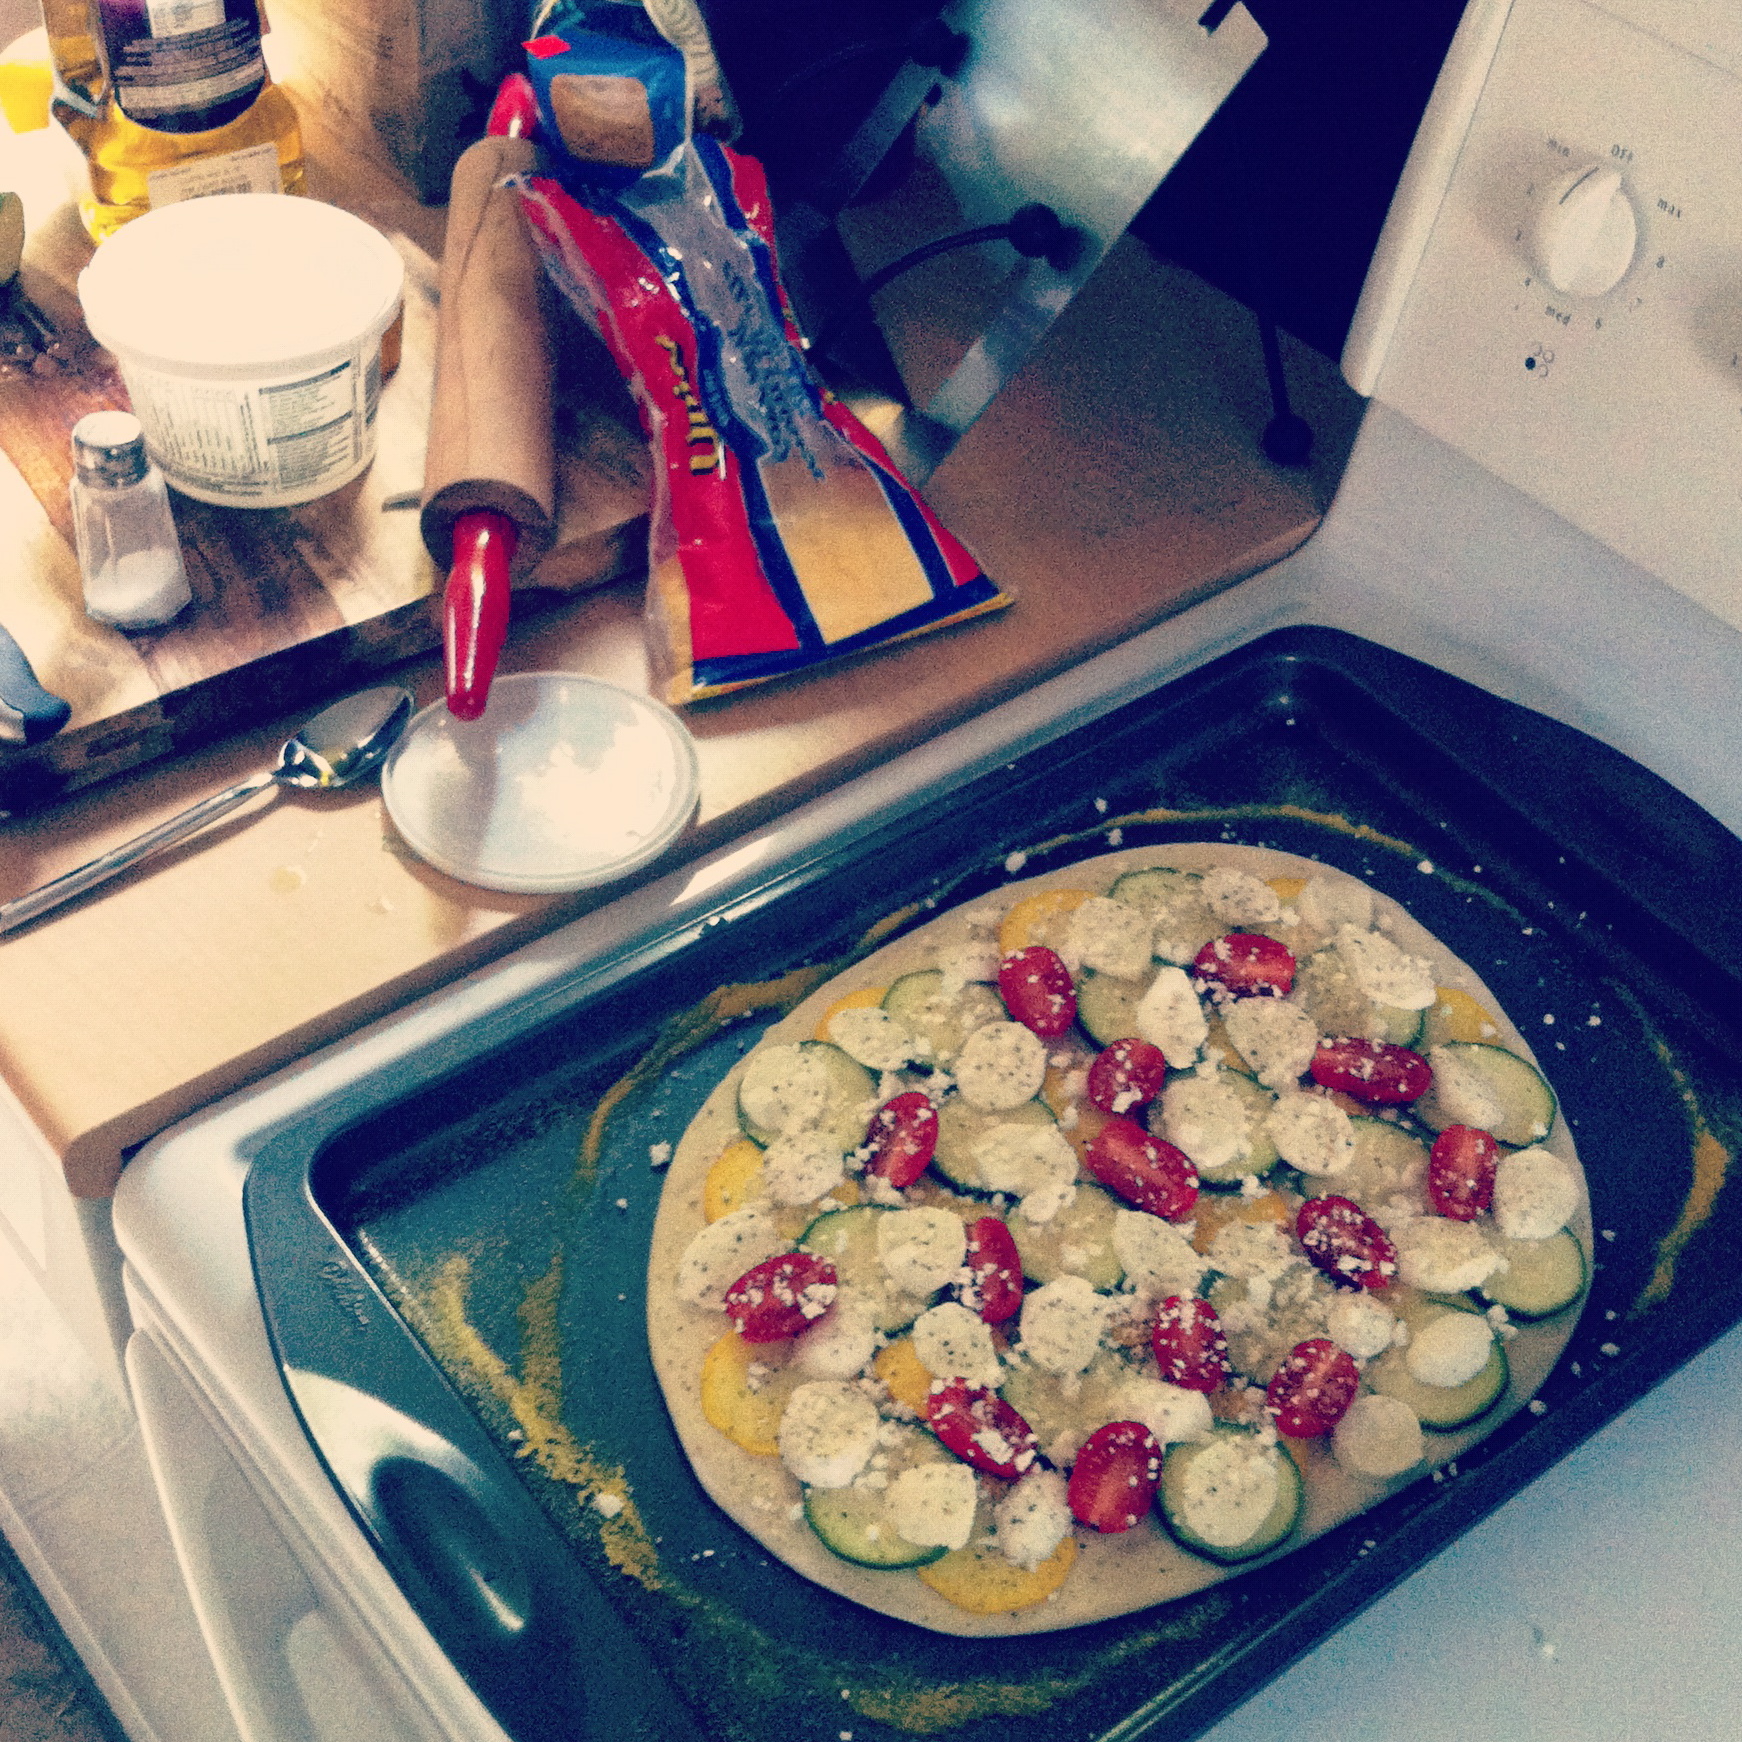
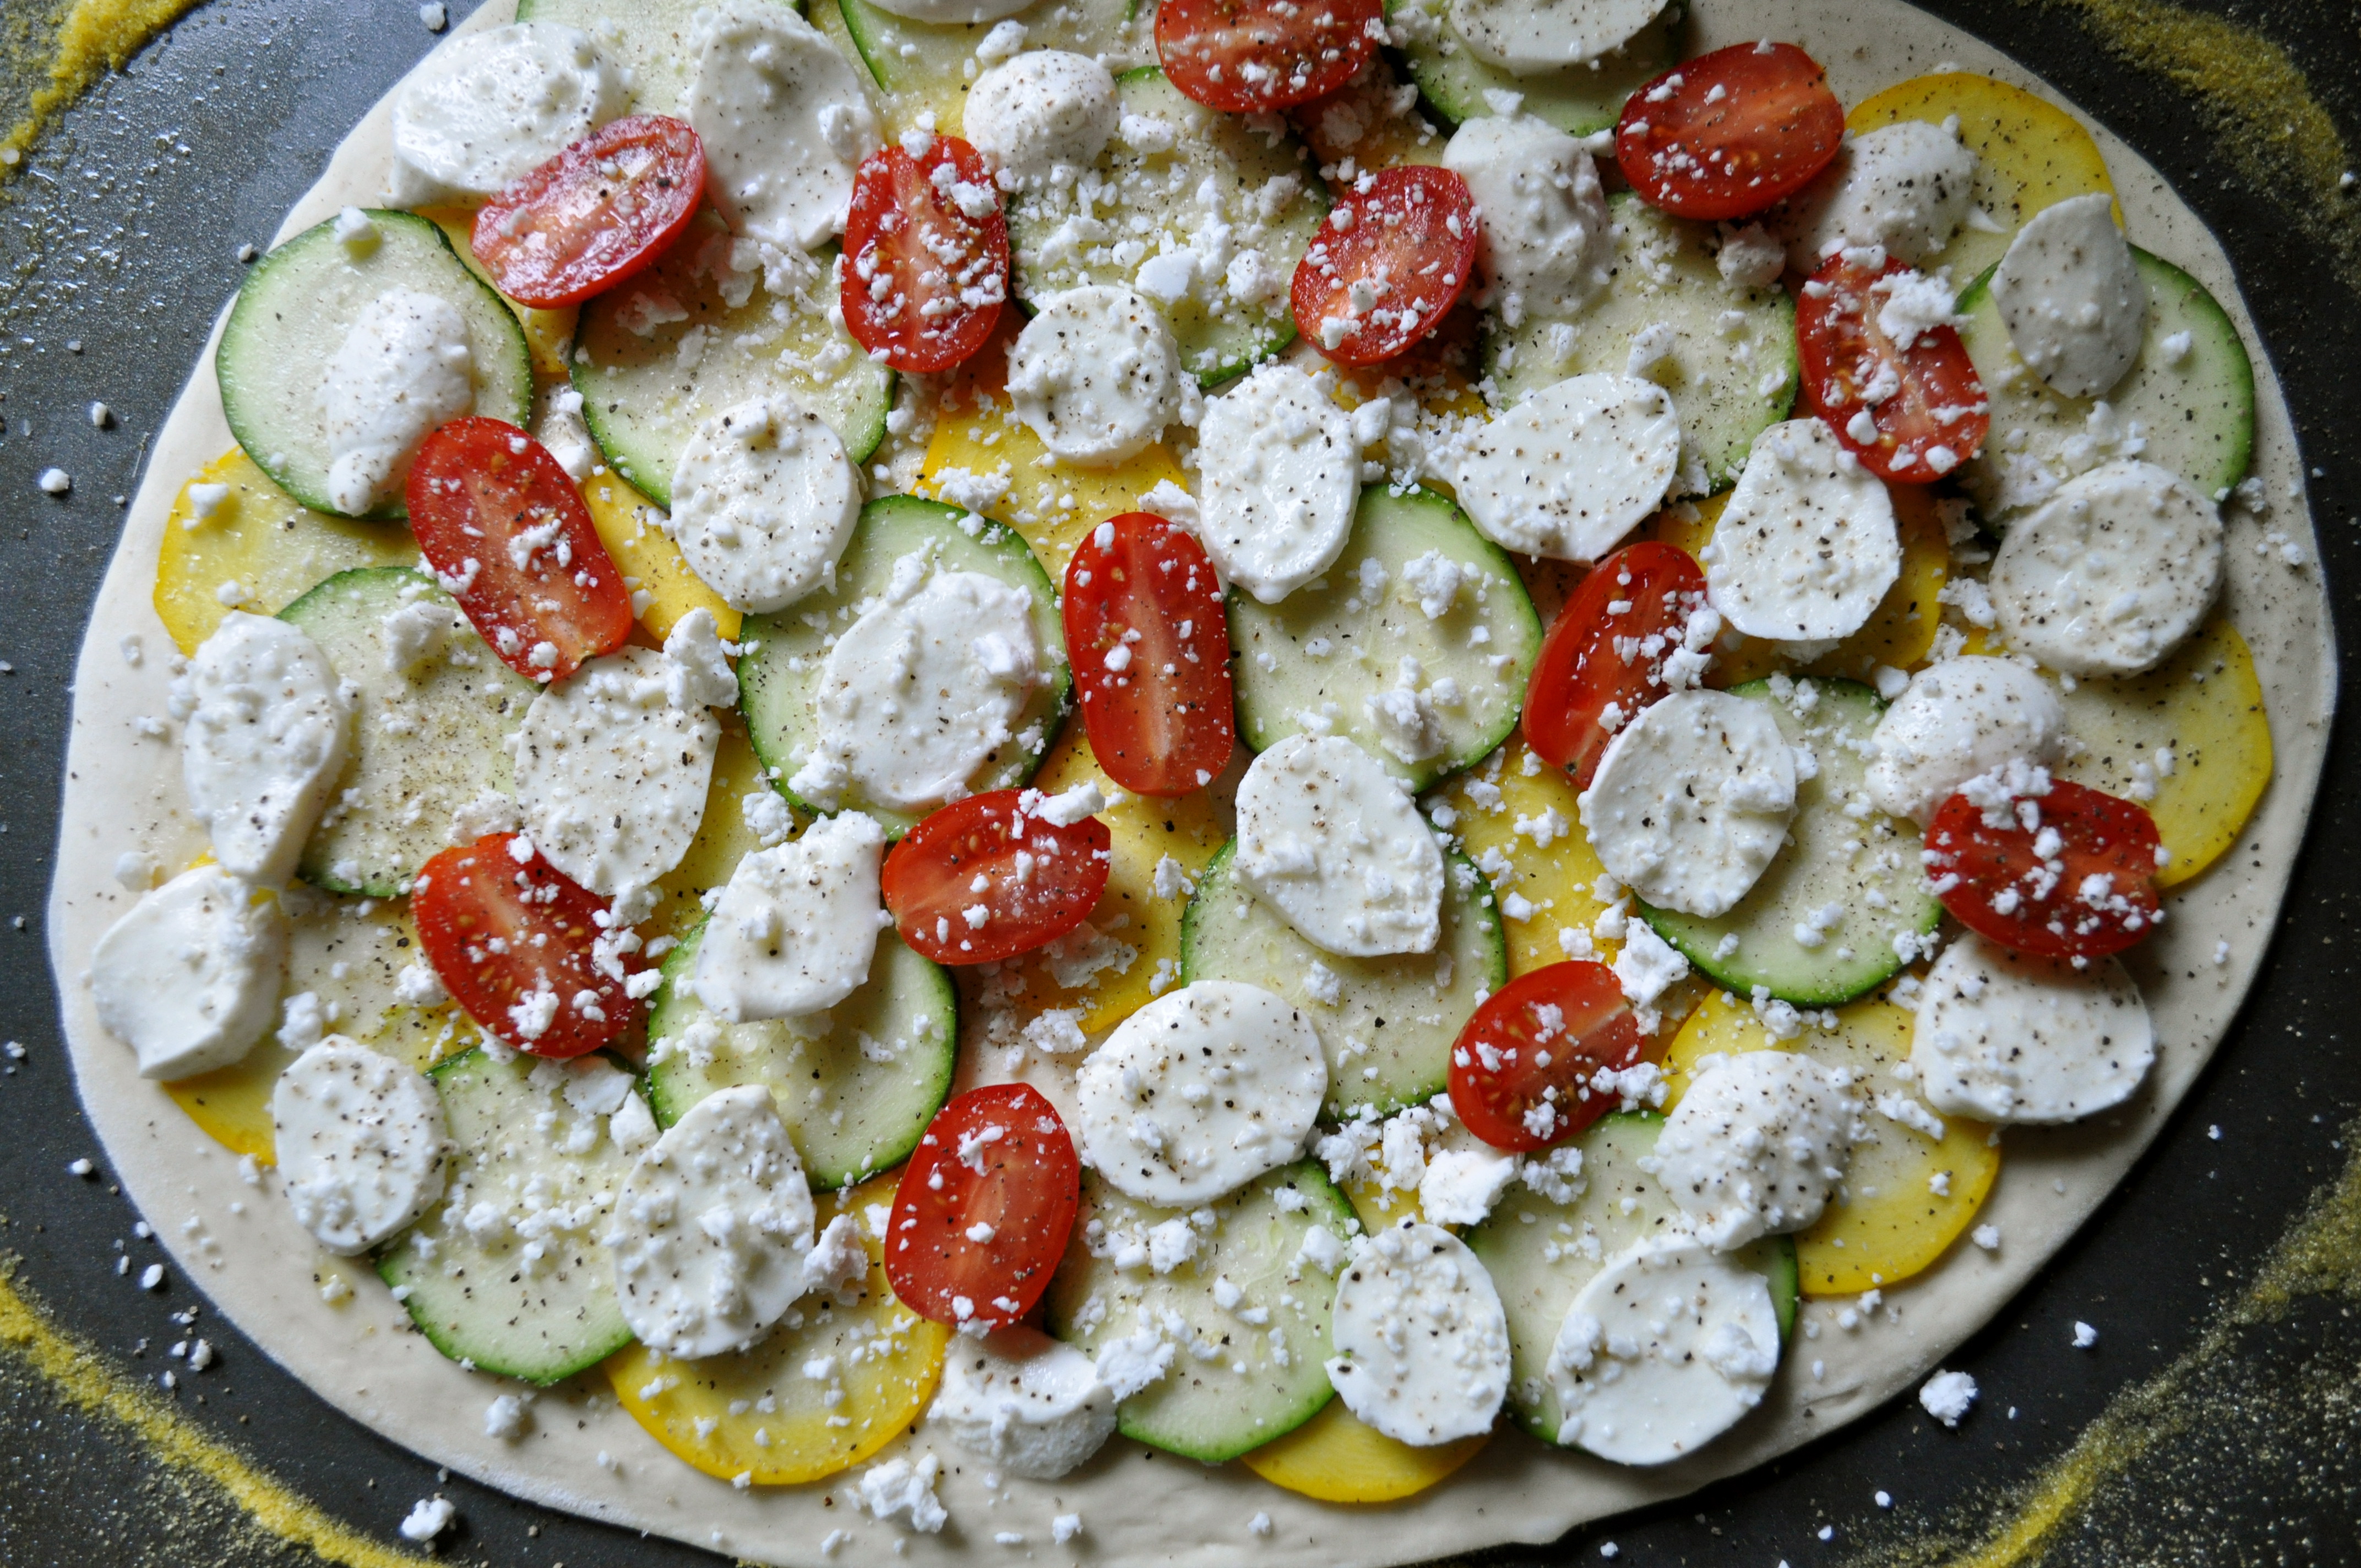
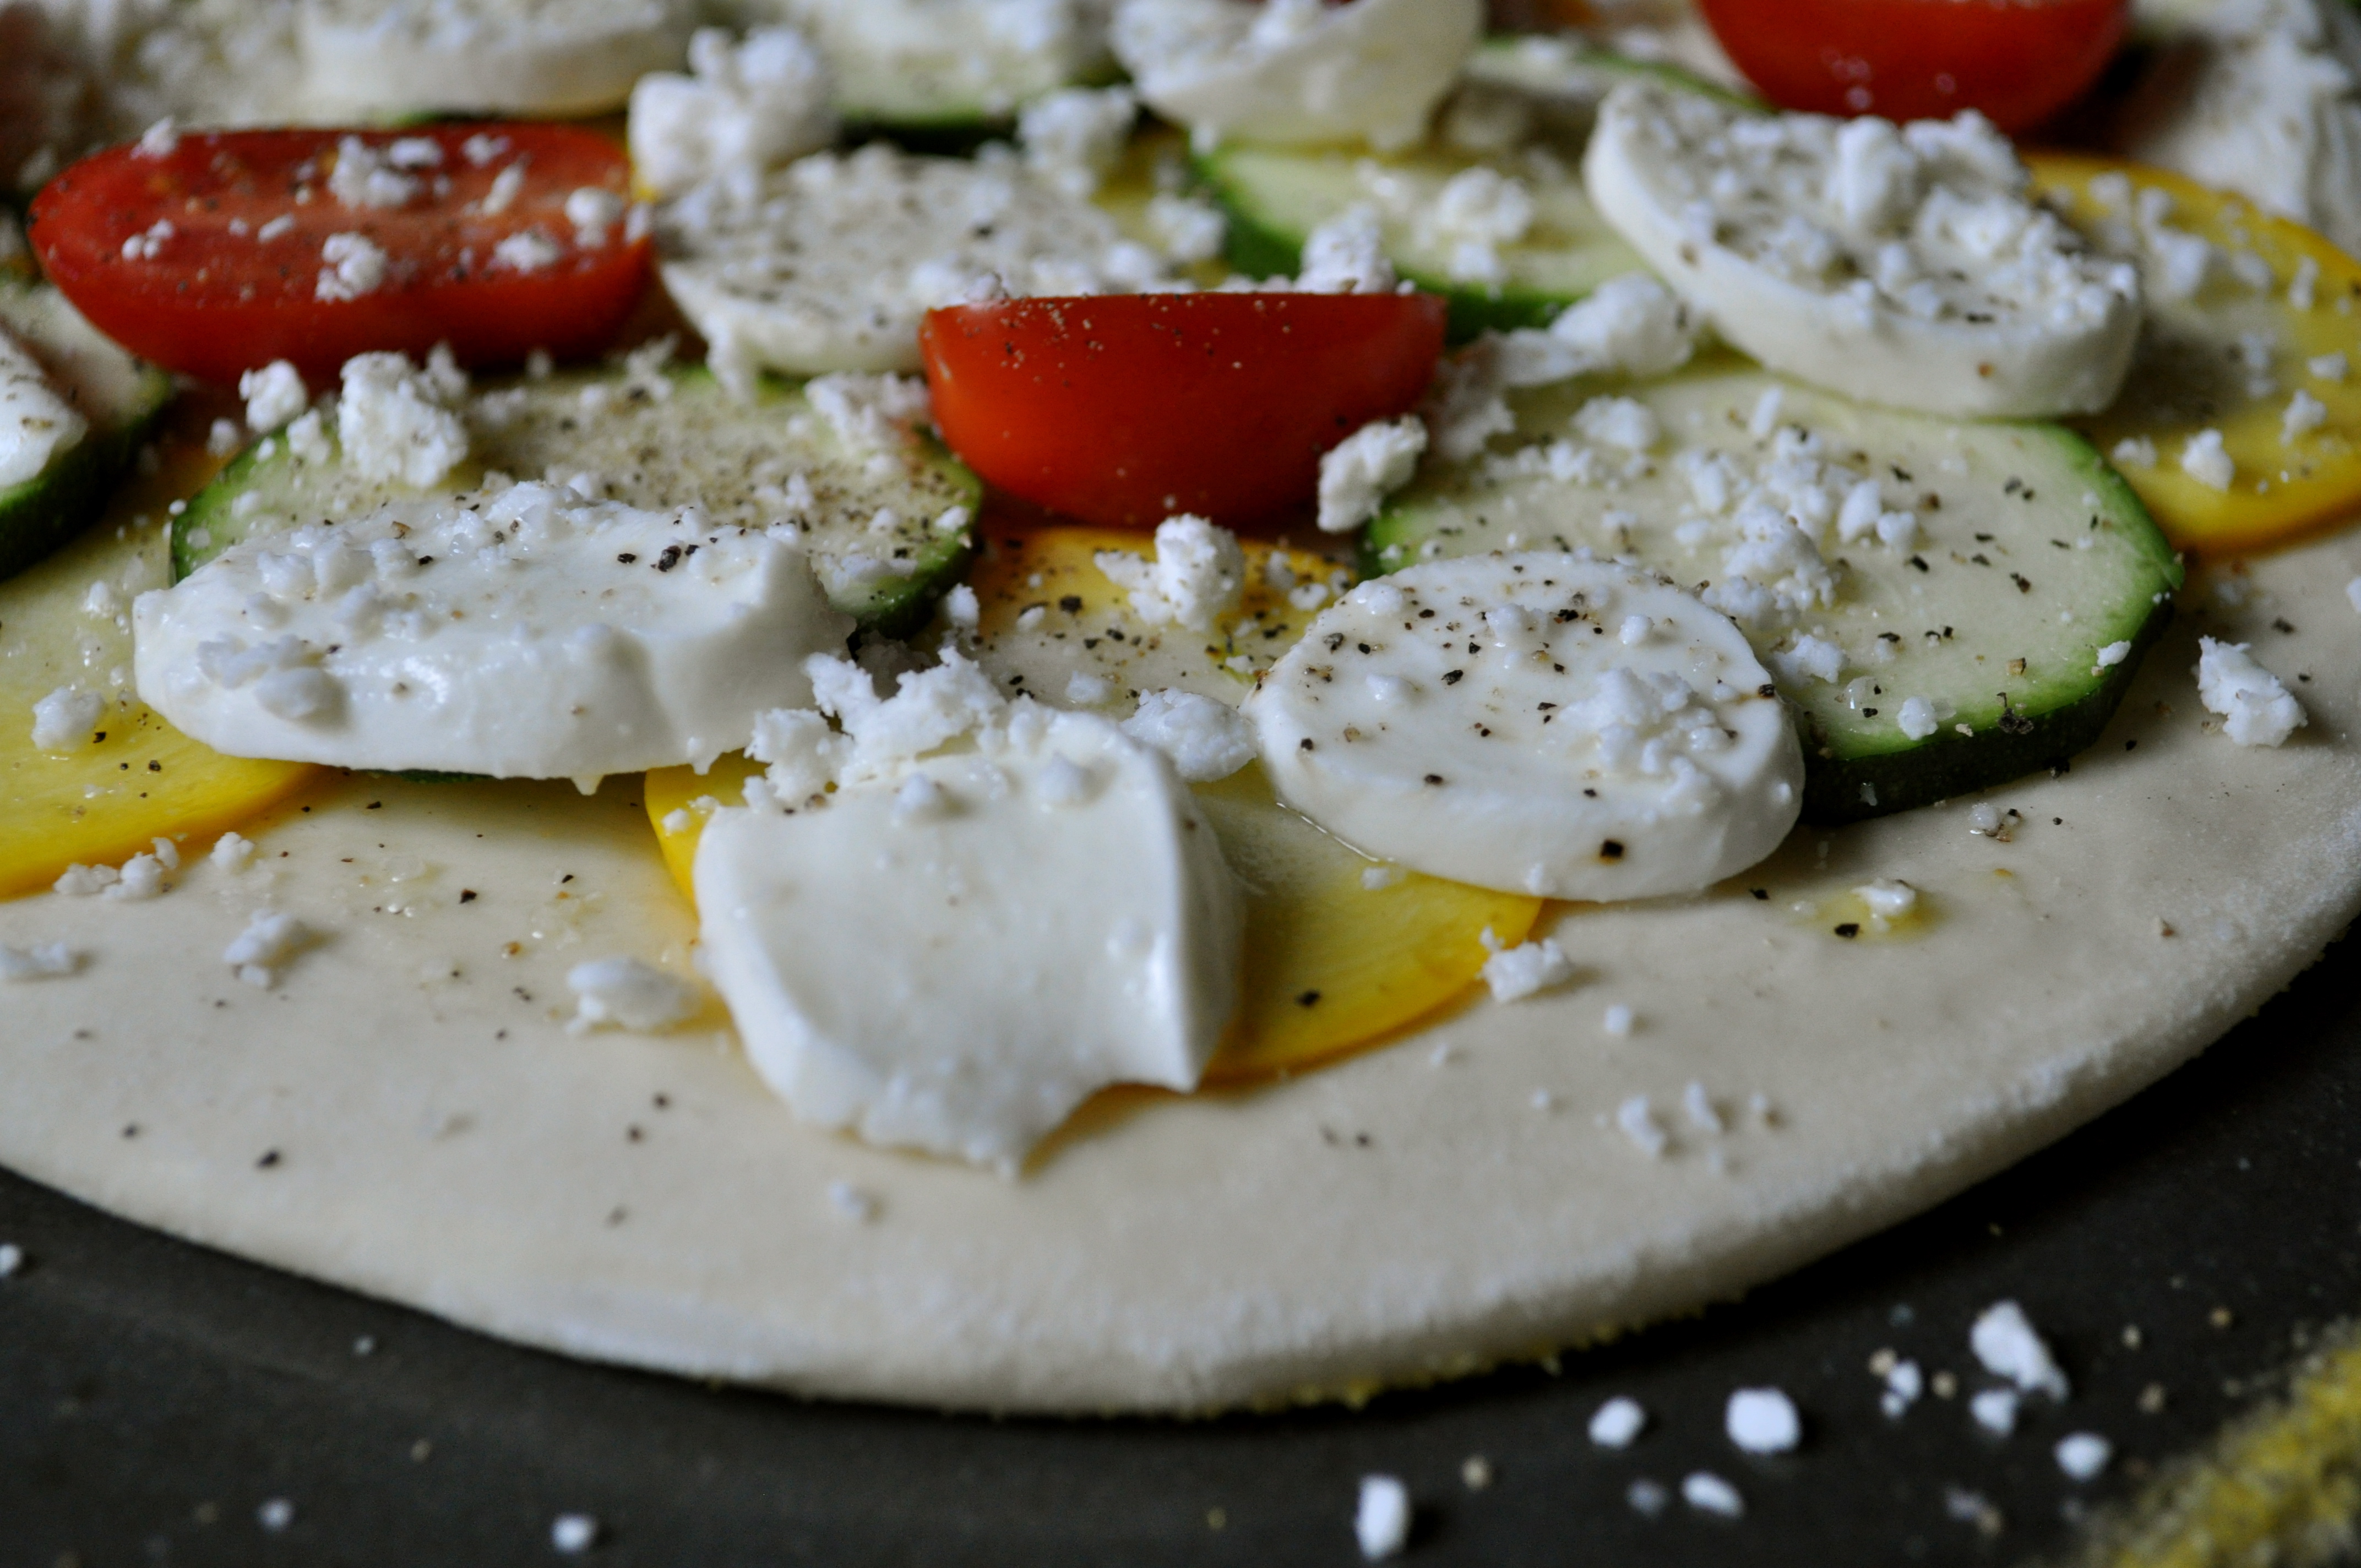
And now, onto the good stuff, a fabulous pizza that I created last week. What started out as a venture to use up some of the market produce that was on its last legs in my fridge ended with one of the most delicious pizzas I’ve created in a long time. I don’t really want to call it a recipe, but here are some guidelines for you.

Zucchini, Tomato, and Feta Pizza with Balsamic Reduction

Start off with a pizza dough of your choice. I used some fresh dough from my local Italian market, but if you want to make your own, go for it! I have a great recipe for whole wheat pizza dough that you can find here.

Preheat your oven to 425°F. Spray a large baking sheet with non-stick spray and sprinkle lightly with cornmeal. The cornmeal will help create a nice crispy crust! Stretch out your dough to the desired thickness (I made mine quite thin), and brush with olive oil. Cover with thinly sliced veggies of your choice – I used zucchini and grape tomatoes, as well as thinly sliced fresh mozzarella. Sprinkle with crumbled feta cheese, and season with good sea salt (I used fleur de sel) and freshly ground black pepper. Bake for 16-20 minutes, or until the crust is golden brown and the cheese is bubbly.

You can eat this pizza as is, and it will be delicious. But if you want to take it over the top, make a quick balsamic reduction (pour 1/4 cup of balsamic vinegar into a small saucepan and allow to reduce to about half over medium heat), and drizzle it over the hot pizza. OMG. YOLO, indeed.


More recipes coming up soon friends, pinky swear! xoxo

All Choked Up | Grilled Artichokes with Lemon Garlic Aioli


Friends, can you believe that August is nearly half over? That these glorious, hot, sunshine and thunderstorm-filled days are whipping by us at break neck speed? And before we know it, we will be trudging through another long, cold, snowy winter? *sigh* My apologies for the pessimistic ‘tude that I’m rocking right now. Summer just ain’t long enough!


However, I do have some advice for making the best of the rest of these summer days. Ready?

1.Get outside. Spend as much time out there as you can! Eat outside, drink outside, be active outside (emphasis on eat and drink). Have a bonfire, roast marshmallows, and devour s’mores. Sit outside and read a book. Get out there and soak up summer!

2.Make these. Don’t ask questions, just do it. Preferably in combination with #1.


3.Go to the farmers’ market. Summer farmers’ markets are fabulous. Fresh produce in its prime. Delicious local goods. Supporting your community. All the things!

4.Eat more ice cream. This should not require an argument, but if you have your doubts, Em has you covered. And if you require any inspiration, look no further.


5.Sleep in. It is summer, after all. And while we might not be 16 anymore, with the glory of summer holidays to waste away by sleeping until 1pm, try to sneak in an extra hour or two of slumber and savor a lazy weekend morning. Preferably followed by pancakes and hot coffee.

6.Get away. Even if you can’t swing an exotic summer holiday, get out of town for a weekend. Enjoy a change of scenery! Go to the beach, the mountains, go camping. Just get out. Your mind will thank you.

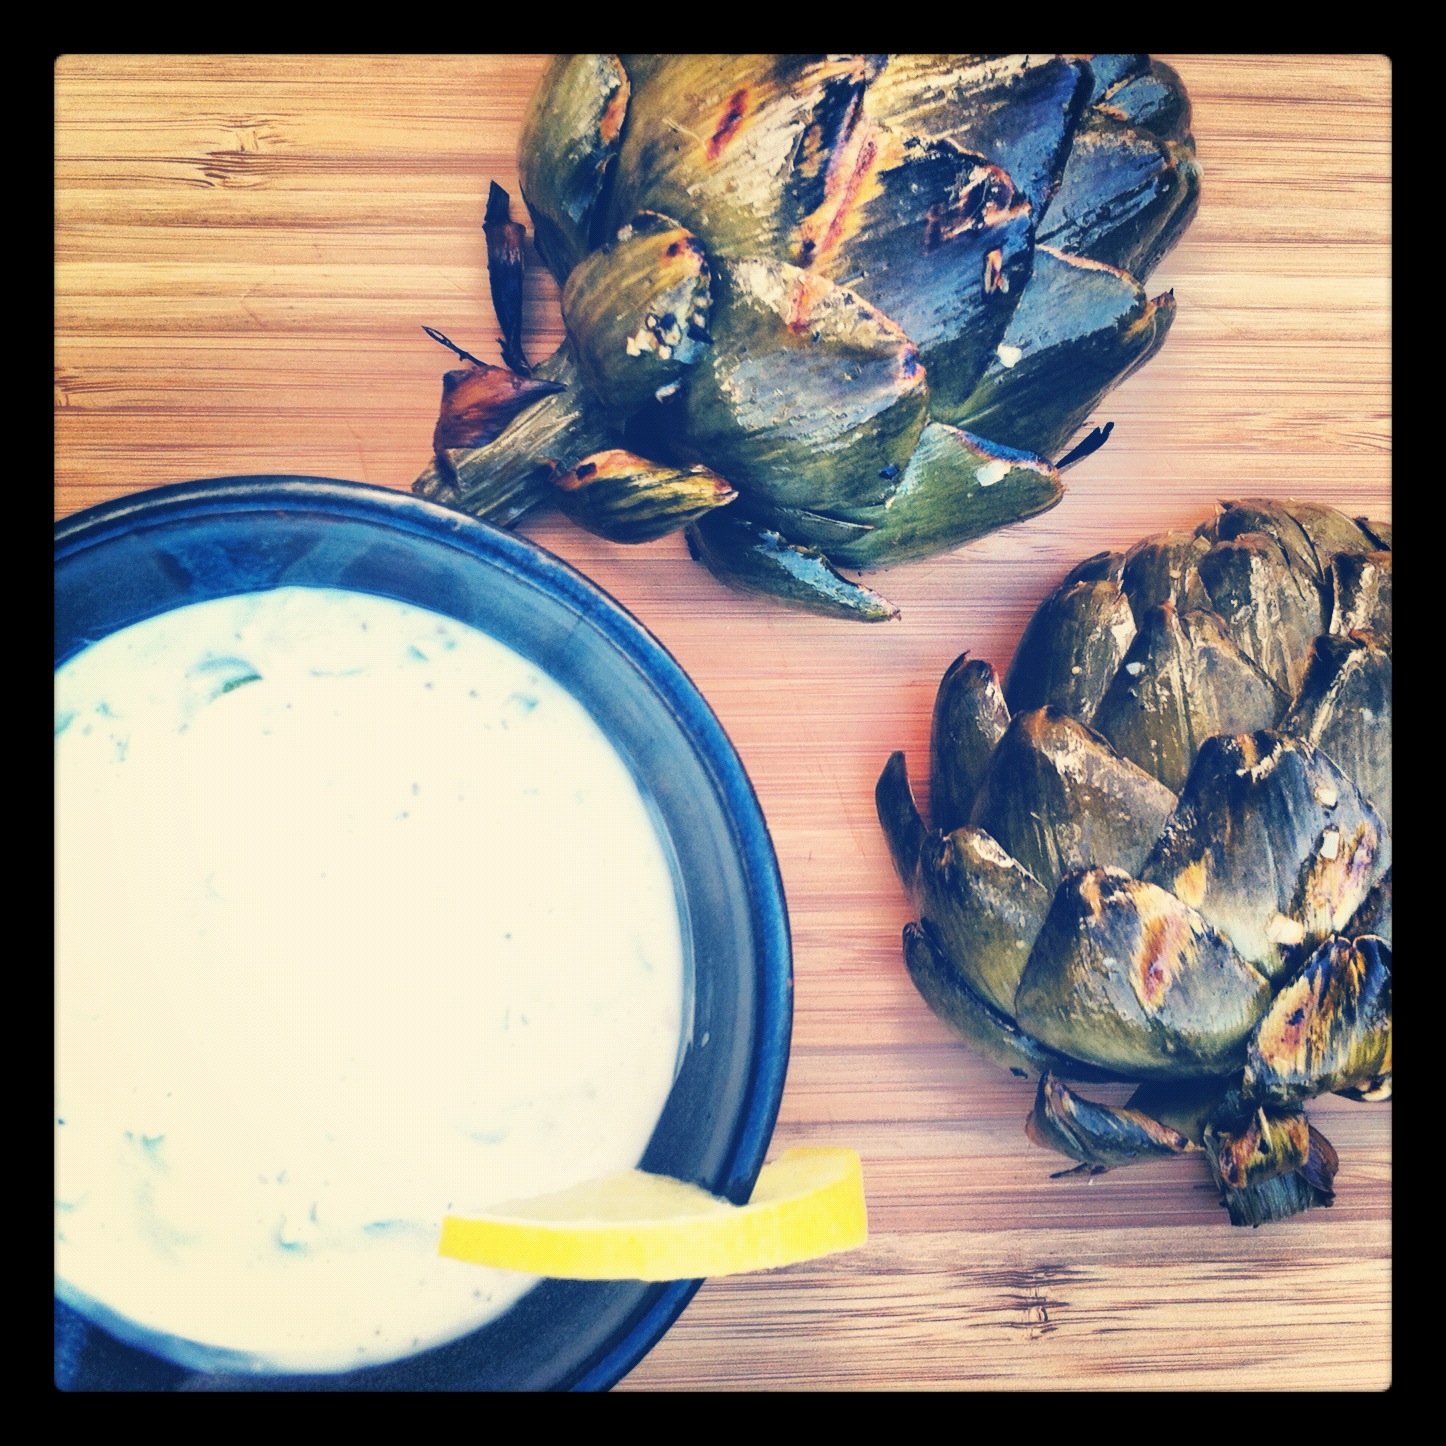
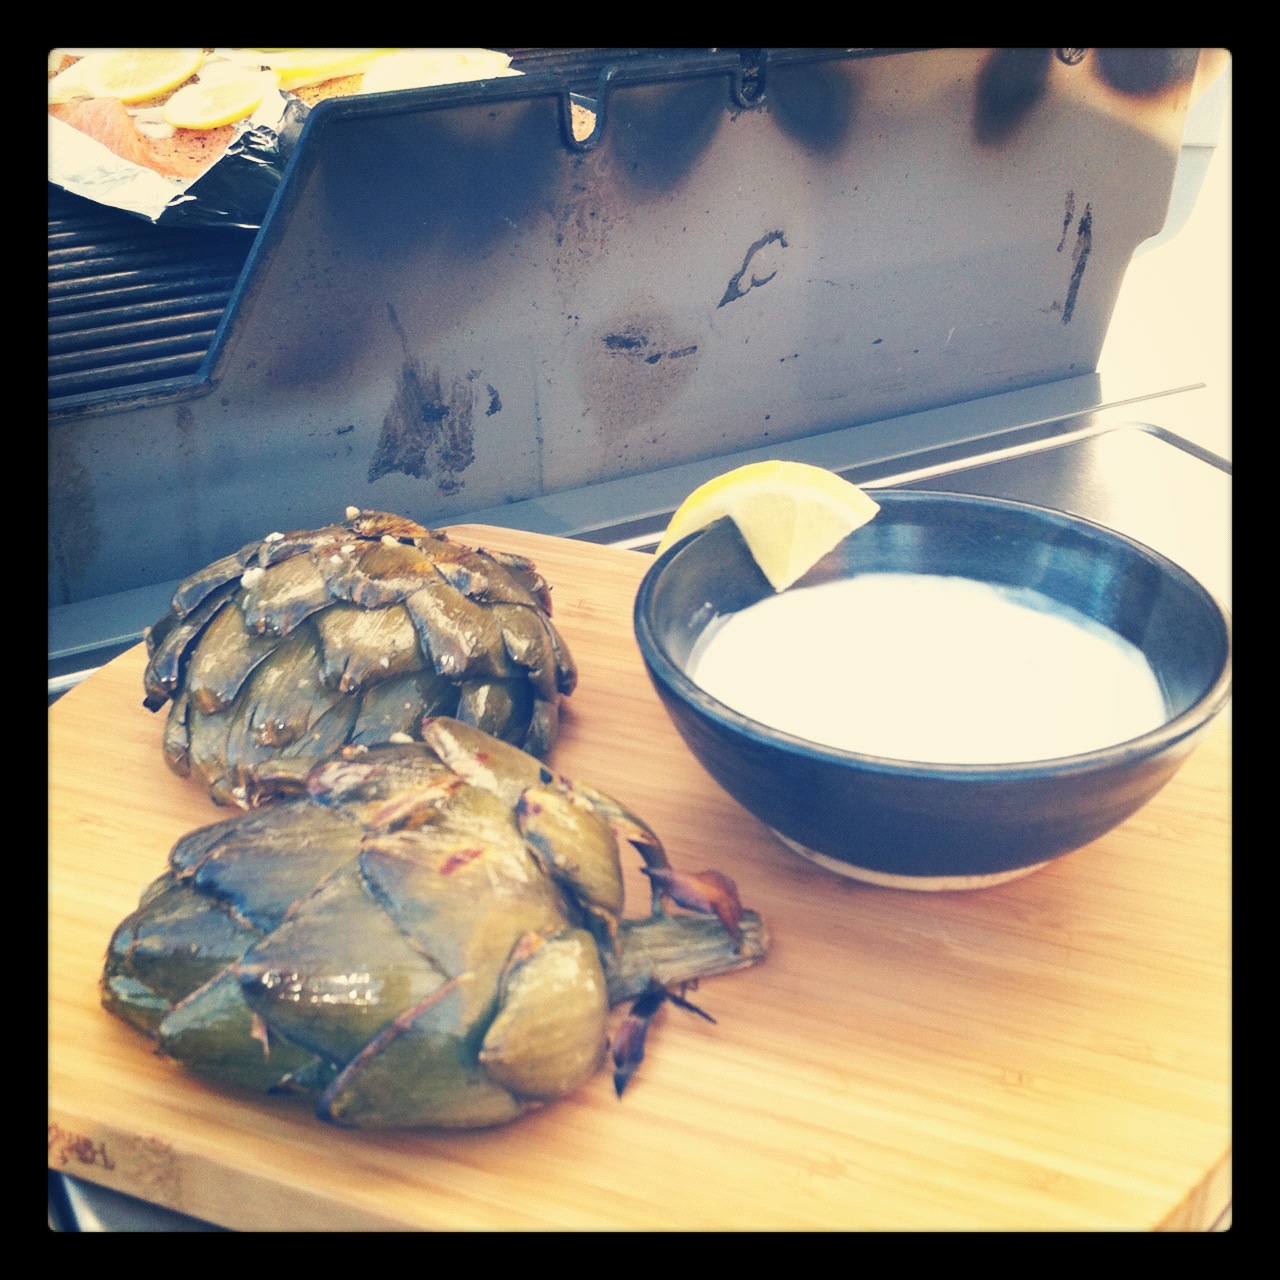
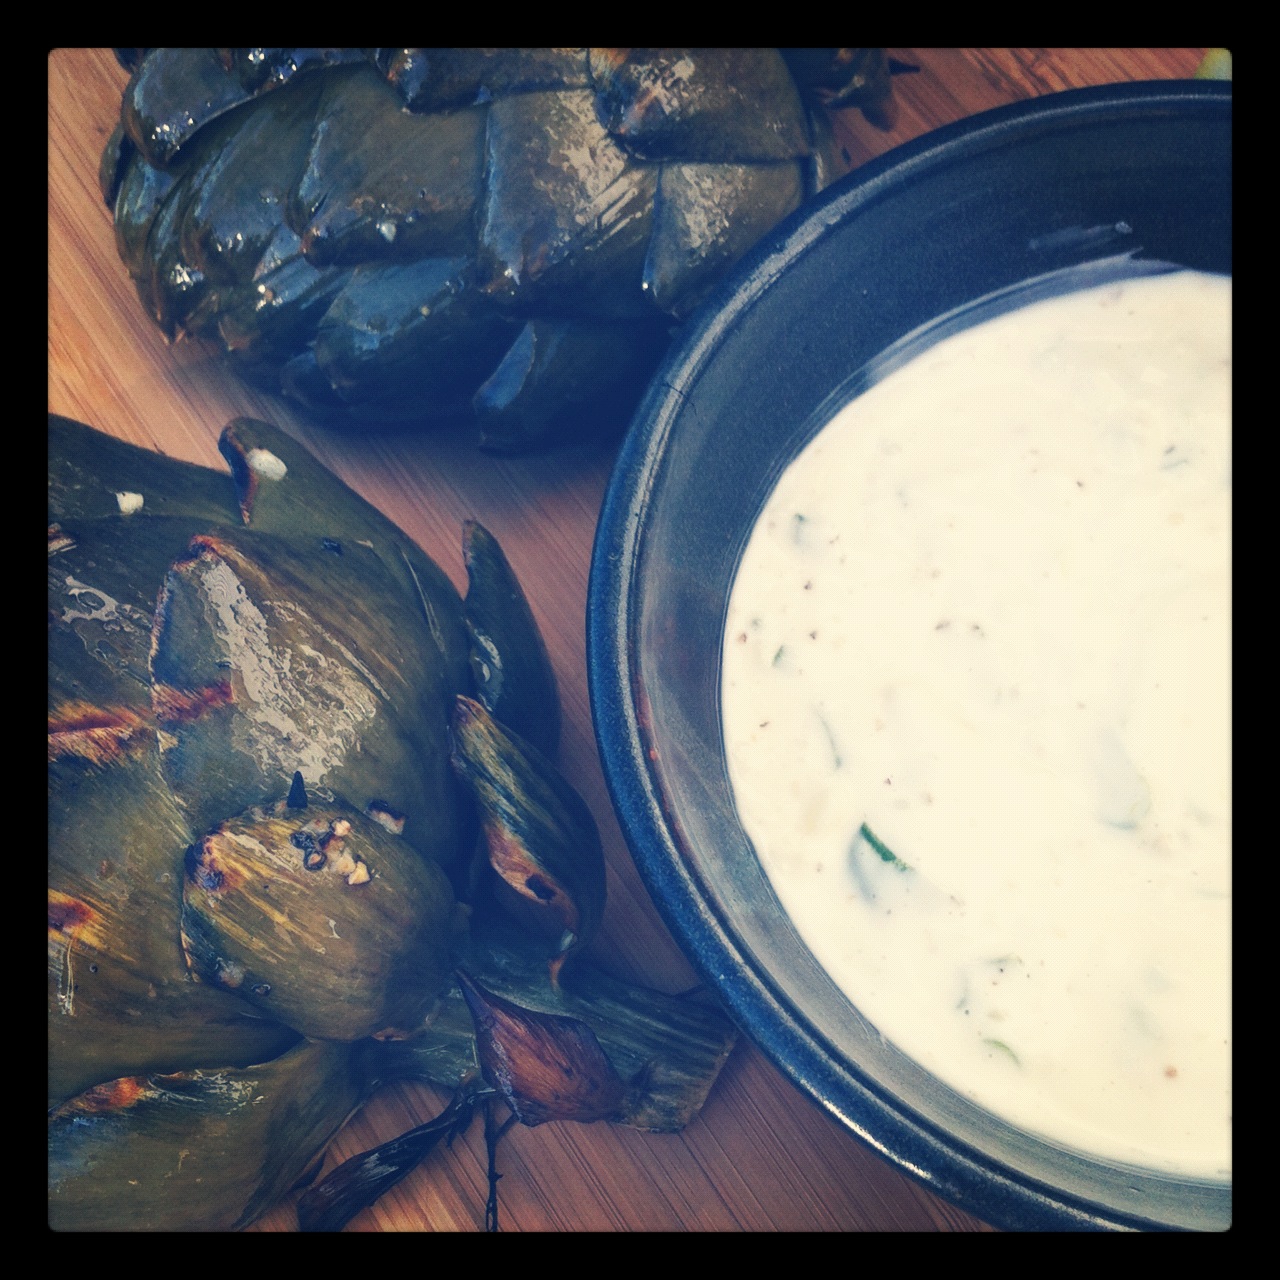
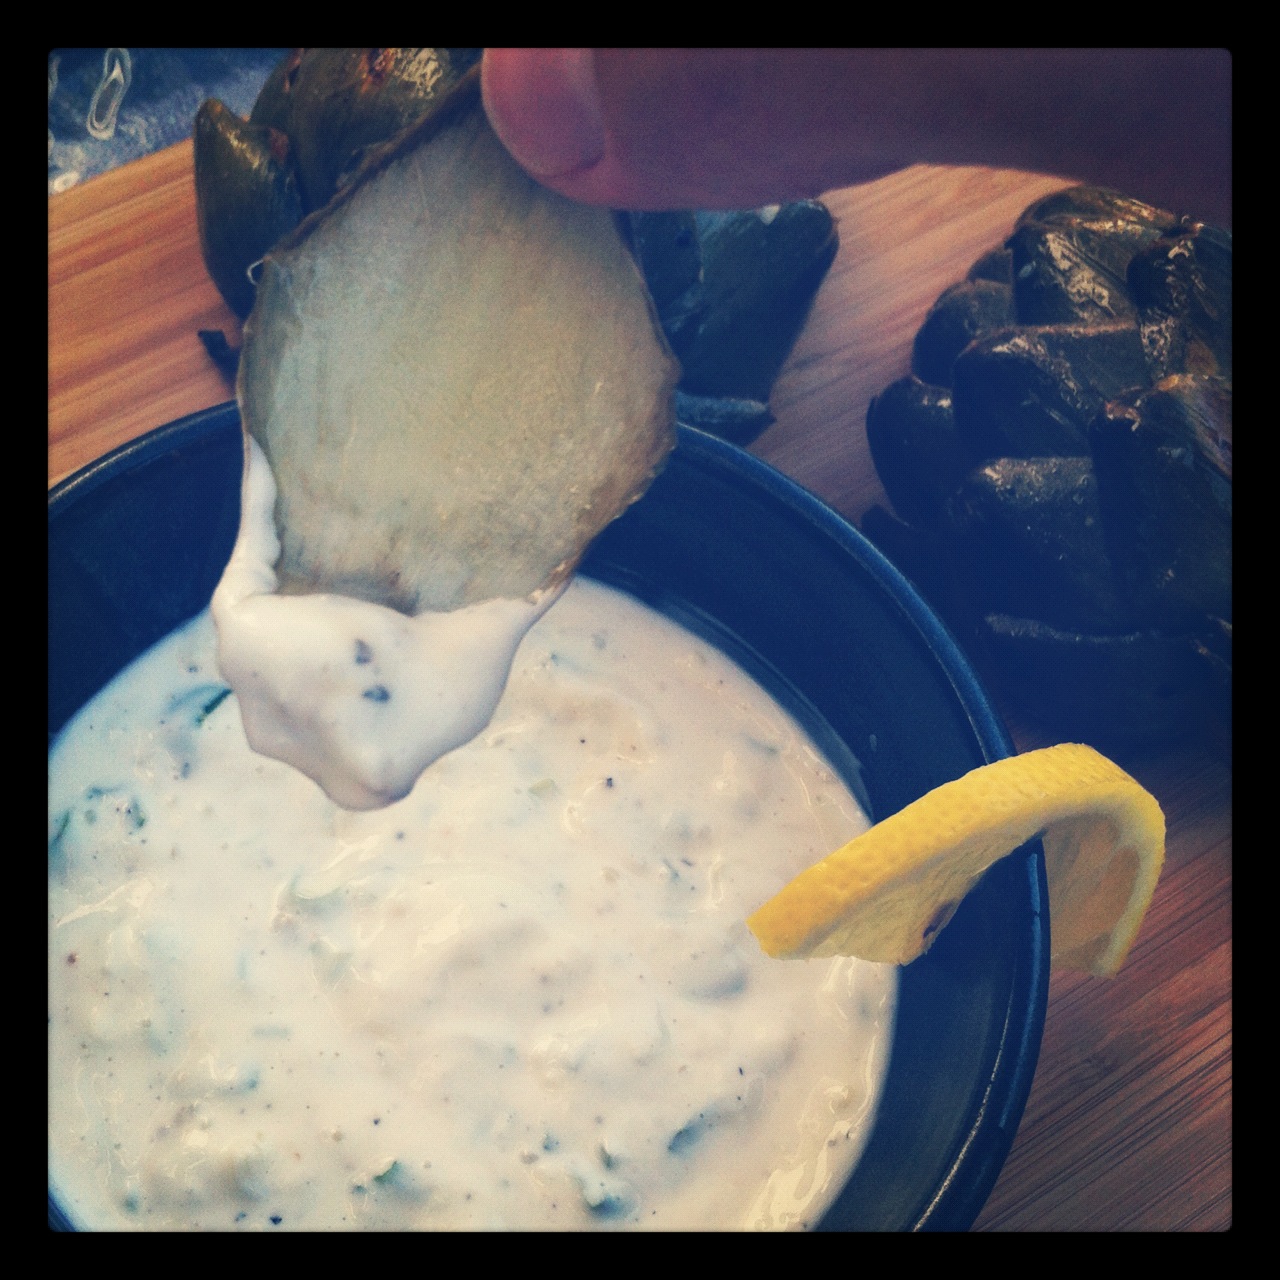
7.Grill up some artichokes and then dip them in lemon garlic aioli and stuff them into your face. Seriously.

Artichokes are delicious (and beautiful!) things. I had never bought or eaten a whole artichoke prior to trying this recipe. Canned artichokes often find their way into my grocery basket for use in a spinach and artichoke dip or onto homemade pizza. But there’s more to artichokes than their lovely little hearts! They’ve got cute little leaves that you can dip into a tasty aioli and then pull the flesh from with your teeth. With simple flavors like lemon and garlic, and the wonderful char created by a hot grill, these are a great appetizer or side to any summer meal. Get grillin’ friends, and enjoy summer!


Grilled Artichokes with Lemon Garlic Aioli (barely adapted from Food For My Family)

For the artichokes:
3 whole artichokes
2 lemons
1/4 cup extra virgin olive oil
3 cloves garlic
1/2 teaspoon sea salt
Freshly ground black pepper

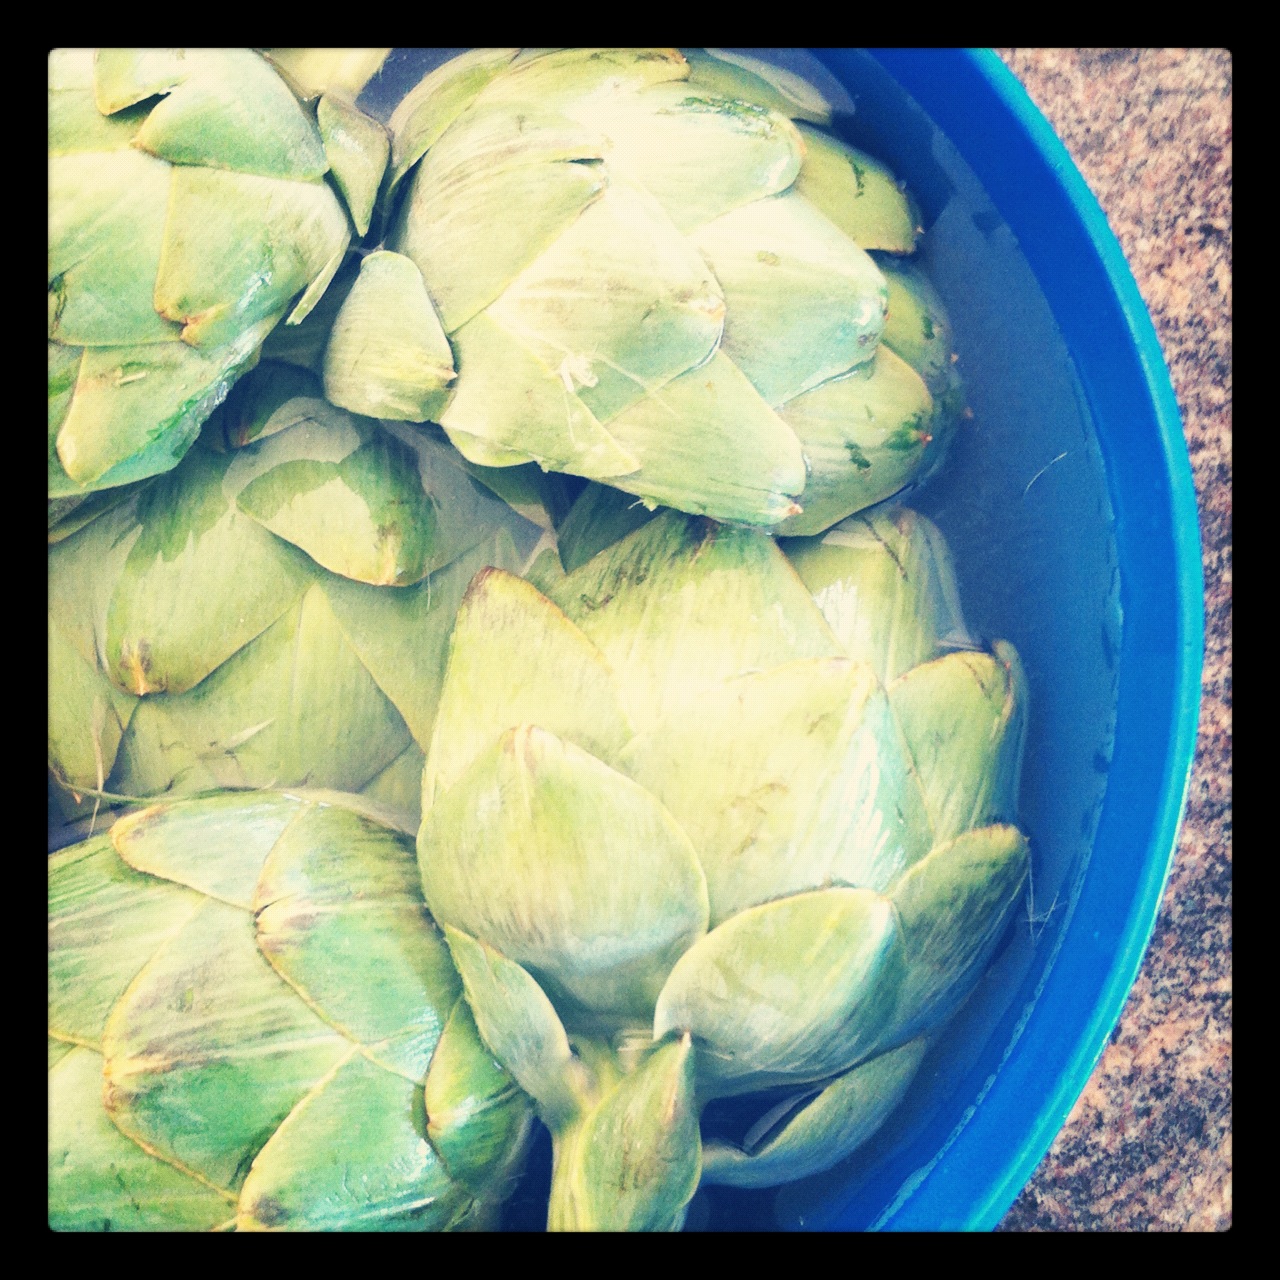
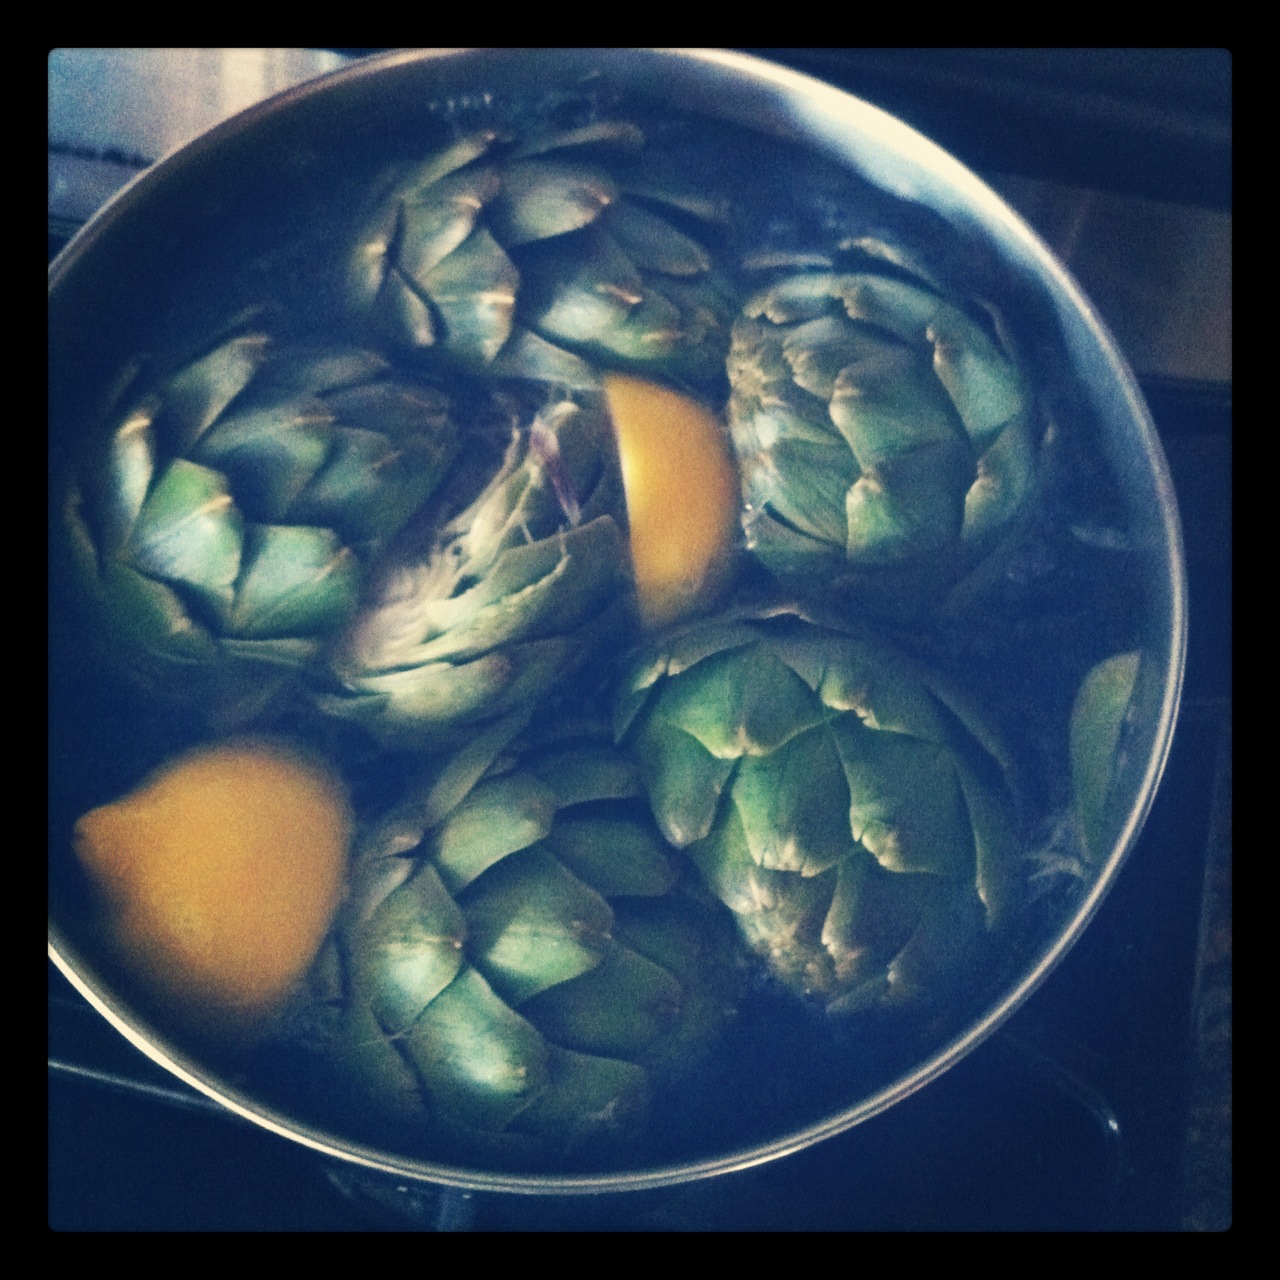
Fill a large bowl with water, and add the juice from one lemon, saving the rind. Cut the artichokes in half and immediately submerge in the water (to prevent browning). Bring a (very) large pot of water to a boil and add in the squeezed lemon rind. Transfer the artichokes to the boiling water. Boil for 20 minutes, stirring occasionally.

Fire up the grill. In a large bowl, add the juice from the other lemon, olive oil, garlic, salt and pepper. When the artichokes are done boiling, drain them on a paper towel and then toss them around in the bowl to coat them.

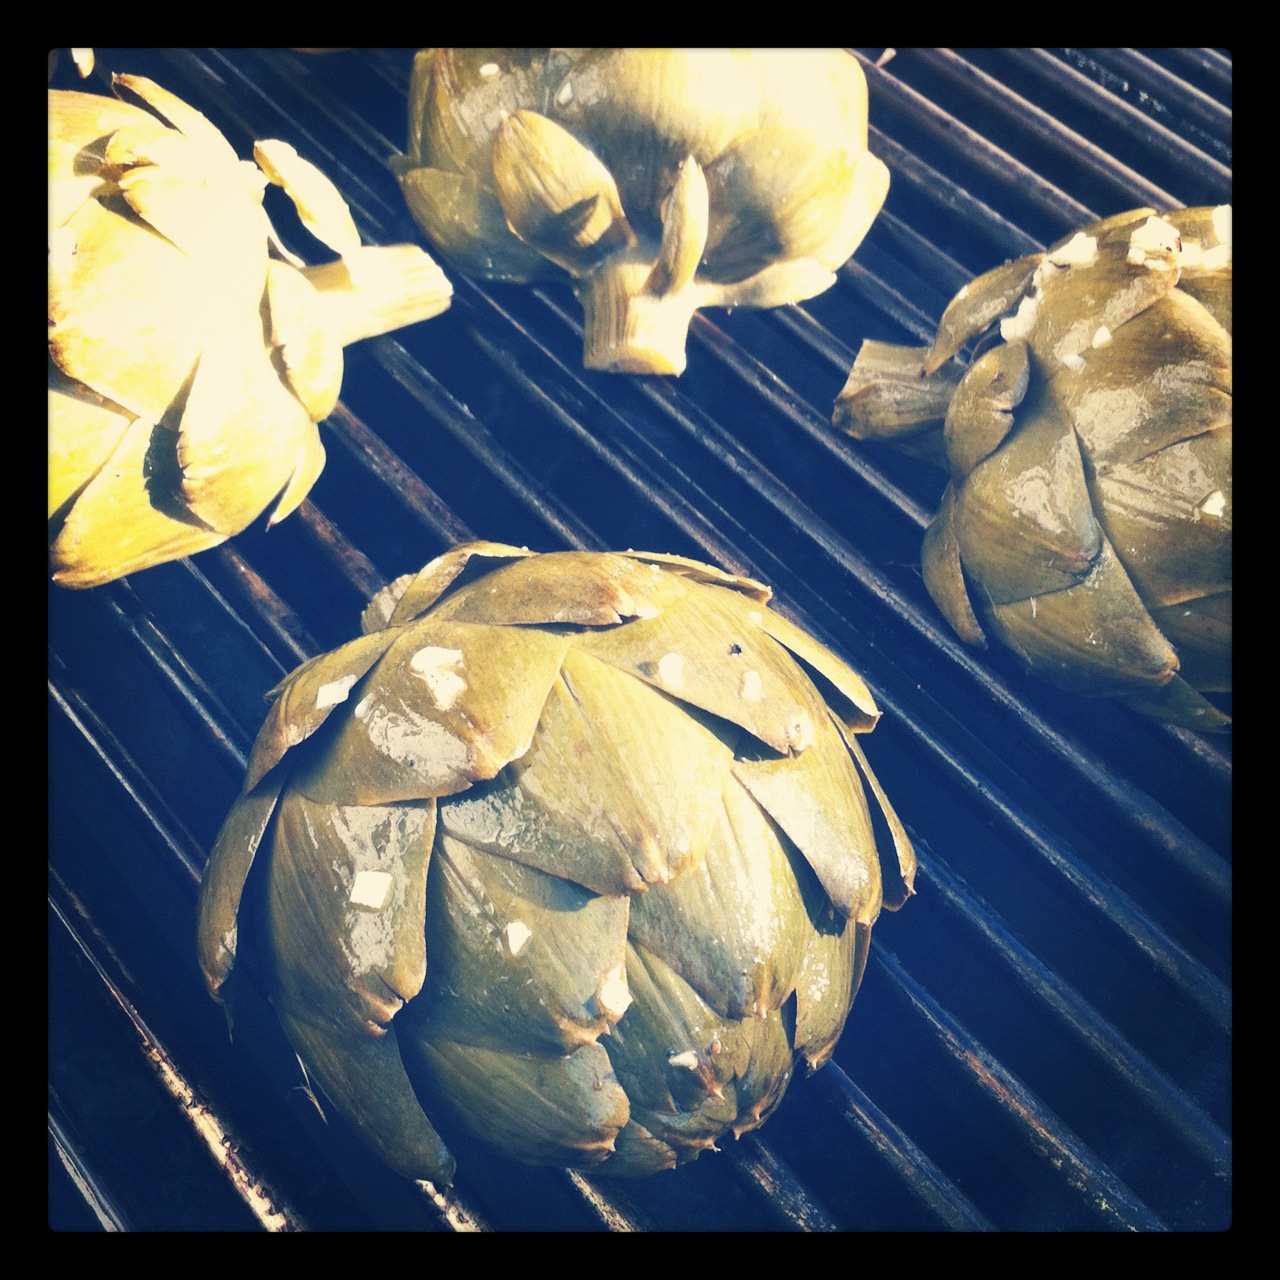
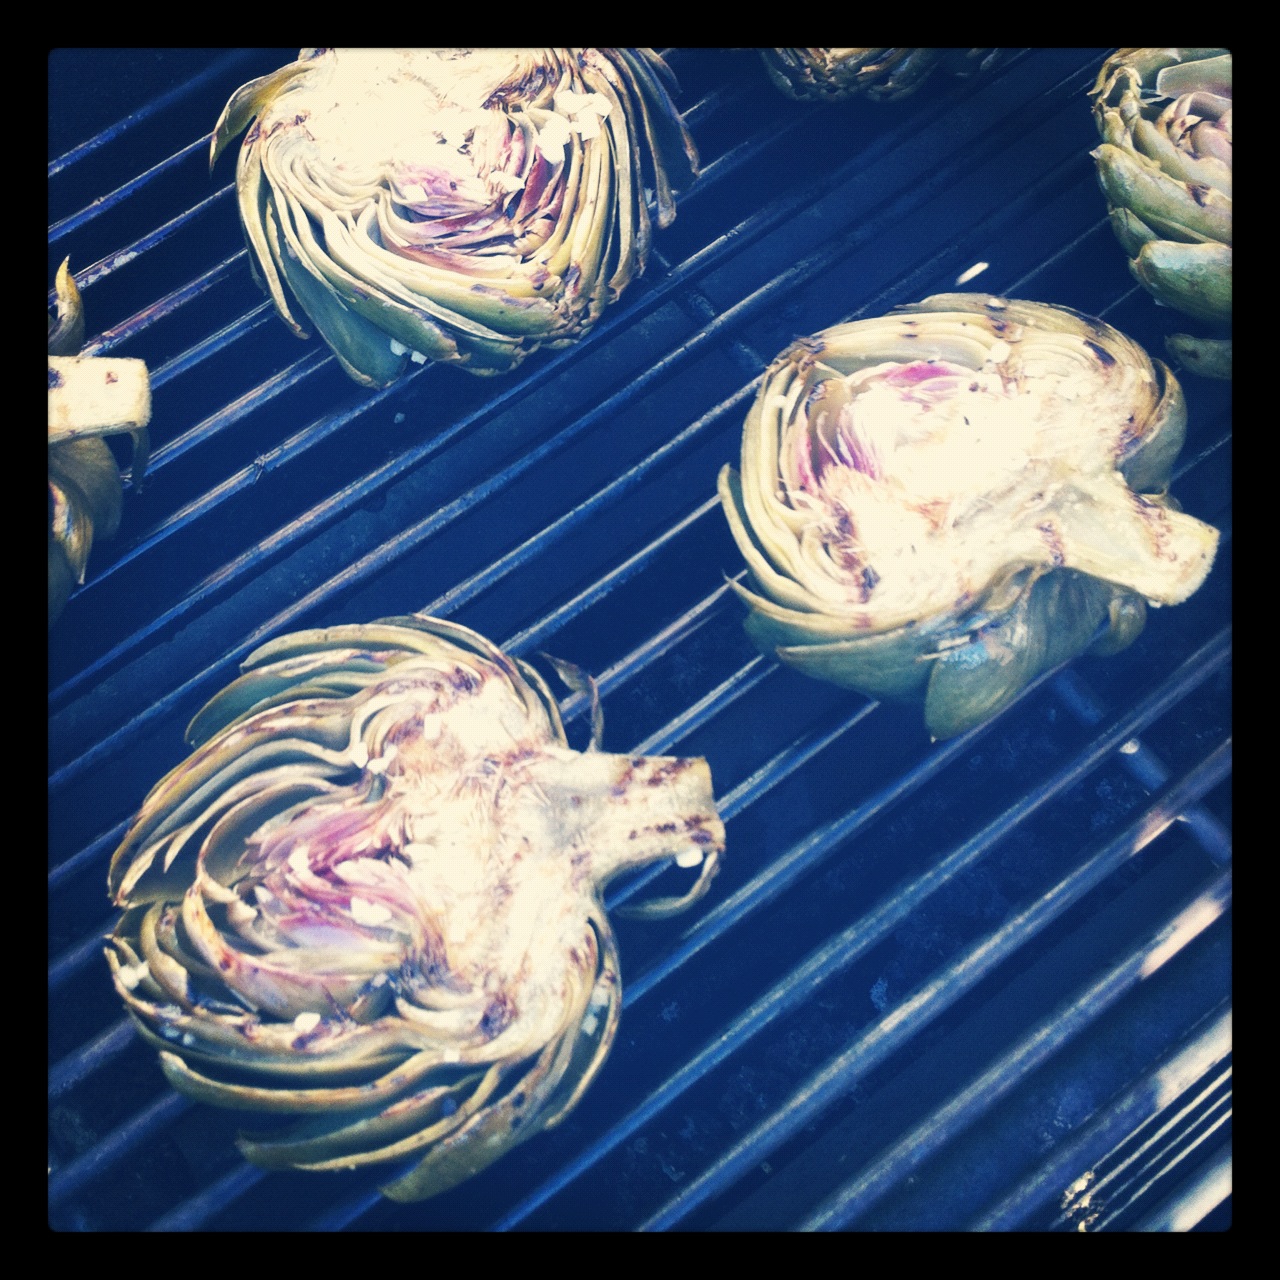
With the grill on medium heat, add the artichokes to the grill. Brush the artichokes with the remaining oil mixture in the bowl. Turn every five minutes until artichokes start to char (mine took about 15 minutes). Remove from heat.

For the lemon garlic aioli:
1/4 cup mayonnaise
2 cloves garlic, minced
Juice from 1/2 of a lemon
1 green onion, diced
1/2 teaspoon salt
Freshly ground black pepper

Mix together all ingredients in a small bowl. Refrigerate until ready to serve with the grilled artichokes.


Things might get messy. Have your napkins ready.

The photos in this post were taken with Instagram, an iPhone app. If you are an IG user and want to follow my daily foodie (etc.) life, you can find me at @onceuponarecipe.

I Scream, You Scream, We All Scream For… | Mint Chocolate Chip Ice Cream

Friends, I have a very sad confession to make. I have had an ice cream maker sitting, unused, in its original box, for one and a half long years. I received it as a gift for Christmas in 2010. I had good intentions of using it immediately. I picked out recipes. I formulated ice cream-making plans. And it never happened.

You see, whenever I followed through on those good intentions, and got all geared up to make ice cream, I’d open the box and realize (for the bazillionth time) that the canister needed to be frozen for at least 8 hours prior to using it. And I’m embarrassed to report that instead of taking it out of the box and sticking in the freezer to avoid the same disappointment the next time around, I just closed it right back up again. It is important to note that there was one other very labor intensive step required…washing the canister. Sometimes I confuse even myself.

Thankfully, I righted all of these wrongs last weekend when I did the smart thing and stuck that dang canister into the freezer, and the next day went out and picked up my ice cream making supplies. And then I got straight to makin’ ice cream!

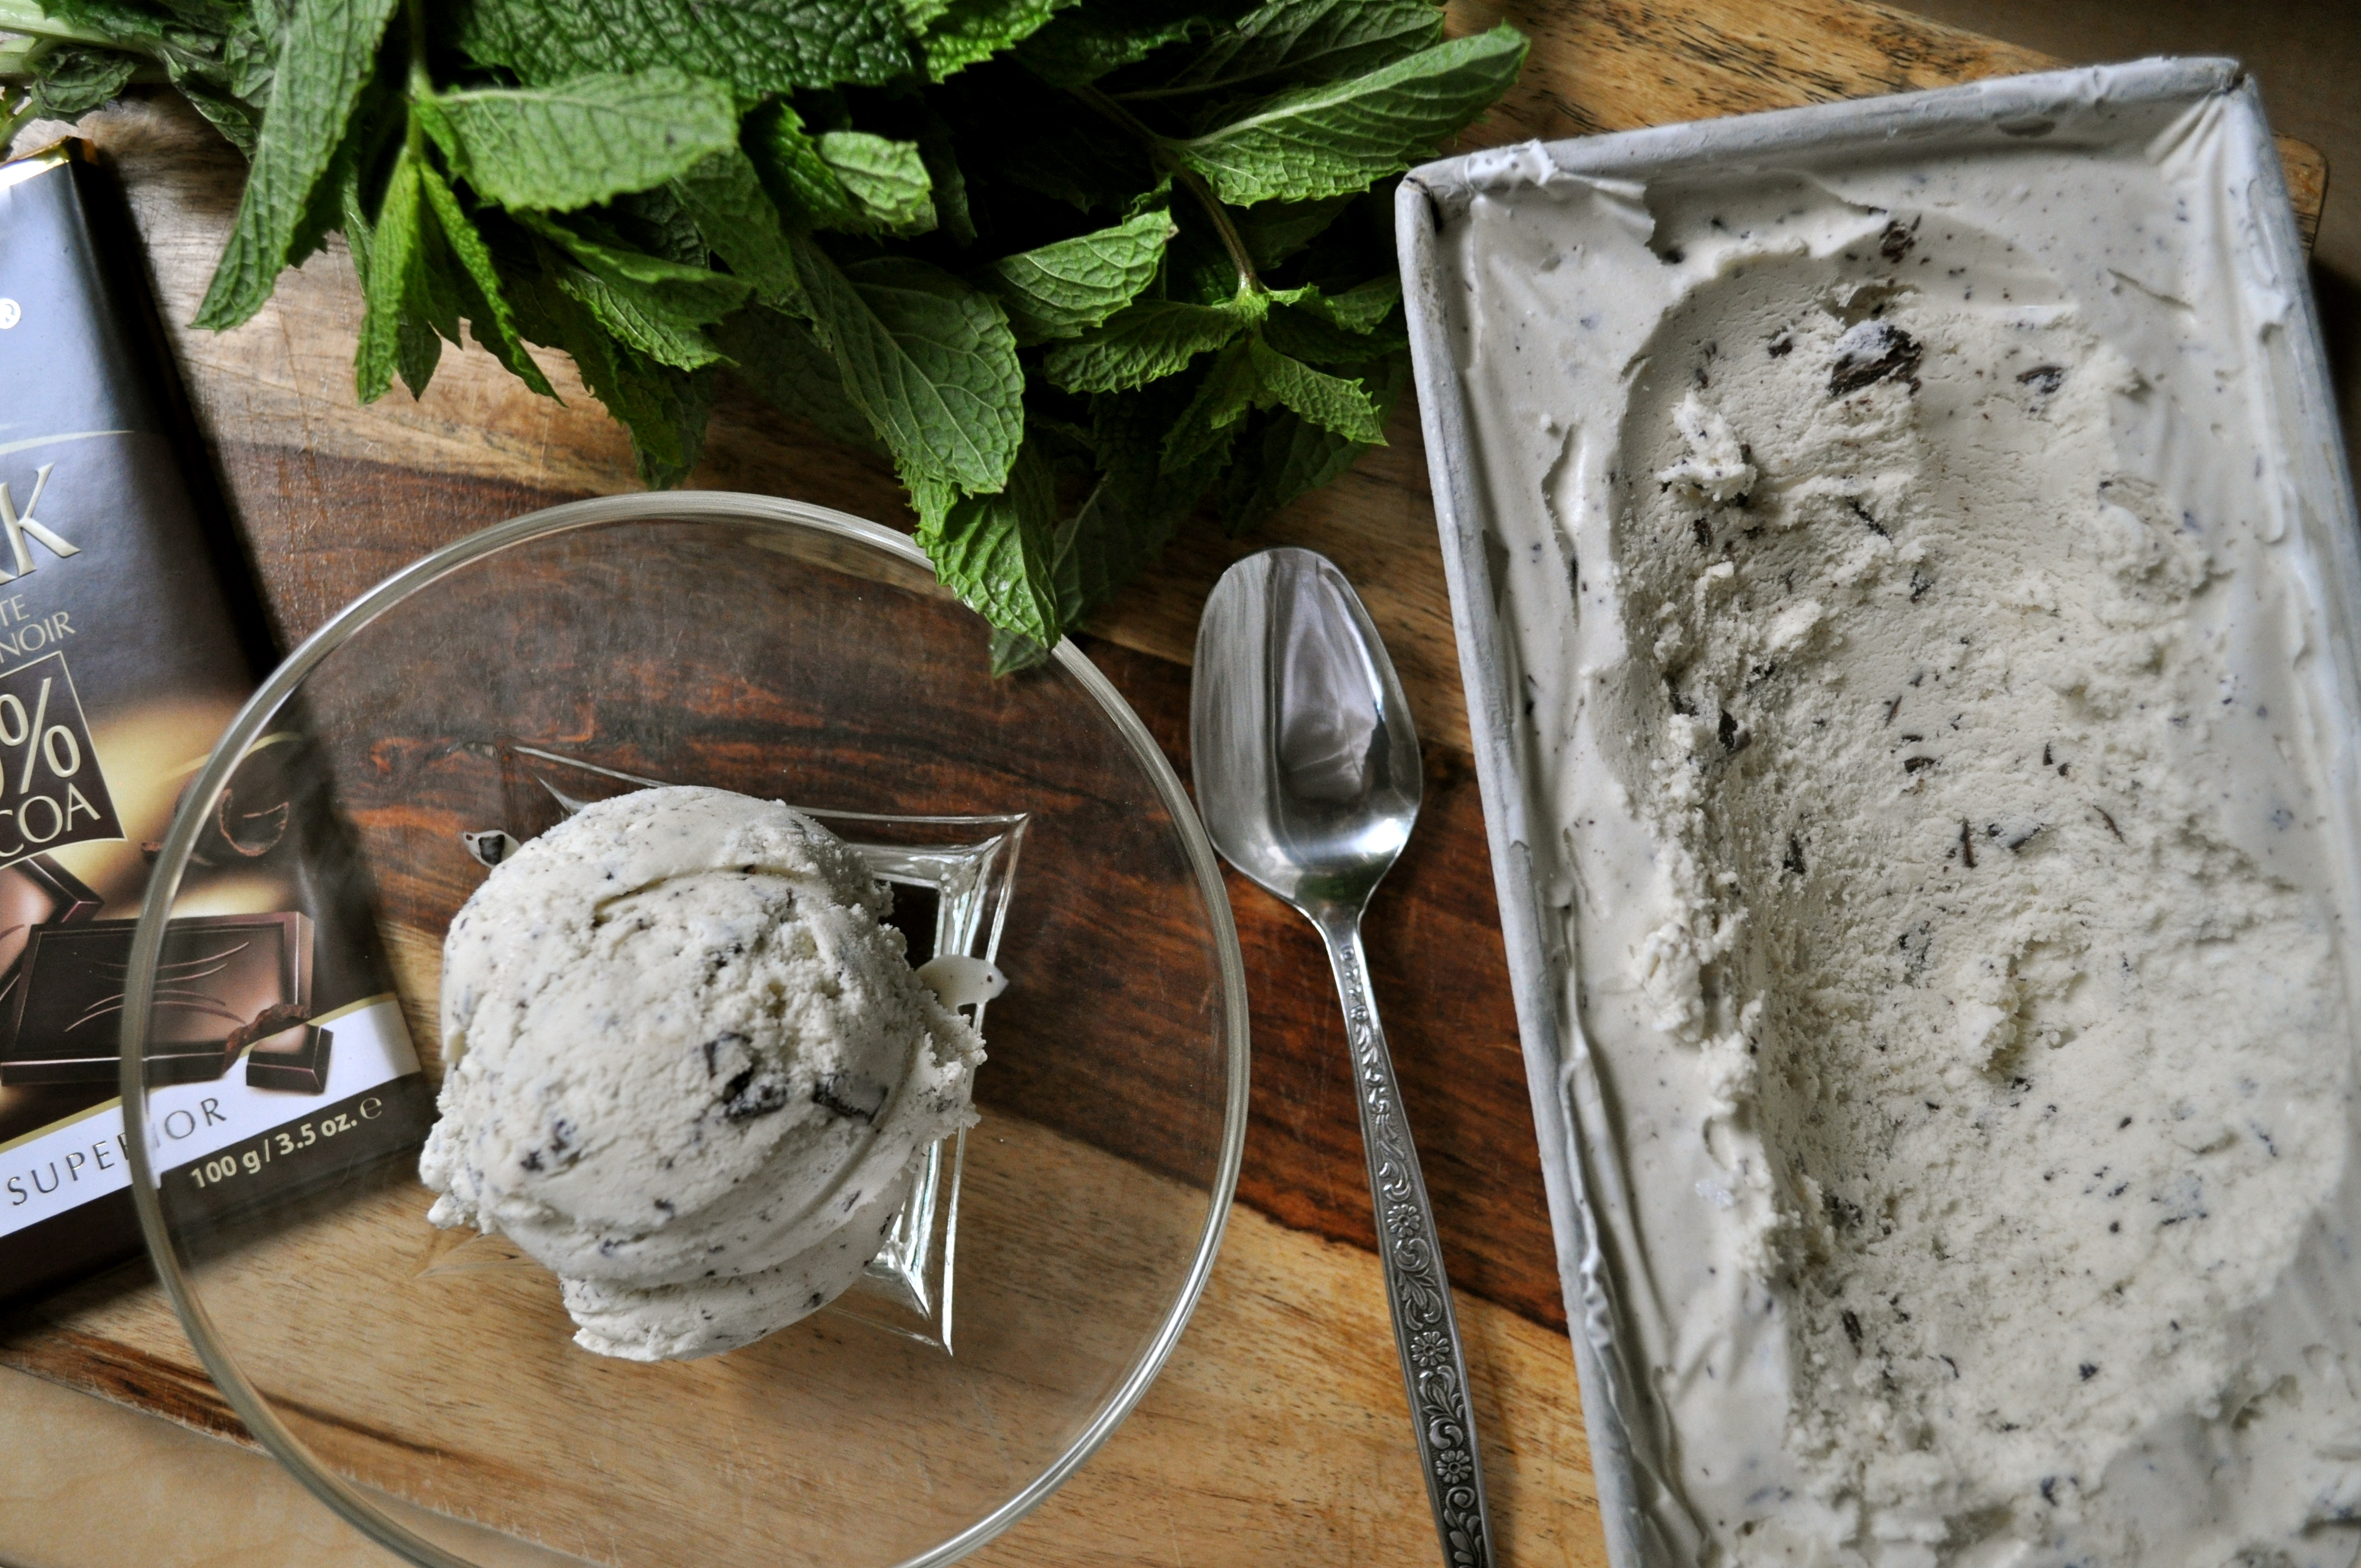
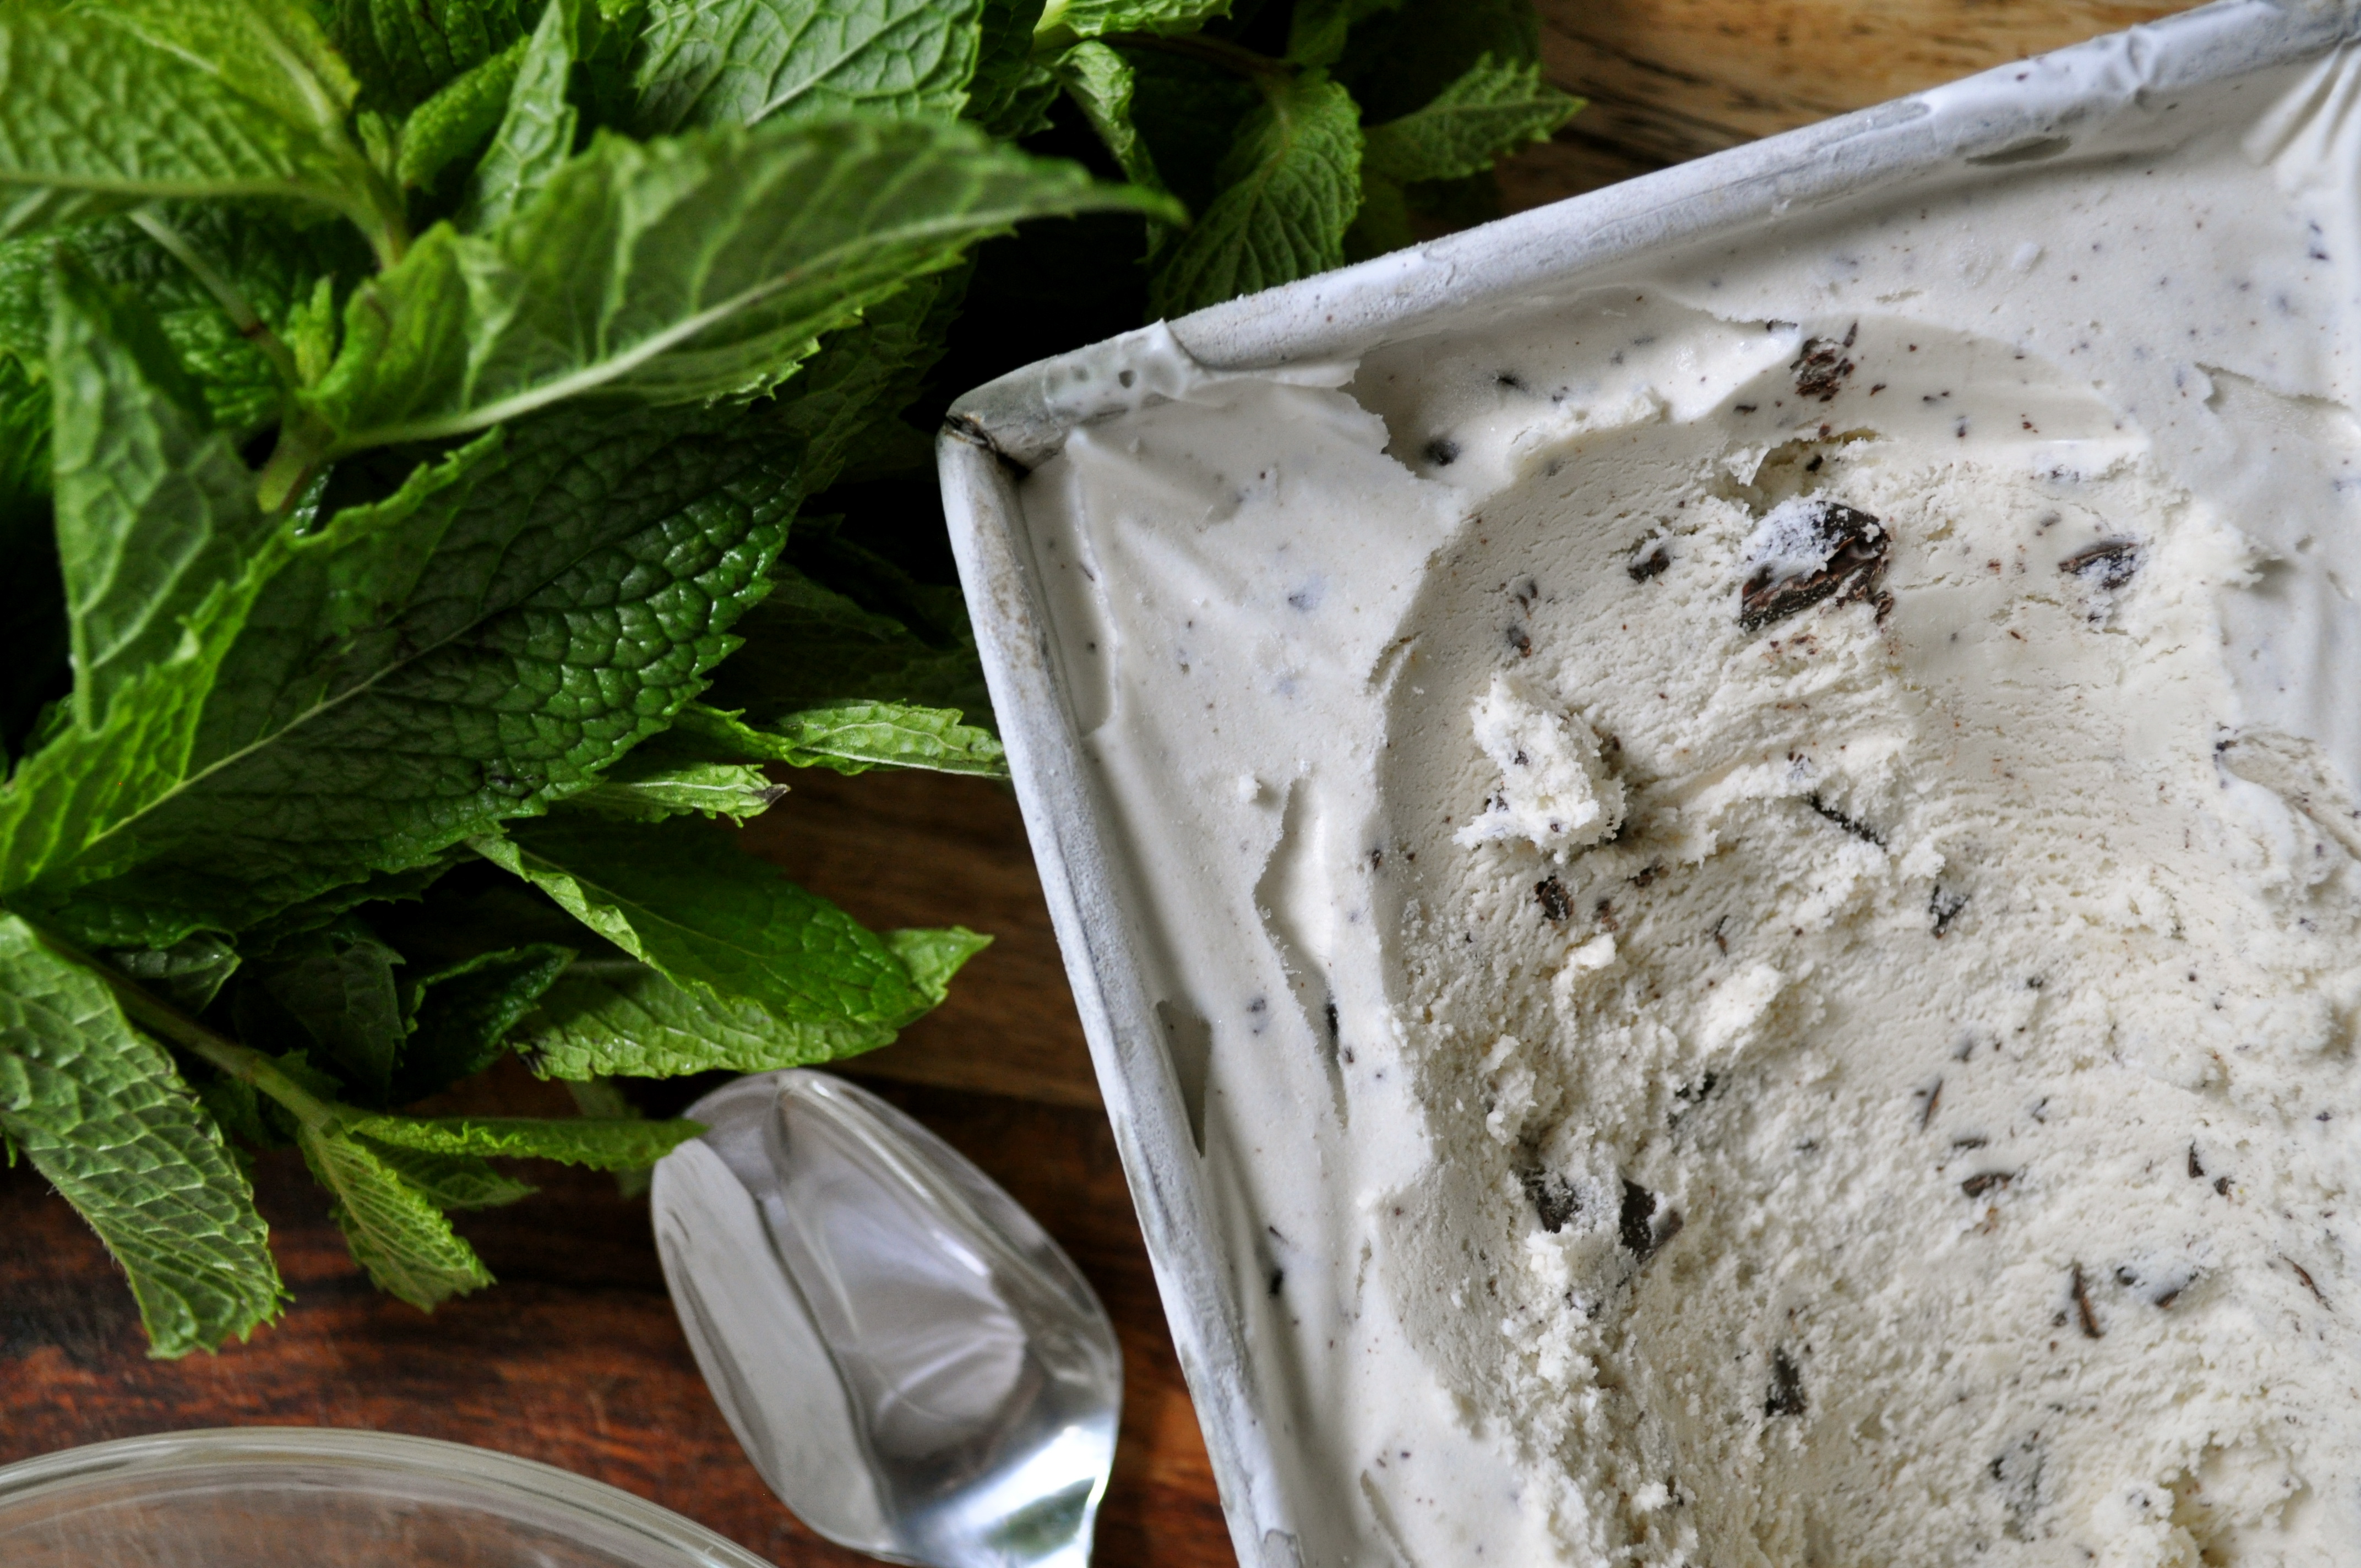
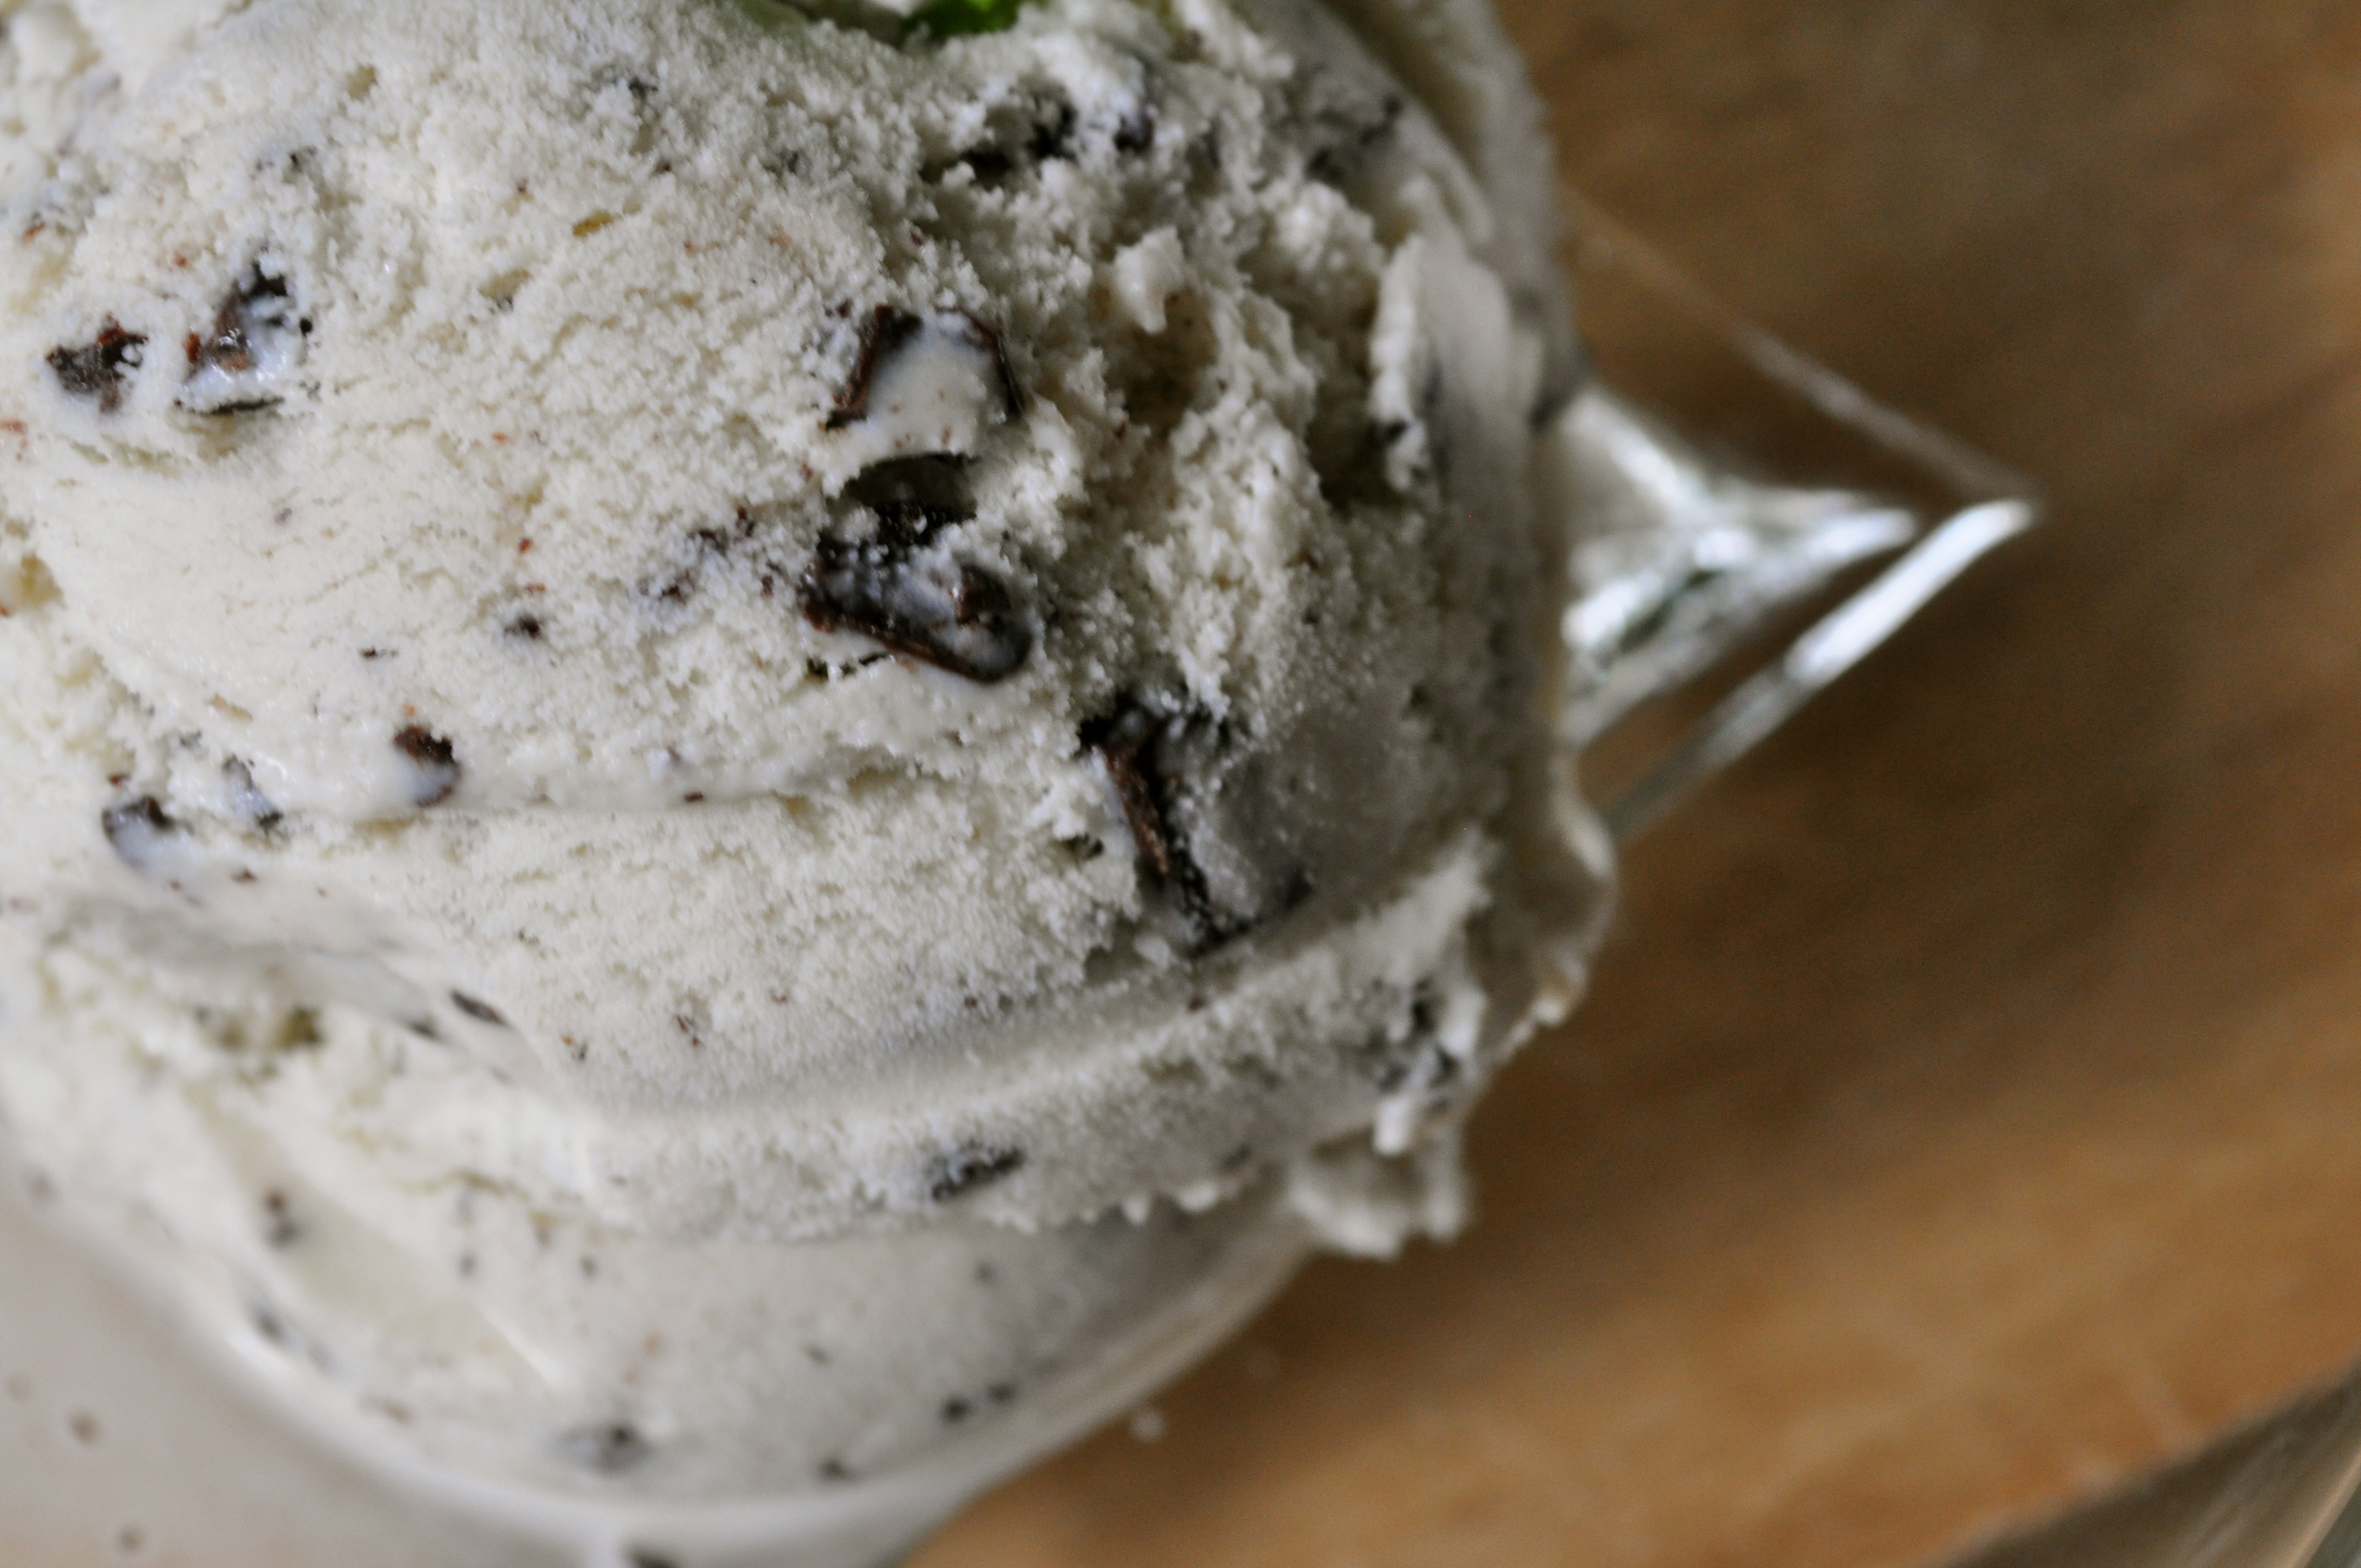
The combination of mint and chocolate has been one of my favorites for a long time, so I immediately began searching for a mint chocolate chip ice cream recipe. Cool, minty ice cream chock full of dark chocolate chunks. And let me tell you…there is nothing quite like a humongous bowl of cold, minty ice cream on a hot summer evening to help cool a person down. Heat wave is an understatement. Let’s just say there’s been much spread eagle, underwear only, fan blasting directly at the bed insomnia sleeping going on lately. Thank goodness for ice cream.

PS. July is National Ice Cream month! Don’t be surprised if you see another ice cream recipe (or two) posted here in the next few weeks. I’ve spotted a recipe for peanut butter ice cream…trouble!

Mint Chocolate Chip Ice Cream (adapted from The Kitchn)

Makes about two quarts.

3 cups fresh mint leaves

4 cups half and half

3/4 cup sugar

A pinch of salt

1 tsp. vanilla

4 egg yolks

6 ounces good quality dark chocolate, chopped

Tear the mint leaves off of their stems and put in a bowl. Pound with a pestle or large spoon just until they are bruised and start to give off their delicious minty fragrance.

In a heavy saucepan over medium heat, whisk together the half and half, sugar, and salt. Heat until the mixture just begins to steam, the remove from heat, add the mint leaves, and cover. Steep for about two hours. Once the mixture has steeped, strain out the mint leaves and bring the mixture to just under a simmer. Whisk the egg yolks together in a small bowl and add a cup of the cream to temper the eggs. Whisk it all back into the saucepan and cook, stirring, until the custard reaches 170º to 174ºF (this only took a couple of minutes for me). Remove from heat and stir in the vanilla. Pour into a bowl, cover, and refrigerate overnight.

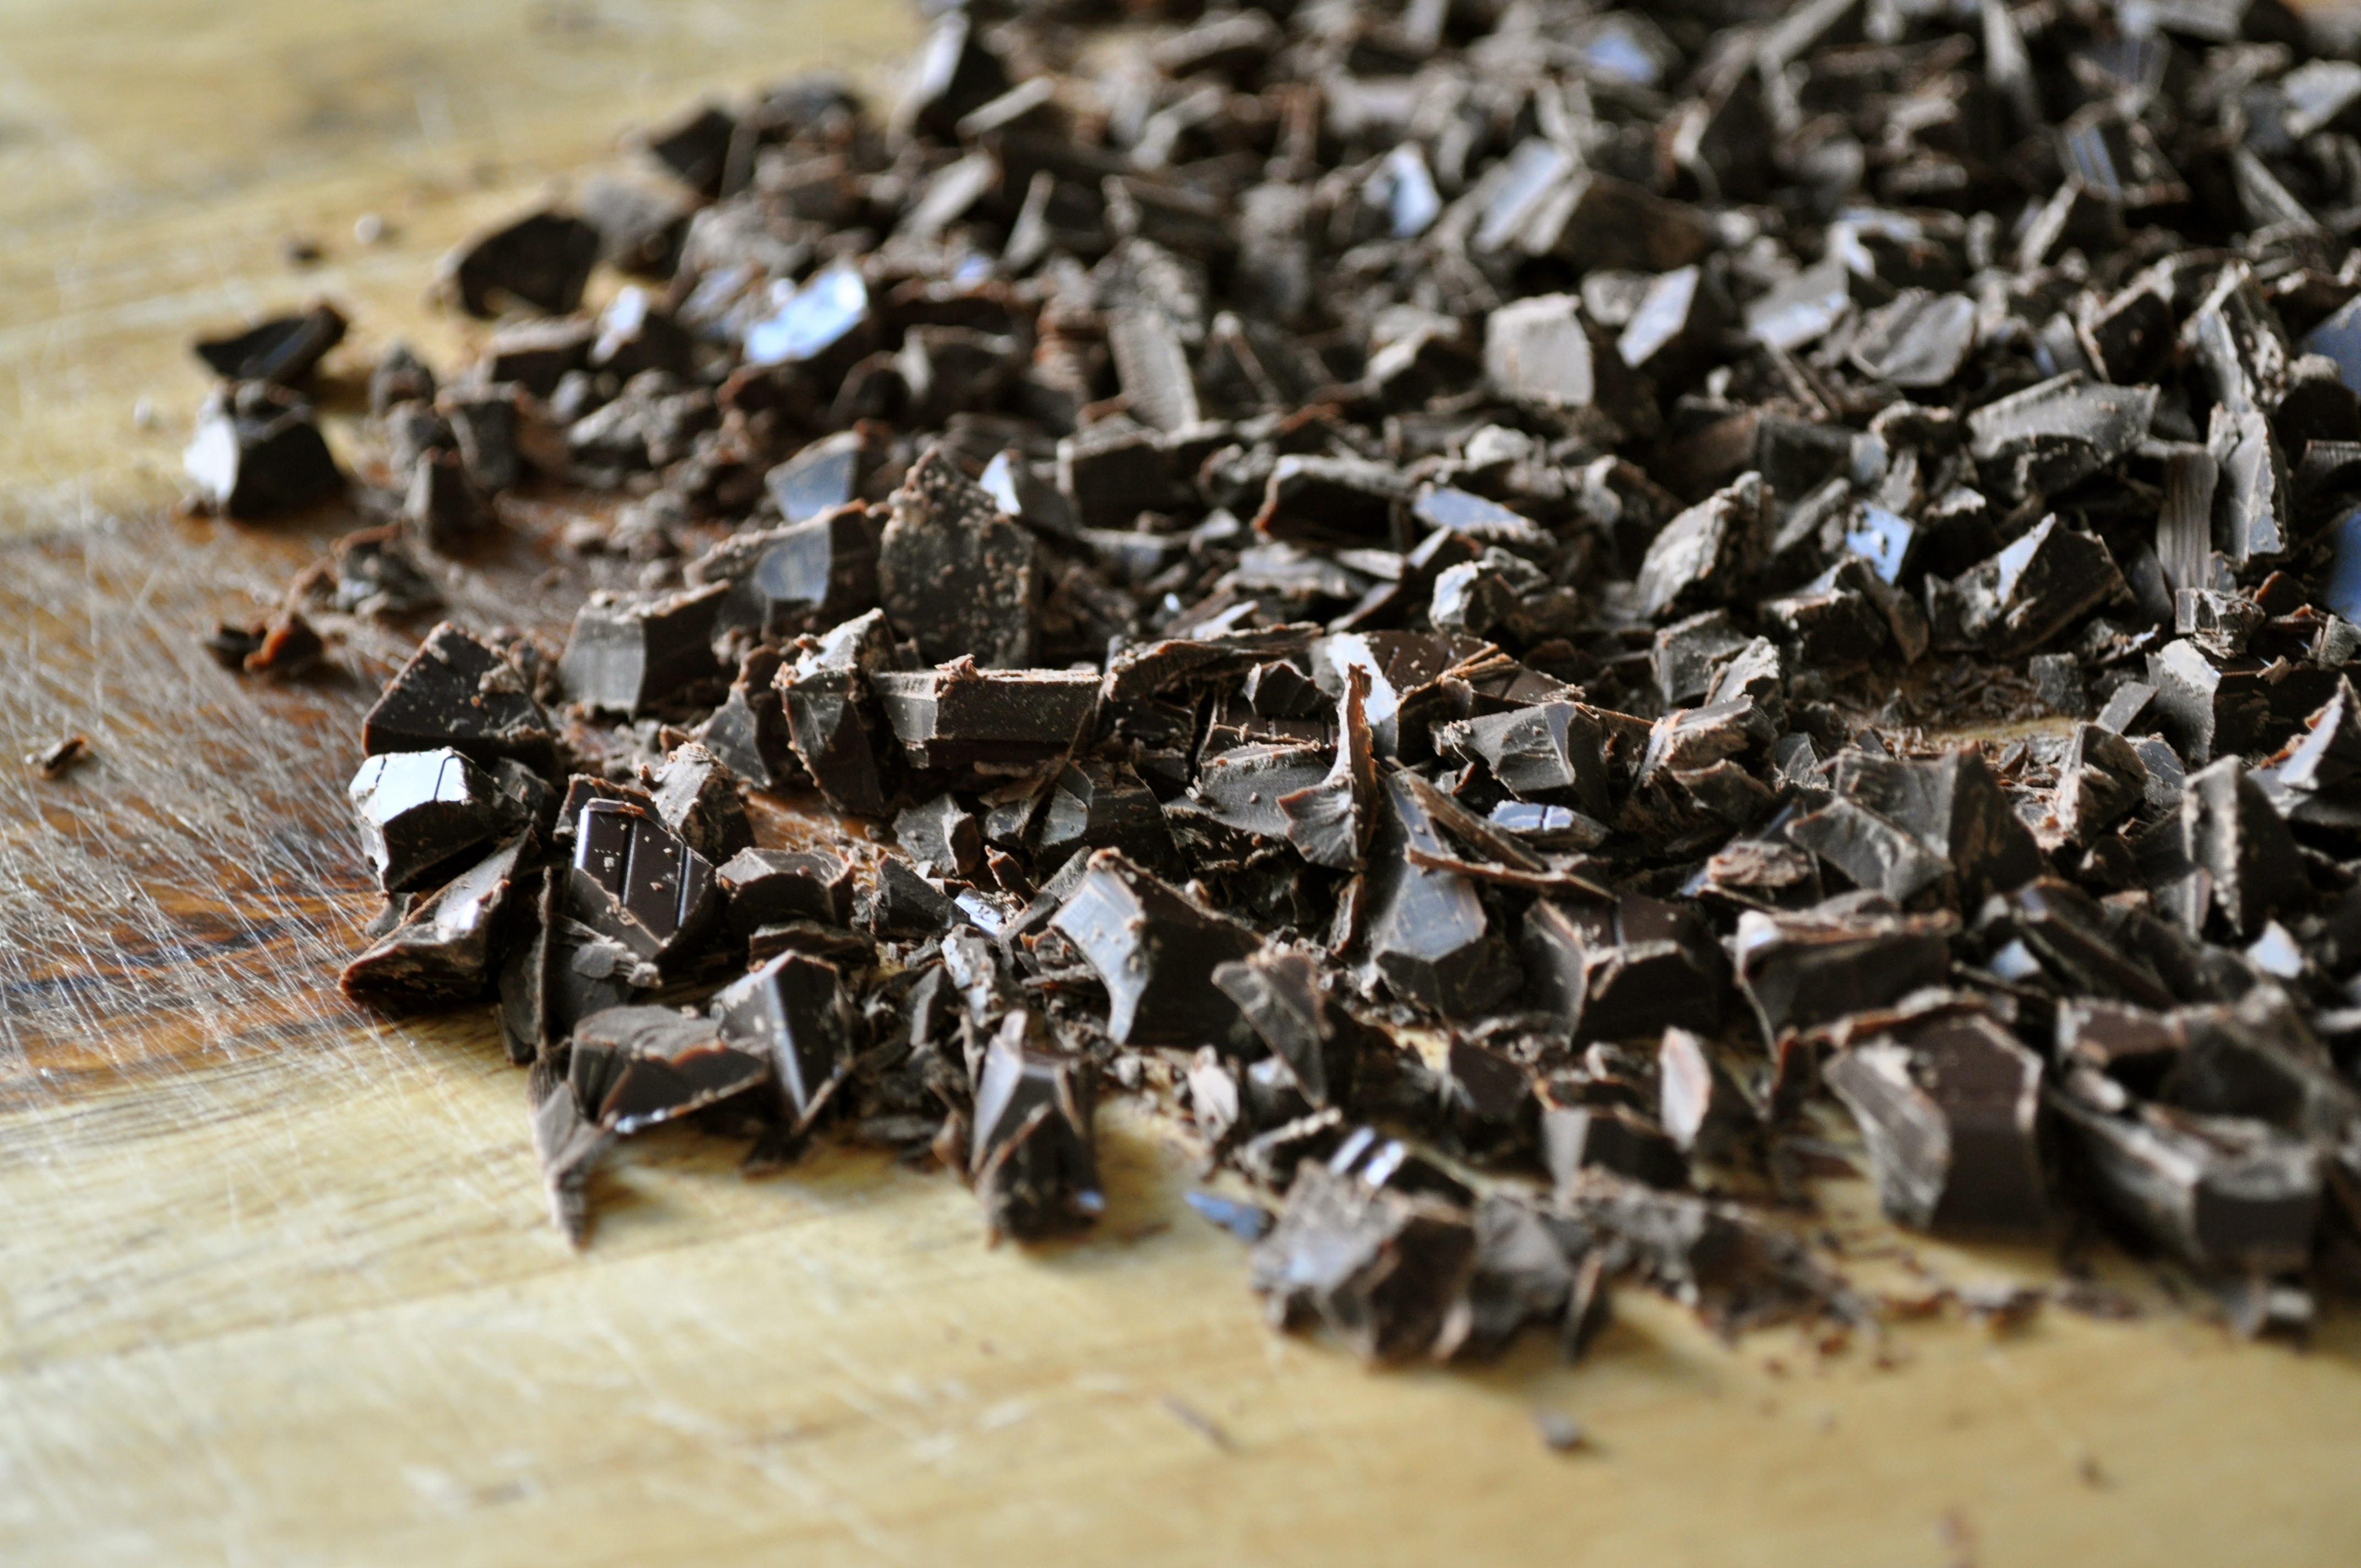
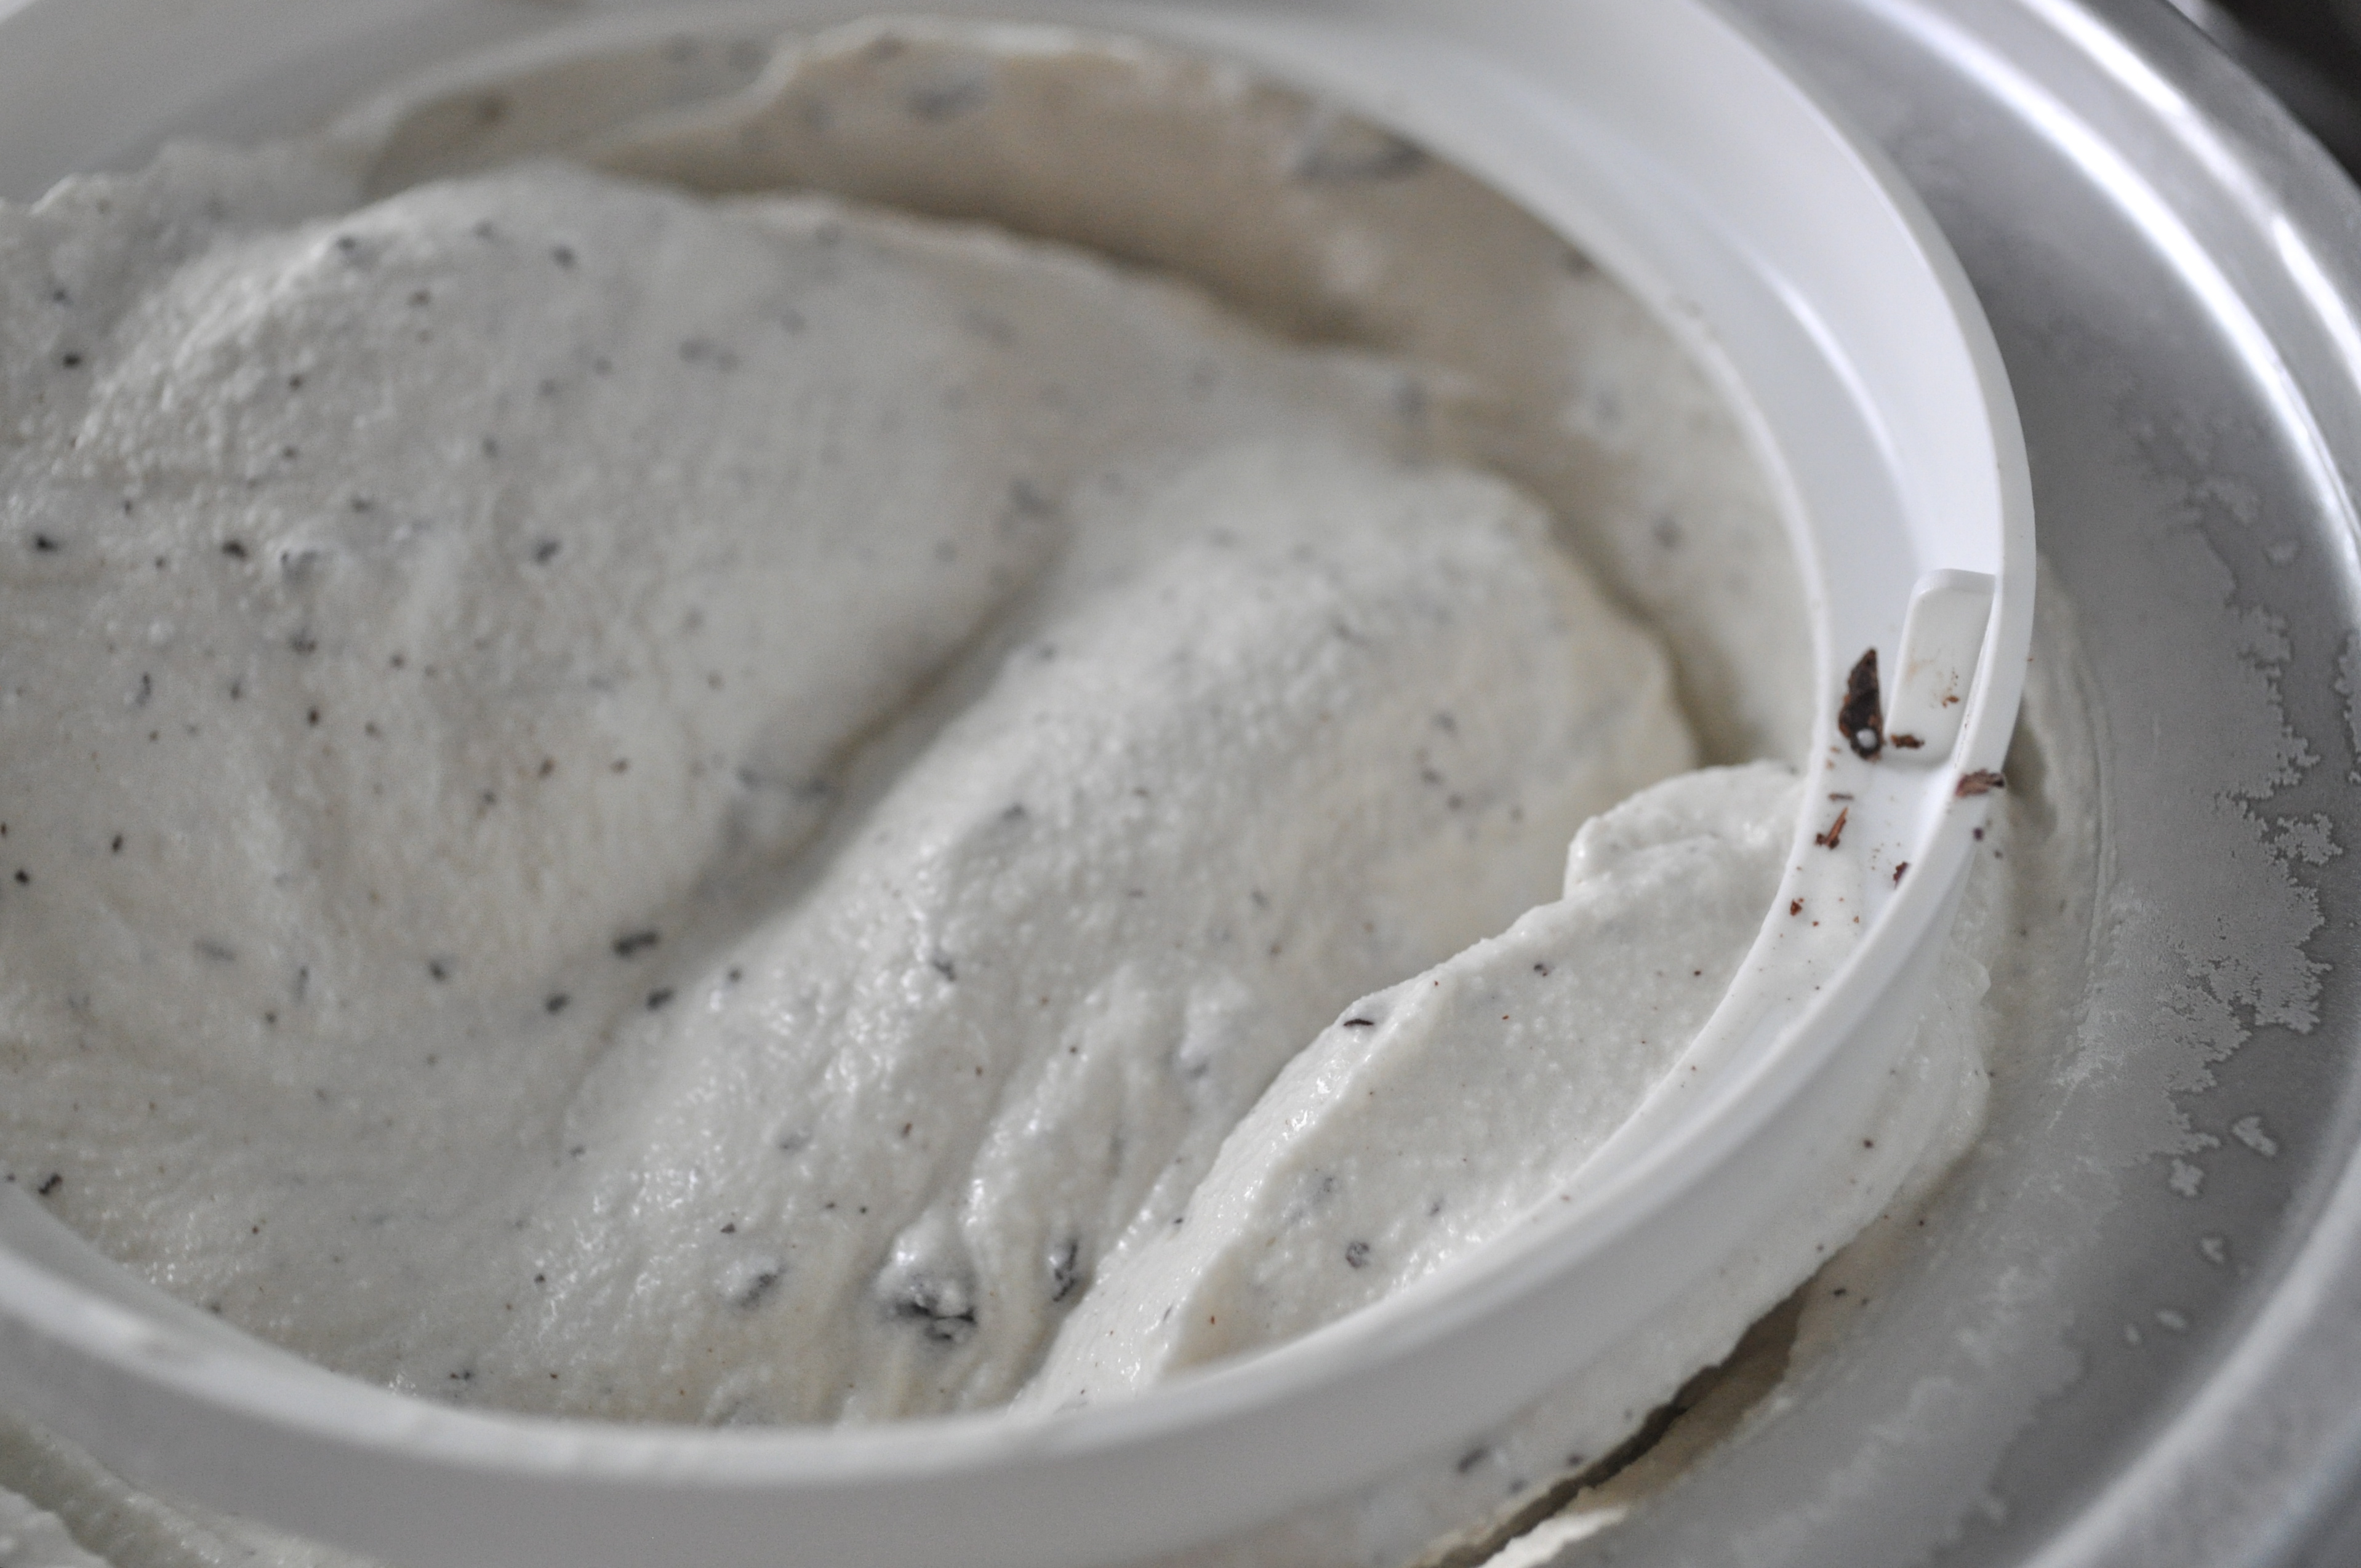
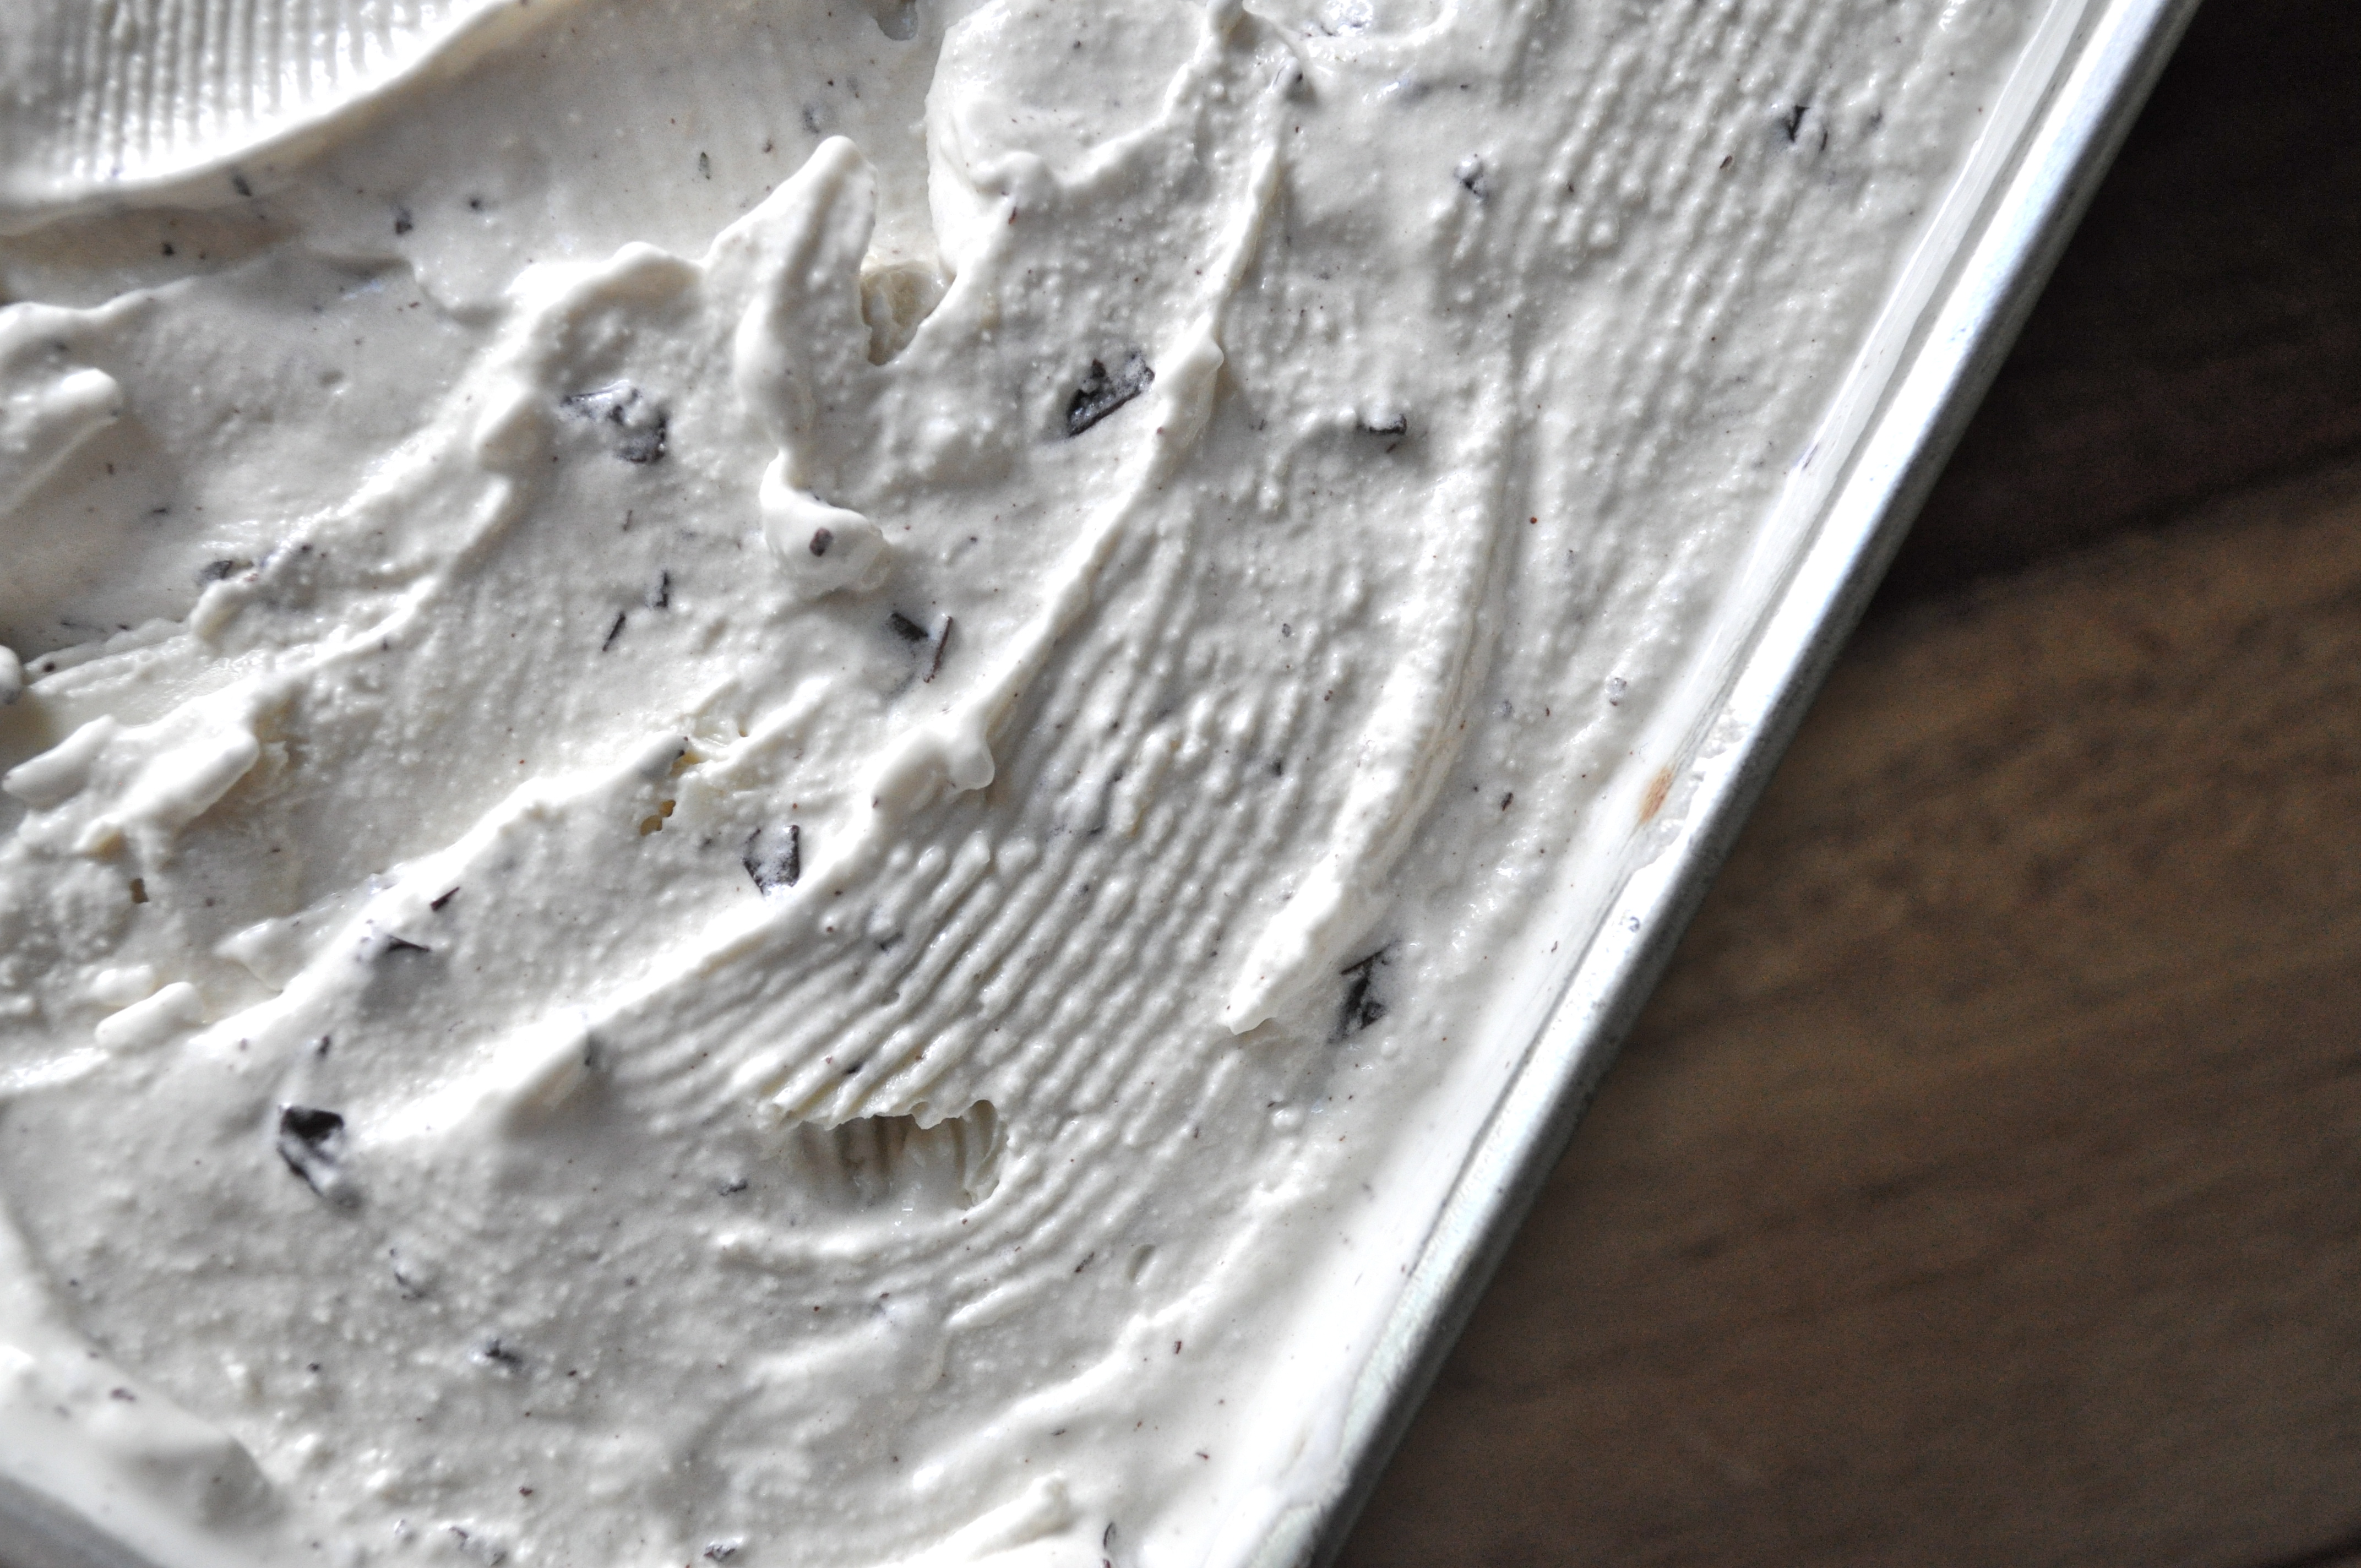
We’re ready to make ice cream! First, chop the chocolate into chunks and set aside. Freeze the custard in your ice cream maker according to directions, adding the chocolate about halfway through. Transfer ice cream to a container and cover with plastic wrap so that the wrap is touching the surface of the ice cream (this will prevent ice crystals from forming). Freeze for at least four hours before serving. Enjoy!

Leaving On a Jet Plane | Chicken, Spinach, and Feta Burgers

All my bags are packed, I’m ready to go…

I’m standing here outside your door (well, I’m actually sitting at my computer)…

I hate to wake you up to say goodbye (but hopefully I’m not waking you, and you’re reading this when it’s convenient for you)…

But the dawn is breakin’, it’s early morn (almost)…

The taxi’s waiting, he’s blowin’ his horn (actually, my mom is picking me up and driving me to the airport)…

Already I’m so lonesome I could die (not really)…I’m pretty excited to visit my BFF in the Big Apple!

I’m leavin’ on a jet plane…

Don’t know when I’ll be back again (next week)…

Oh babe, I hate to go…(like I said, I’m pretty excited)…

You get the drift. I’m blowin’ this popsicle stand! But before I go, I wanted to share a recipe for some mega delicious and simple chicken burgers that I made last week. They were a huge hit with my dinner guest, and I will definitely be making them again and again this summer. I cooked these up on my little countertop grill, but if you’re lucky enough to own a barbecue, get on out there and grill these pups over an open flame. Serve ’em up with homemade fries (potatoes cut into wedges, tossed with olive oil and salt and pepper, and baked at 400°F for about 35-40 minutes) and a salad, and you’ve got yourself a rather spectacular spring/summer meal.

Chicken, Spinach, and Feta Burgers (adapted from Kitchen Parade)

1 pound ground chicken

6 ounces fresh spinach

1/2 cup feta cheese, crumbled

2 tablespoons bread crumbs (I used Panko)

1/2 tsp. garlic powder

1 tsp. dried basil

1/2 tsp. salt

1/2 tsp. pepper

Fresh buns

For toppings: tzatziki sauce, sliced cucumbers, sliced tomatoes

Rinse the spinach leaves in a colander, then place in a bowl in the microwave and cook on high until tender, for about a minute. Let cool, then roughly chop. You could also use frozen spinach that has been thawed and drained.

Combine the spinach, feta, bread crumbs, garlic powder, basil, salt and pepper and mix well. Gently stir in the chicken and form into five burgers (about half an inch thick). Heat a grill pan on medium high, spray with non-stick spray. Cook the burgers for about 5 minutes on each side, or until done. My highly technical method involves cutting into one of the burgers to determine if it’s cooked through. But if you want to get all fancy, go ahead and use a meat thermometer.

To assemble, grab a bun (I toasted mine slightly under the broiler), grab a burger, and pile high with a generous dollop of tzatziki sauce, cucumbers, and tomatoes. Seriously, those are the only toppings you’ll need.

Enjoy friends, and have a wonderful week! 🙂

Happy Labor Day | Grilled Peach Salad with Goat Cheese and Balsamic Reduction

Mother Nature delivered this weekend, just as predicted. The weather was beautiful – warm and sunny with a lovely little Fall breeze. Apparently Summer isn’t quite ready to leave us, and to be honest, I’m glad she stuck around. I spent most of my time outside, reading another good book and browning my skin a little bit more. I hung out with friends at a big BBQ, and strolled along Whyte Avenue in the wee hours of the morning in just a light sweater. I even went for a run yesterday, breaking in my legs for what I hope to be an Autumn filled with cool evenings, perfect for running. There is a 10km run at the end of the month, and it’s calling my name.
Isn’t it interesting how the weather affects appetite? What you want to eat and how you want to prepare it? Just a few days ago I was craving a scone filled with the flavors of Fall, and now all I want to eat is fresh summer fruit and barbequed goodness. Craziness. My uncle just returned from BC and brought with him an enormous amount of fresh peaches to share. What do you do when you’re given 5 dozen fresh peaches? You eat them at every opportunity – breakfast, lunch, and supper. And dessert of course.
This weekend, I made this salad twice. It was so simple, yet so delicious. Grilling the peaches does wild (and good) things to their flavor, and the goat cheese and balsamic reduction are the perfect accompaniment. I could eat this every day. And then I would eat peach pie for dessert. Summer love.

Grilled Peach Salad with Goat Cheese and Balsamic Reduction

4 cups of mixed greens
2 peaches, cut in half and pitted
4 tsp. olive oil, divided
1 cup of goat cheese, crumbled
1/2 cup balsamic vinegar
Salt and pepper, to taste

Fire up your grill to medium high heat. Brush the peaches with 2 tsp. of the olive oil, season with salt and pepper. Grill the peaches, cut side down, for about 4-5 minutes, until lightly charred. Remove from heat and allow to cool slightly. In the meantime, pour the balsamic vinegar into a small saucepan and bring to a boil over medium heat. Allow the balsamic vinegar to reduce, becoming slightly thick and syrupy. This will take about 4-5 minutes. Remove from heat and season with salt and pepper. Prepare the mixed greens by tossing with the remaining olive oil, and seasoning with salt and pepper. To plate the salad, fill each plate with about 1 cup of the mixed greens. Slice each peach half into 4, and place over the greens. Sprinkle with the crumbled goat cheese, and drizzle with the balsamic reduction. Enjoy! Serves 4.

Summer Lovin’ | Warm Balsamic Vegetable Salad with Feta and Basil

Spring is here. I can feel it.

I can smell it.

I can taste it.

Vegetables and fruits are starting to taste the way they are supposed to. I’m starting to crave lighter meals rather than hearty stick-to-your-bones soups and stews that warm you to your core. And best of all, it is possible to BBQ again. Meaning: 1) My BBQ is not buried beneath 3 feet of snow, and 2) I’m not at risk for catching hypothermia while standing next to it.

Hallelujah.

Honey and I bought a BBQ off of Kijiji for $100 last summer. Most awesome purchase ever. Minus the fact that it didn’t work when we tried to use it for the first time. Honey is such a handyman, he fixed it and we were in BBQ Bliss shortly thereafter. I love the flavors that the BBQ brings out in food. Flavors that just can’t be replicated in an oven or on a ceramic stovetop. Grilling vegetables is one of my favorite things to do on the BBQ. Just a little olive oil, some salt and pepper, and the magic of an open flame. We often eat our veggies this way throughout the summer.

And then I discovered this salad.

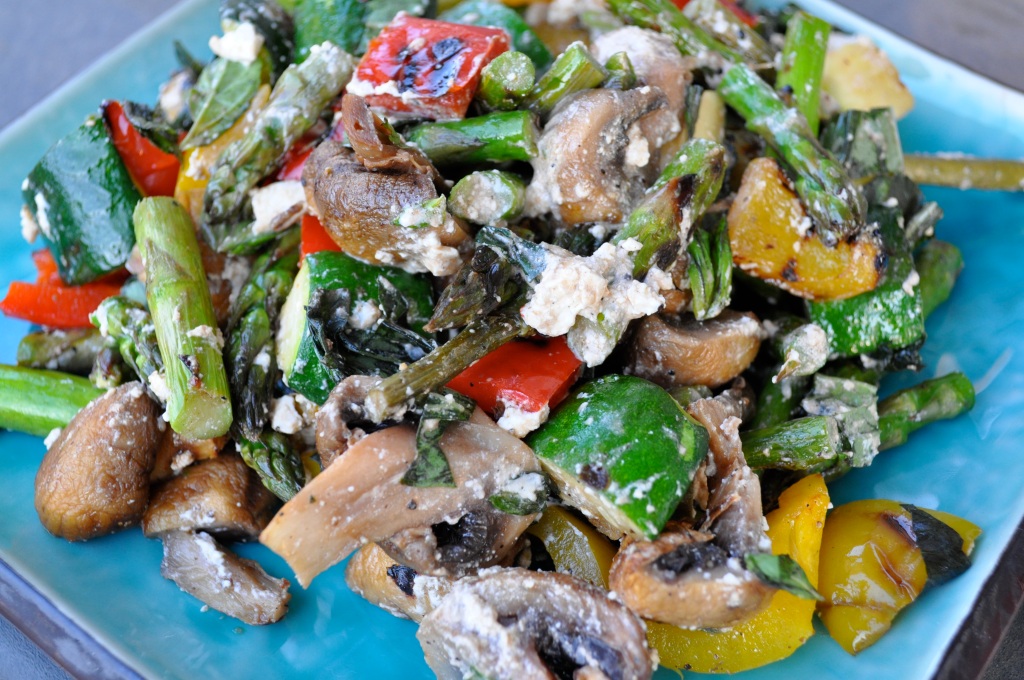
Veggies are grilled on the BBQ, then cut up into bite size chunks, tossed with a little balsamic vinegar and fresh basil, and topped with feta cheese. Oh. My. Mouthwateringly delicious. Please try this at your next available opportunity. And if you don’t own a BBQ, roast your veggies in the oven or cook on your stovetop, or on a little countertop grill. But I’m telling you, the BBQ = Bliss. You heard it here first.

Warm Balsamic Vegetable Salad with Feta and Basil 

Serves 4.

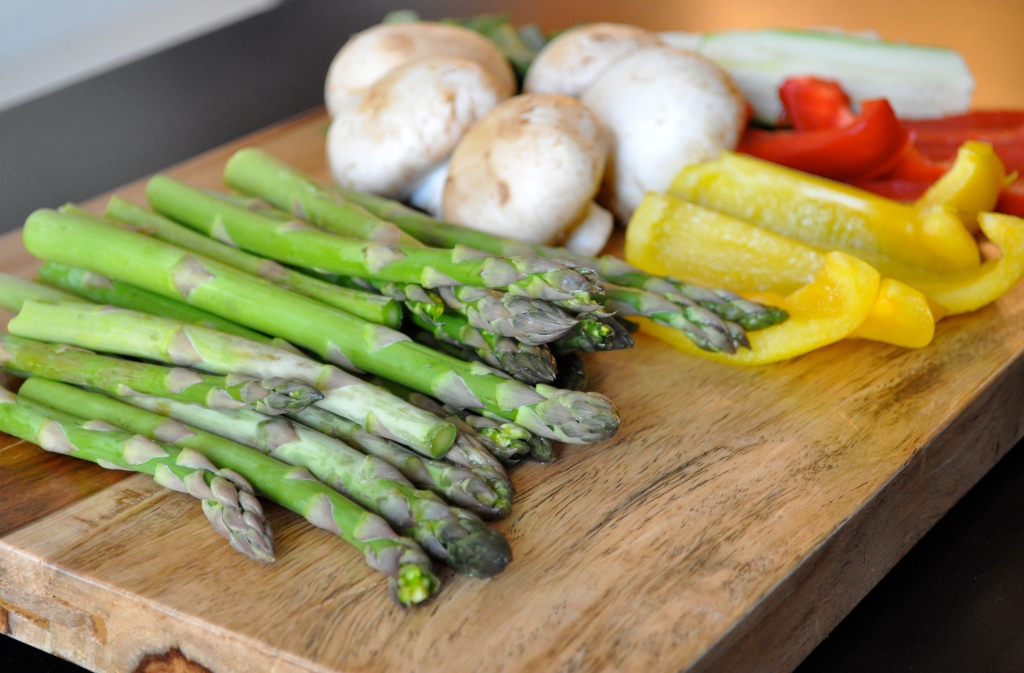
1/2 pound of asparagus

1/2 red pepper, sliced into 4 parts

1/2 yellow pepper, sliced into 4 parts

1 zucchini, sliced in half, then lengthwise into quarters

6 big white mushrooms

A splash of olive oil

Salt and pepper, to taste

1/2 cup chopped fresh basil

2 TBSP. balsamic vinegar

1/4 cup of crumbled feta cheese

Toss your prepared veggies in the olive oil and sprinkle generously with salt and pepper. Heat your grill to medium high and throw the veggies on. Watch them closely, turning every couple of minutes until al dente. Grill marks = beauty. Turn your grilled veggies onto a cutting board and chop them into bite-size pieces. In a large bowl, combine the chopped veggies with the basil and balsamic vinegar. Sprinkle with feta cheese. Chow down with still warm!

The beauty of this salad is that you can make as much or as little of it as you like. Just adjust the balsamic vinegar, basil, and feta accordingly. You can also change up the veggies if you prefer.