Here Comes The Sun | Orange Strawberry Muffins

Happy Mother’s Day to all of the wonderful mamas out there! I was able to spend the morning with my fabulous mama, and celebrated her with the most fabulous cinnamon buns ever. In fact, those present at our little brunch exclaimed that they were the best cinnamon buns they had ever tasted. Don’t worry, I will share later this week, but I’m going to hold out on you for now. I have been meaning to share this muffin recipe for a couple of weeks now, and little old life has gotten in the way of me doing so. Spring brings with it the start of many outdoor activities, like soccer and Ultimate frisbee, and at present three of my weeknights are occupied with these activities. Little Miss Bella is in love with this new season, and its new sights and smells, and we are trying to let her enjoy it as much as possible. This means long evening walks, playing fetch in the park, and joining honey and I on the occasional run. When is a girl supposed to blog with that schedule?

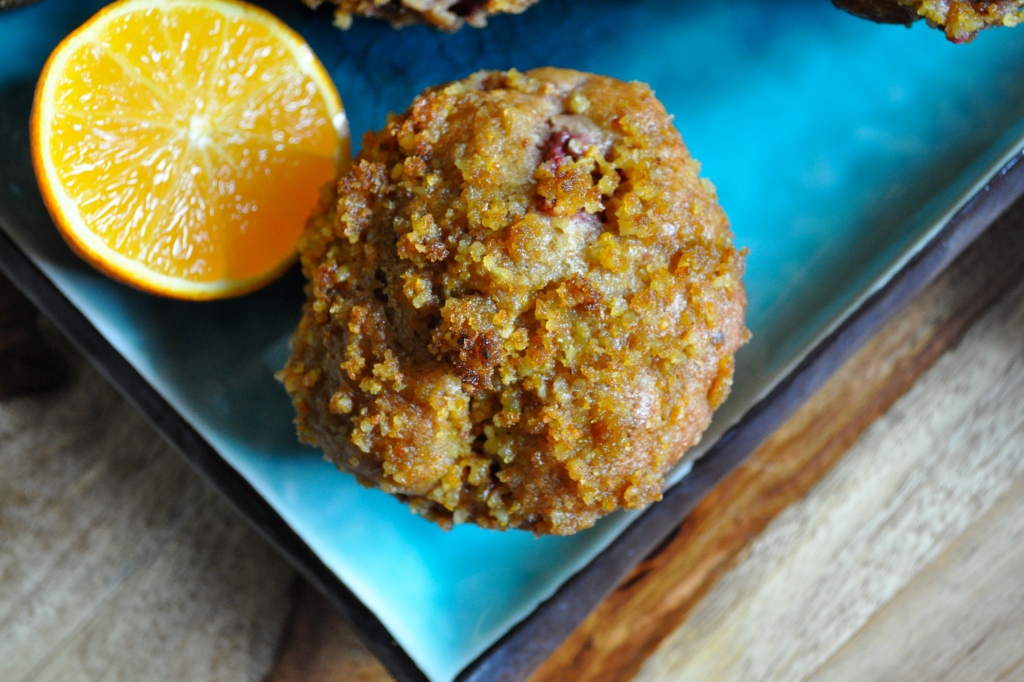
My papa spends his winters in Phoenix to escape the frigid Canadian weather, and when he returned in April, he brought back with him 600…yes, six hundred oranges. Six hundred of the most juicy, sweet, amazing oranges I have ever tasted. He threw about 40 oranges my way, and I enjoyed several oranges per day for the first few days before I soon realized that I would not be able to consume all of those delicious oranges before they were past their prime. So I scoured recipe books, foodie magazines, and blogs for some orange recipes. One failed orange cake (which used 12 oranges!) and a batch of orange butter (think lemon butter, but with oranges) later, I stumbled upon this recipe for Orange Strawberry Muffins. I was intrigued by a few aspects of the recipe, including the almond topping and the addition of strawberries. These muffins baked up tender and sweet, with a lovely little hit of orange flavor. And they are quite healthy in comparison to other muffin recipes out there. Give these muffins a try if you’re looking for something a little bit different than the every day muffin. They just might be that little ray of sunshine that gets the day off to a good start.

Orange Strawberry Muffins (slightly adapted from eatingwell.com)

3/4 cup all-purpose flour

1 cup whole wheat flour

2 tsp. baking powder

1 tsp. baking soda

1/4 tsp. salt

1/2 cup brown sugar

2 tsp. orange zest

1/4 cup canola oil

3/4 cup buttermilk

1/4 cup orange juice

1 egg

1 tsp. vanilla

1 1/2 cups chopped fresh or frozen (not thawed) strawberries

Topping:

3 TBSP. almonds

2 TBSP. flour

2 TBSP. brown sugar

1 tsp. orange zest

1/4 tsp. salt

2 TBSP. canola oil

Preheat the oven to 400°F. Prepare a 12-cup muffin tin (with cooking spray or muffin liners). In a food processor, combine the almonds, 2 TBSP. all-purpose flour, 2 TBSP. brown sugar, 1 tsp. orange zest and 1/4 tsp. salt and pulse until finely ground. Transfer to a small bowl, add the 2 TBSP. oil and stir to combine. Set aside.

In a large bowl, whisk together the 3/4 cup all-purpose flour, whole-wheat flour, baking powder, baking soda and the remaining 1/4 teaspoon salt. In a separate bowl, combine the remaining 1/2 cup brown sugar, 2 tsp. orange zest, 1/4 cup oil, buttermilk, orange juice, egg, and vanilla and mix well. Make a well in the center of the dry ingredients and pour in the wet ingredients; stir until just moistened. Add the strawberries; stir just to combine. Divide the batter among the prepared muffin cups. Sprinkle generously with the topping.

Bake the muffins until golden brown and a toothpick inserted in the center comes out clean, about 18 to 20 minutes. Let cool on a wire rack for at least 15 minutes before serving.

Happy eating!


Summer Lovin’ | Warm Balsamic Vegetable Salad with Feta and Basil

Spring is here. I can feel it.

I can smell it.

I can taste it.

Vegetables and fruits are starting to taste the way they are supposed to. I’m starting to crave lighter meals rather than hearty stick-to-your-bones soups and stews that warm you to your core. And best of all, it is possible to BBQ again. Meaning: 1) My BBQ is not buried beneath 3 feet of snow, and 2) I’m not at risk for catching hypothermia while standing next to it.

Hallelujah.

Honey and I bought a BBQ off of Kijiji for $100 last summer. Most awesome purchase ever. Minus the fact that it didn’t work when we tried to use it for the first time. Honey is such a handyman, he fixed it and we were in BBQ Bliss shortly thereafter. I love the flavors that the BBQ brings out in food. Flavors that just can’t be replicated in an oven or on a ceramic stovetop. Grilling vegetables is one of my favorite things to do on the BBQ. Just a little olive oil, some salt and pepper, and the magic of an open flame. We often eat our veggies this way throughout the summer.

And then I discovered this salad.

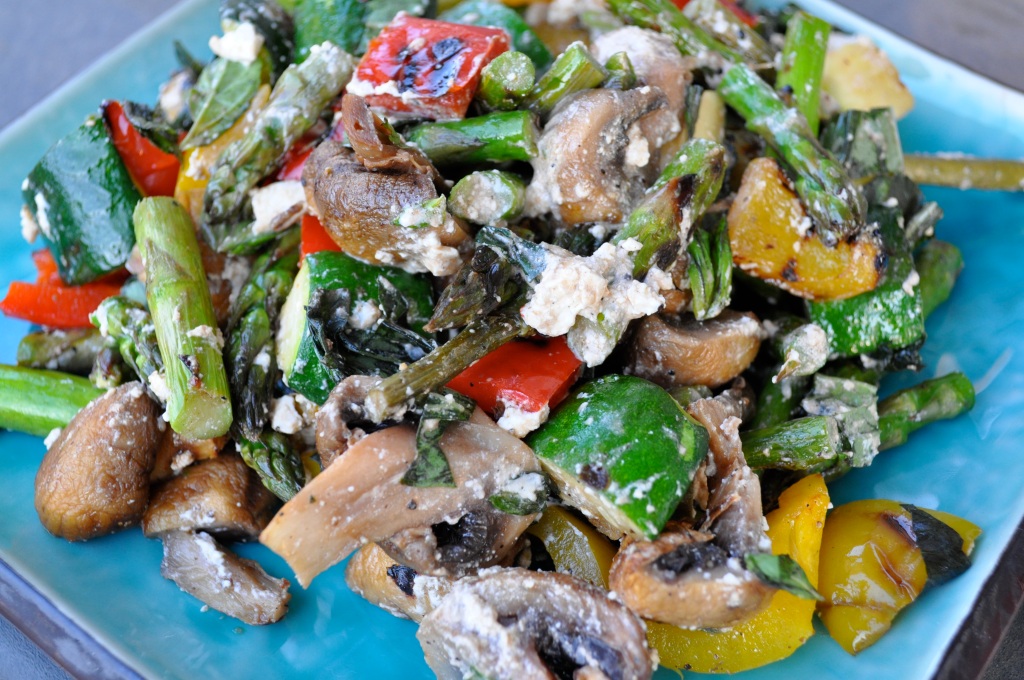
Veggies are grilled on the BBQ, then cut up into bite size chunks, tossed with a little balsamic vinegar and fresh basil, and topped with feta cheese. Oh. My. Mouthwateringly delicious. Please try this at your next available opportunity. And if you don’t own a BBQ, roast your veggies in the oven or cook on your stovetop, or on a little countertop grill. But I’m telling you, the BBQ = Bliss. You heard it here first.

Warm Balsamic Vegetable Salad with Feta and Basil 

Serves 4.

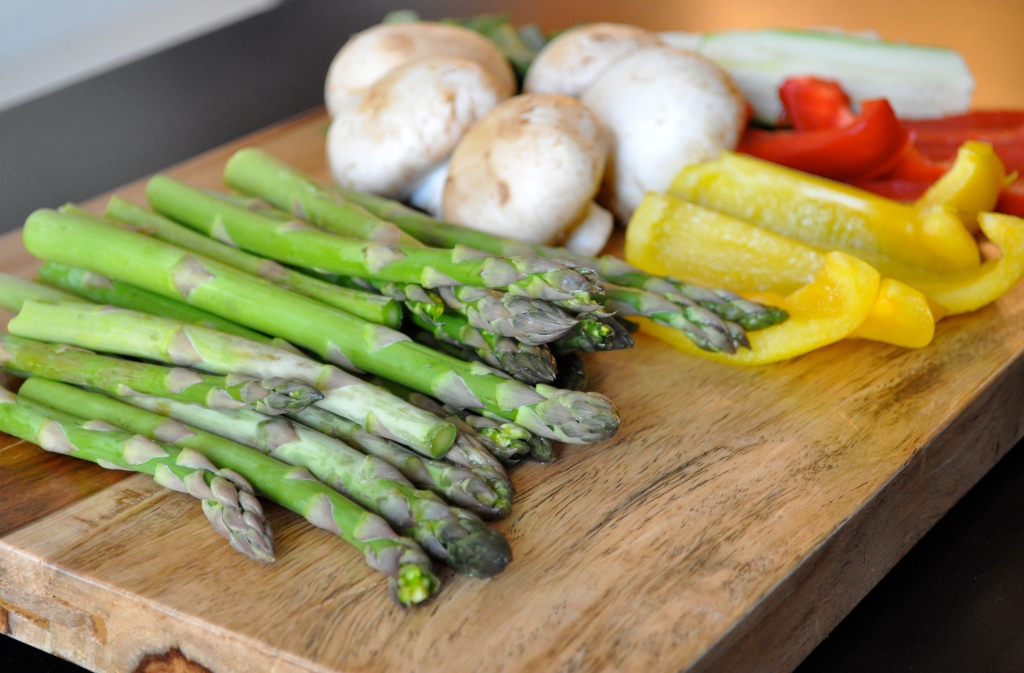
1/2 pound of asparagus

1/2 red pepper, sliced into 4 parts

1/2 yellow pepper, sliced into 4 parts

1 zucchini, sliced in half, then lengthwise into quarters

6 big white mushrooms

A splash of olive oil

Salt and pepper, to taste

1/2 cup chopped fresh basil

2 TBSP. balsamic vinegar

1/4 cup of crumbled feta cheese

Toss your prepared veggies in the olive oil and sprinkle generously with salt and pepper. Heat your grill to medium high and throw the veggies on. Watch them closely, turning every couple of minutes until al dente. Grill marks = beauty. Turn your grilled veggies onto a cutting board and chop them into bite-size pieces. In a large bowl, combine the chopped veggies with the basil and balsamic vinegar. Sprinkle with feta cheese. Chow down with still warm!

The beauty of this salad is that you can make as much or as little of it as you like. Just adjust the balsamic vinegar, basil, and feta accordingly. You can also change up the veggies if you prefer.

Dip It | Curried Cream Cheese Dip with Dried Cranberries, Pine Nuts, and Green Onion

Hello friends! Happy Monday. I hope you all had a lovely Easter/spring weekend filled with family, friends, good food, and sunshine. I sure as heck did. If you ate half as much food and chocolate as I did, you have probably been swimming in a food/sugar coma state, like me. And could there possibly be a better cure for such a coma than perusing and drooling over a new recipe? I think not.

Especially when it is an attack-the-tastebuds-in-a-good-way recipe. Enter this seemingly complex, colorful, flavor explosion dip.

Explaining this dip with words is impossible. But I’ll try anyway. It’s creamy, tangy, sweet, and spicy all at once. Plus chewy from dried cranberries and crunchy from toasted pine nuts. I first tried it at a work potluck a couple of years ago, but only recently rediscovered it. I don’t know where the recipe came from, or what the real name of this creation is, so I am calling it like it is.

Take this dip to your next potluck or serve it at your next party. Your guests won’t know what hit ’em.

In a good way of course.

Curried Cream Cheese Dip with Dried Cranberries, Pine Nuts, and Green Onions

8 ounces cream cheese, softened

2 tsp. curry powder

2 tsp. ground cumin

1/2 cup red pepper or red chile jelly, divided

1/4 cup dried cranberries

1/4 cup pine nuts, toasted

1/4 cup green onions, chopped (about 3 green onions)

Combine the cream cheese, spices*, and 3 TBSP. of the jelly until smooth. An electric or hand mixer will make this easy. Spread the mixture into the bottom of a shallow dip dish (roughly 5″ x 7″). Spread the remaining jelly over top of the cream cheese mixture. Combine the dried cranberries, pine nuts, and green onions in a small bowl to mix, then sprinkle evenly over top of the dip. Chill until you serve. I think this dip tastes great with plain rice crackers, but any small cracker will do! Enjoy!

*You can adjust the amount of curry powder and cumin depending on the level of flavor you would like. If you don’t want such strong flavors, use just 1 tsp. of each. If you want the flavors to be very intense you can use up to 1 TBSP. of each, but I find 2 tsp. of each to be a happy medium.


What are some of your favorite potluck or appetizer recipes?

Hello BBQ Season | Southwestern Black Bean Burgers

Black beans have been making many appearances on this little blog of mine lately, I just noticed. What can I say, I must be a fan of sources of dietary fiber and antioxidants. Black beans are also very versatile, partnering well with many different ingredients and flavors. I came across this recipe for Southwestern Black Bean burgers last summer when perusing one of my favorite blogs, Everybody Likes Sandwiches. My vegetarian best friend, and her vegetarian husband were coming over for dinner, and I wanted to knock their socks off with a delicious and unique vegetarian entree.

Despite a couple of failures during the assembly phase (a food processor that died halfway through its duties, and a new BBQ that wouldn’t work), the burgers came together in the end and were incredible! Great flavor, awesome texture, and easily adaptable to various toppings. I served the burgers with fresh avacado and tomato, salsa, and a chili-lime mayonnaise that I whipped up at the last moment. Coupled with homemade baked fries, the meal was a hit. However, these could easily be topped with run-of-the-mill burger condiments (ketchup, mustard, relish, even cheese), and would still be dynamite. You can throw the burgers on the BBQ or cook them stovetop, whichever you prefer. Keep this recipe in mind for your BBQs this season!

Southwestern Black Bean Burgers (adapted from Everybody Likes Sandwiches)

2 cans of black beans, drained and rinsed
4 cloves garlic, chopped
1 TBSP. cumin
2 TBSP. chili powder
1/4 tsp. cayenne powder (more if you like it spicy)
A few dashes of your favorite hot sauce (ie. tobasco)
1/2 tsp. salt
3 TBSP. greek low-fat yogurt
3/4 cup oat bran
1/4 cup wheat germ
1 TBSP. ground flax seeds
1/4 cup fresh cilantro, chopped
Juice of 1 lime
8 hamburger buns, warmed

Blend together 1 can of beans, garlic, yogurt and spices in a food processor or blender. Dump into a bowl and add the second can of beans, oat bran, wheat germ, flax, cilantro and lime. Stir everything together until well mixed. If your mixture is too soft to form patties, add a little bit more oat bran. If it is too stiff, add a little bit of water. Form into 8 patties and chill in the refrigerator for at least 15 minutes.

If cooking the burgers on the stovetop, heat 2 TBSP. of olive oil in a skillet over medium-high heat and brown each side, about 3 minutes per side or until slightly crispy. If cooking on the BBQ, throw the burgers on a medium-high grill, but line your grill with tin foil (brushed with oil or sprayed with cooking spray, to avoid sticking), and cook for 3 minutes per side, or until browned and crispy. Top cooked burgers with whatever your little heart desires and enjoy!

*For an easy chili-lime mayonnaise, combine 1/2 cup mayonnaise with the juice of half a lime, 1 TBSP. chili powder, and salt and pepper to taste. Add in a little cayenne pepper for some extra heat, if that tickles your fancy.

On another note, spring seems to have finally sprung around here. The sun is out, the temperatures are warm(er), and it feels like winter might finally be behind us. The little stinker is obsessed with the smells that are being uncovered by melted snow and warmth. She looks angelic here, but looks can be very deceiving. Happy Good Friday!


Shopping Spree | Beautiful Things

I went on a shopping spree yesterday.

This shopping spree was well deserved. I thought so anyway.

Every girl should have beautiful things like this to drink tea or coffee from.

Or like this.

Wouldn’t you like to enjoy a bowl of yogurt and granola in this pretty bowl?

Or fill it with Easter bon bons?

And these plates would look lovely adorned with a nice big slice of cake or pie.

Aren’t these just perfect for spring? Love them. They can all be found at Anthropologie. But beware, it will be very hard to choose. It took extreme willpower to walk out with just these 5 items. I already want to go back!

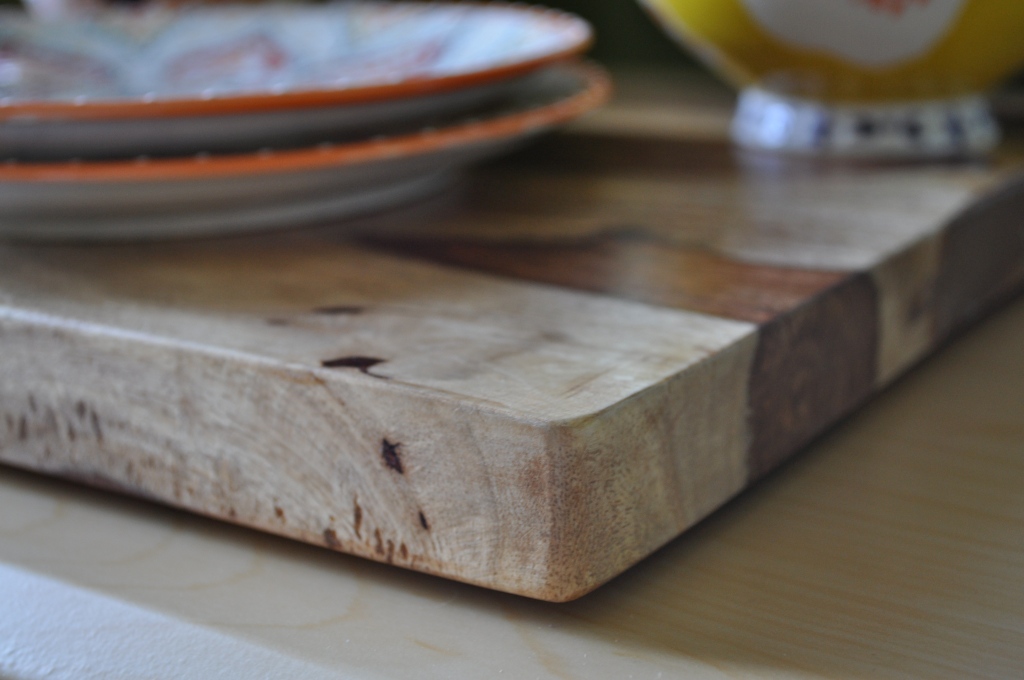
Oh, and look at this gorgeous wooden cutting board!

It’s from Bed Bath & Beyond. It puts my old plastic cutting boards to shame.

I think you should go and buy yourself some beautiful things. ASAP. Happy Tuesday!

(Please note that I am sharing these beautiful purchases with you because they are just that. Beautiful. Anthropologie and BB&B have no clue who I am.)

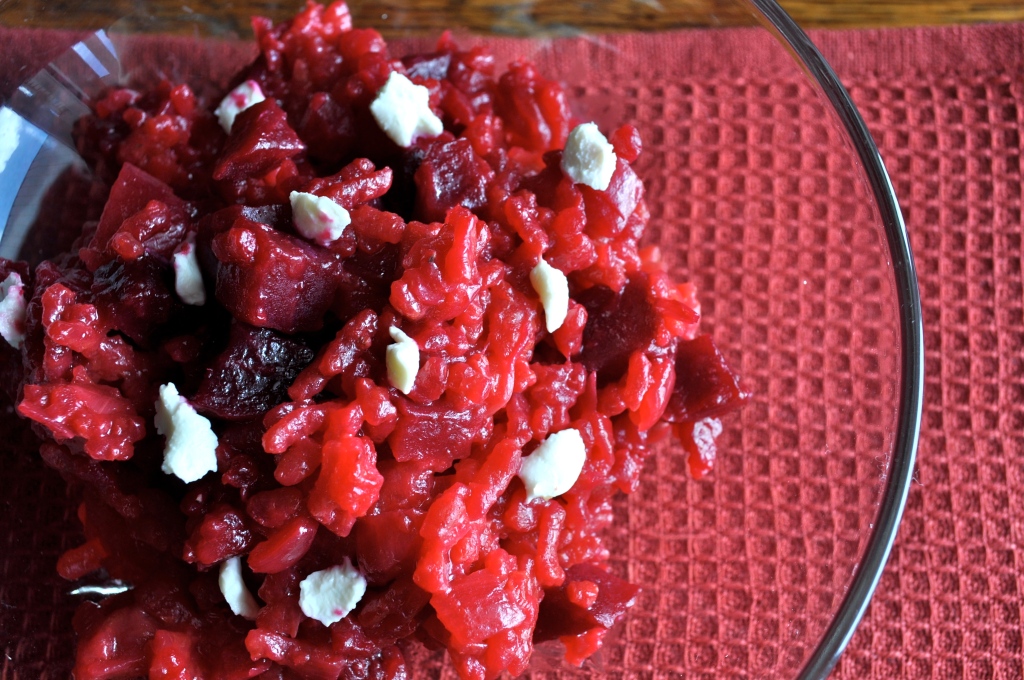
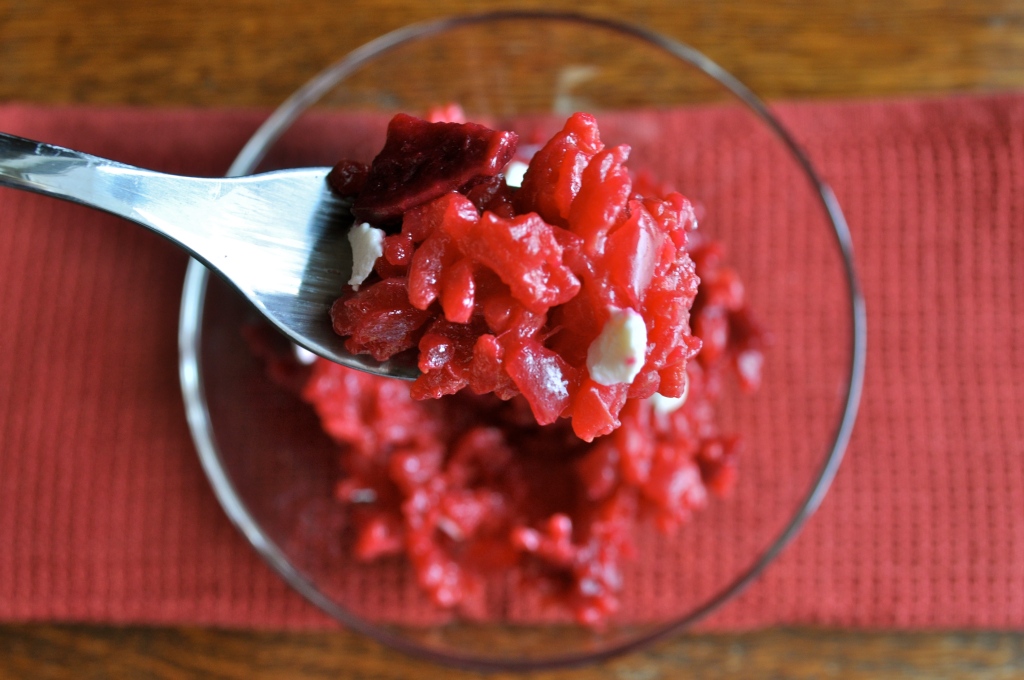
Creamy and Dreamy Amore | Beet Risotto

I wish I could tell you that the beets used in this recipe came from my garden. That I planted them, nourished them to grow, gave them my love, and harvested them myself. But you see, where I live, we are still shoveling snow. Snow that fell on April 14 to be exact. All 10 cm of it. There ain’t no vegetables growin’ round these parts. But I want you to know, that if I lived in a climate that was more conducive to growing anything for more than a few months out of the year, I definitely would have grown these myself.

Well…I would have tried to grow them myself. But unfortunately, I have a black thumb, the deathly version of it’s lively counterpart, the green thumb. I have a curse. I cannot keep plants or flowers alive. They wither as soon as they set root or stem on my property. I will never have the pleasure of telling people that the delicious vegetables they are tasting came from my garden. Thank goodness for farmer’s markets, or else I would be forever destined for a life of tasteless grocery store produce! Depressing eh?

Honey’s lovely sister (and fellow foodie) emailed me a few weeks ago with this recipe for beet risotto. I knew I had to try it as soon as possible when she described it as tasting like “f—ing amazing creamy lovestyle italian amore.” Whoa. Yes please.

So last night, with fingers stained red with beet juice, I tasted this heavenly dish, and totally echoed her sentiments. And added in a hell yeah. Now I don’t want to be pushy, but you might want to go to the store right now (or your garden, if you don’t live in Santa’s backyard or have a black thumb like me), and buy these ingredients, and make this for dinner. Tonight.

Because we can all use a little extra amore.

Beet Risotto

2 beets (about 3″ in diameter), peeled and diced small

1 onion, chopped small

1/4 cup butter

1 cup arborio rice

3 cups stock (chicken or vegetable)

1 TBSP. balsamic vinegar

1/4-1/2 cup goat cheese

Salt and pepper, to taste

Melt the butter over medium heat in a heavy-bottomed saucepan. Add the beets and onion, and cook for 8 minutes (stir to allow the onion to caramelize). Mix in the rice, broth, and balsamic vinegar. Increase the heat. Bring to a boil, and then reduce the heat to medium-low. Cover and simmer until the rice is tender and the risotto is creamy (like amore, as honey’s sister says), stirring occasionally (about 15 minutes). Season with salt and pepper. Sprinkle with the goat cheese. If you are not a goat cheese fan, you could substitute feta cheese, but trust me, the goat cheese really enhances the flavor of the beets. Enjoy!

Meatless Mexican | Black Bean Quesadillas

Meat and potatoes people. MAPPs.

People who think that a meal without meat cannot be filling and satisfying.

If you know any such people (*cough cough* ie. men *cough cough*), you must introduce them to Mr. Black Bean of the Legume family. Other members of the Legume family include lentils, peas, soy, and even peanuts. All are great sources of protein, and protein helps to give you that satisfied feeling (because protein takes longer to digest than carbohydrate). When taking meat out of a meal, or out of your diet entirely, it is important to replace the protein with other sources. Now, I know you didn’t come here for a science or nutrition lesson, so let’s get on to the good stuff! PS. Rattle off that scientific mumbo-jumbo to the MAPPs in your life when you make this recipe for them.


 A couple of years ago, when honey and I were in the throes of our vegetarian challenge (no meat for one year), we practically lived off of legumes. This black bean quesadilla recipe was one of the first dishes that I discovered during our challenge, and we have eaten it many times since then. It is so easy, so delicious, and I promise you won’t even miss the meat! Try it. Now.

Please and thank you. 🙂

Black Bean Quesadillas (slightly adapted from canadianliving.com)

1 TBSP. olive oil

1 onion, chopped

1 green pepper, diced

1 TBSP. chili powder

1 tsp. ground cumin

1/4 tsp. salt

1/4 tsp. pepper

2 cans black beans, drained and rinsed

1 cup salsa (mild, medium, or hot!)

1 can corn kernels

6-8 whole wheat flour tortillas

2 cups sharp cheddar cheese, shredded

Sour cream and salsa, on the side

Preheat the oven to 425°F. Heat the oil over medium heat in a large skillet. Add the onion, green pepper, chili powder, cumin, salt, and pepper. Cook until softened, about 8 minutes. Add the black beans, salsa, and corn, and stir until heated through (about 5 minutes).

Lay out your tortillas and spoon the mixture onto one half of each tortilla. I usually make 6 tortillas, so they end up being quite full. However, you can make 8 tortillas and fill each with a little bit less. Sprinkle the cheese overtop of the mixture, then fold the tortillas over. Place on a lined or greased baking sheet. Bake for 15 minutes, turning the tortillas over halfway through. Serve with sour cream and more salsa. Enjoy!

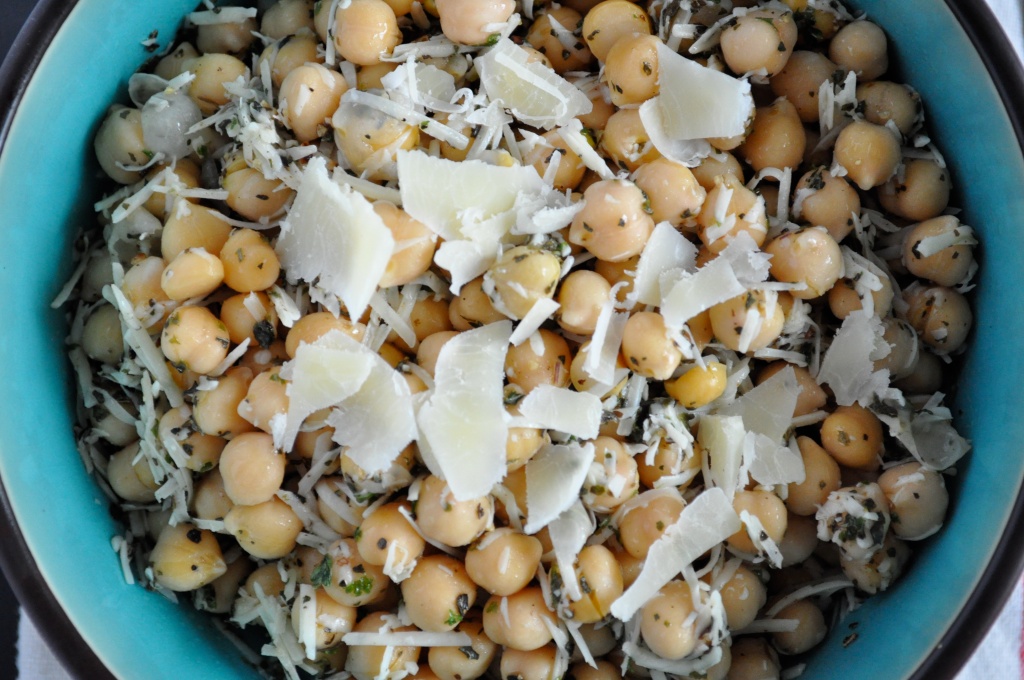
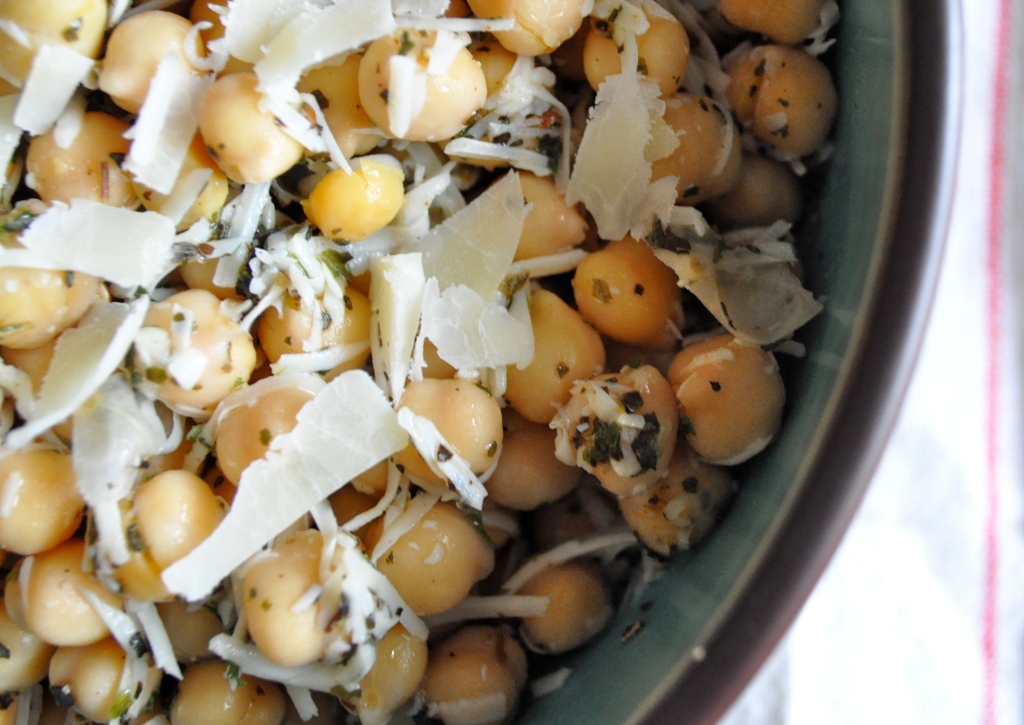
Less Is More | Chickpea Salad with Lemon, Parmesan, and Herbs

Dear Life,

You have been almost unbearably stressful lately. What did I ever do to you? I try to show you a good time as often as possible – I play fun sports like frisbee and soccer, I rock out at super awesome concerts, I bake delicious things to eat. And you just throw stressful experiences back in my face! Clearly I’ve done something to upset you, but I’m not sure what it is. Can we call a truce and be friends again? I’ll cook and bake you lots more wonderful things if you’re nice to me again.

Love,

Amanda

Sorry about that. I just had to have a little chat with life there for a moment. But I’m back to share a simple yet tongue-pleasing recipe with you. With Spring finally starting to show her face a little bit, I find myself craving lighter, fresh-tasting dishes. When I opened up this month’s Bon Appétit magazine and found this chickpea salad recipe, I immediately wanted to give it a try. You need just a handful of ingredients, most of which you might have sitting in your kitchen right now. The only thing I was missing was the fresh herbs, but I had the dried version of both, and considering the state of the fresh herbs around here at this time of year, dried was probably the best way to go. I can’t wait to make this again in a couple of months, when fresh basil is lush, fragrant, and easy to find. At least fresh parmesan is always in season.

Chickpea Salad with Lemon, Parmesan, and Herbs (from Bon Appétit magazine, April 2011)

1 can chickpeas, rinsed and drained

2 TBSP. chopped fresh basil (or 1 tsp. dried)

2 TBSP. chopped fresh Italian parsley (or 1 tsp. dried)

2 TBSP. fresh lemon juice

4 tsp. extra-virgin olive oil

1 garlic clove, pressed

1/3 cup freshly grated Parmesan

Salt and freshly ground black pepper, to taste

Combine all ingredients together in a bowl and toss gently. Season with salt and pepper. Enjoy immediately, or make ahead and refrigerate for several hours to allow the flavors to mingle and say hello to one another. This salad can be whipped up in no time. Happy eating!

When Sickness Strikes | Hot Honey Lemon and Ginger

You know how I was talking about all that stress in my last post? Well, it hit me. Hit me hard indeed. Whatever my body was fighting on Friday…let’s just say my body lost the battle. I am now in the throes of a cold/flu that is residing in my chest and sinuses. Bleh. When a cold/flu strikes around here, the doctor prescribes a hot honey lemon and ginger. A honey what, you ask? Let me walk you through it…

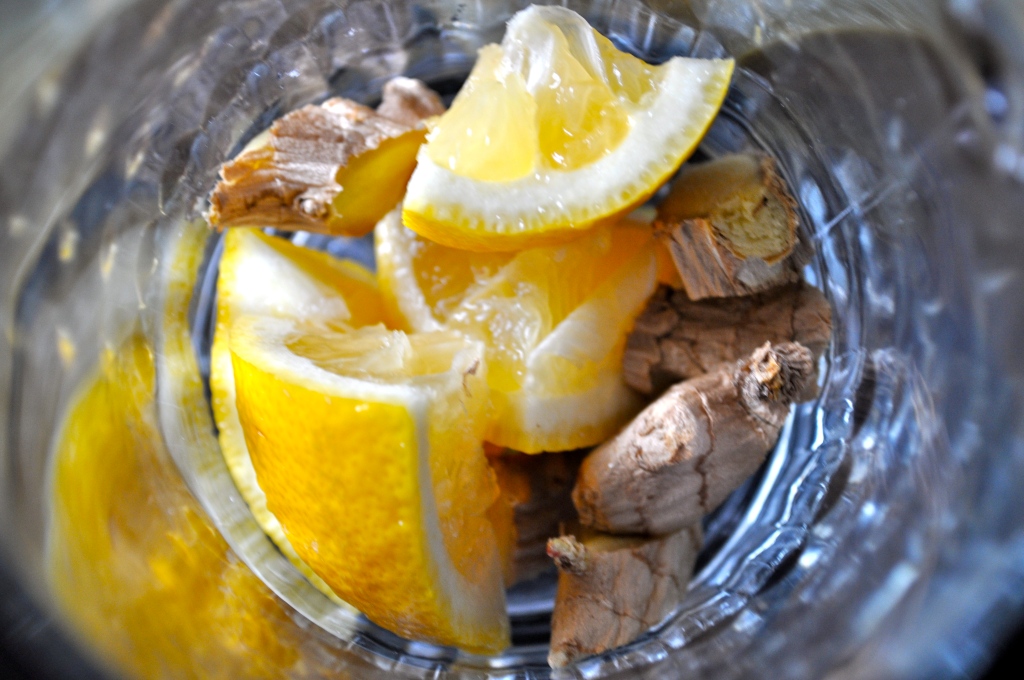
You start with some lemon, ginger, and honey.

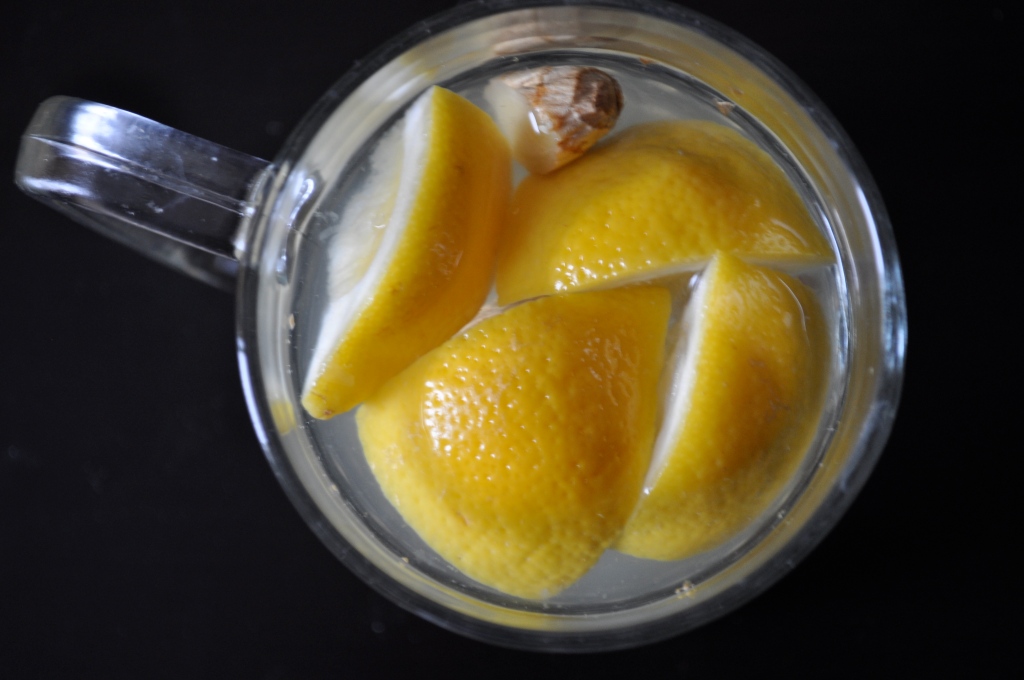
Slice your lemon in half, and then slice each half into two pieces. Throw them into a nice big mug. Take a finger of fresh ginger, and slice it up into several pieces. Add it into the mug.

Still with me? Now fill your mug with boiling hot water.

Add some honey. I usually find that a tablespoon does it for me, but add more or less depending on your desired level of sweetness.

Stir everything up, and take a couple minutes to mash the lemon and ginger with a spoon to encourage them to release their juices and flavors. And there you have a hot honey lemon and ginger. Enjoy one of these when you’re feeling under the weather. Lemon and ginger have all kinds of healing properties, especially when it comes to colds and flus. If you need some extra help, add in a splash of cognac or brandy and you’ll be feeling the positive effects in no time.

This beverage with healing powers was introduced to me by Honey’s (my honey) family. We always keep a stock of lemon and ginger in case the need for a hot honey lemon and ginger strikes. If you have trouble using up fresh ginger before it goes bad, pop it into the freezer, and voila, problem solved.

I’m off to lie on the couch and watch bad daytime TV. And hopefully kick this sickness to the curb.

Some Things Just Go Together | Banana Peanut Butter Muffins

Hello long lost friends. It seems like ages since I have shared any deliciousness with you. It practically has been ages. It has been a stressful few weeks. The biggest stress of all has been preparing to list my condo for sale. Honey and I, and mostly our little (but rapidly growing) Bella have outgrown the condo, and are preparing to look for a cute little house. However, first things first, we must sell my condo. It was finally listed for sale this week, after many hours of cleaning, decluttering, and all-out stress. And unfortunately, the stress is only beginning, as we now have to be prepared to get out of dodge at a moment’s notice if someone wishes to view our condo. Which is not easy when we have a pup to worry about.

My body has done a fantastic job of protecting me from all of the sickness that everyone seems to be dealing with…until yesterday. I have succumbed. I now have one of those annoying cold/flus that don’t necessarily make you feel completely terrible, but just overall pooped and blah. With a very sore throat to boot. *sigh* Life may feel rough right now, but then I think about those people who have it far worse. The current crisis in Japan has definitely made me feel thankful for my life, despite some difficult days here and there. (Boogie over at The Boogie blog has some great suggestions for how to help).

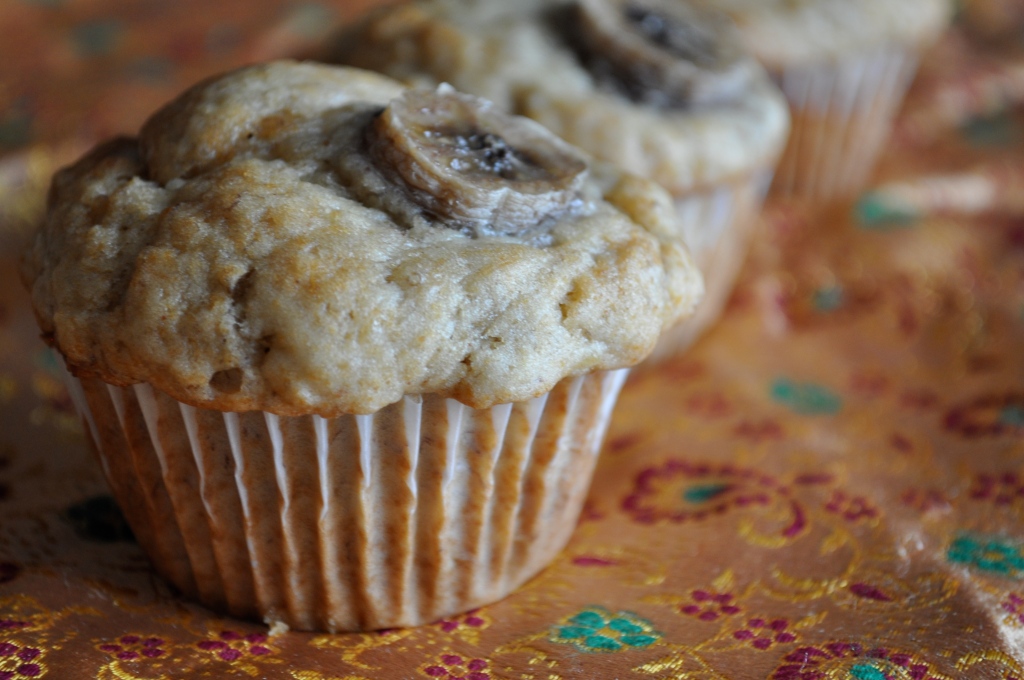
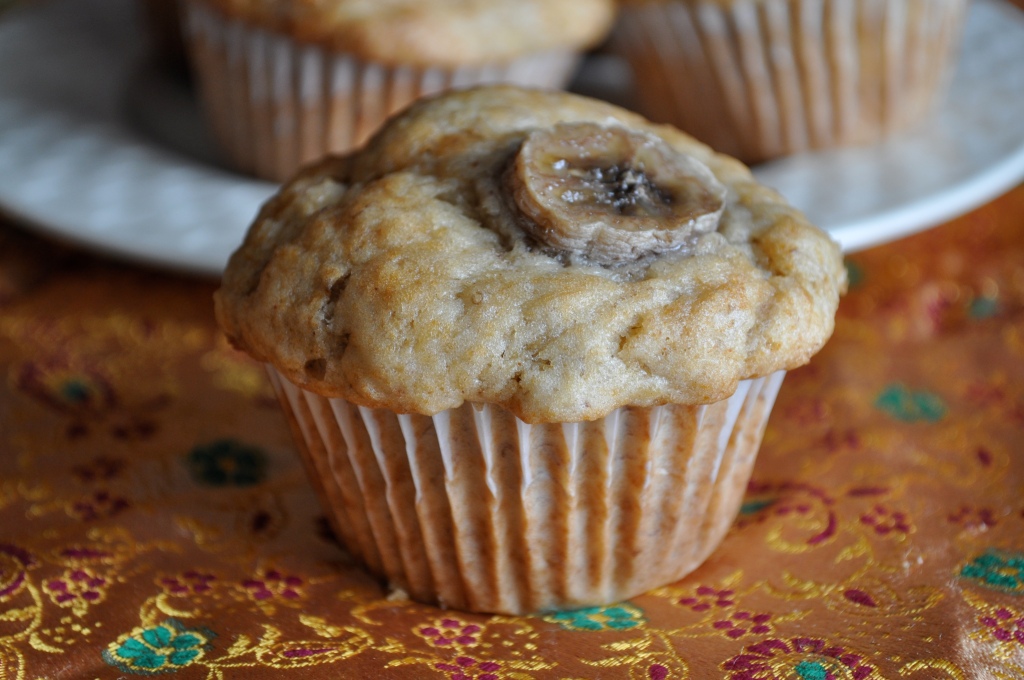
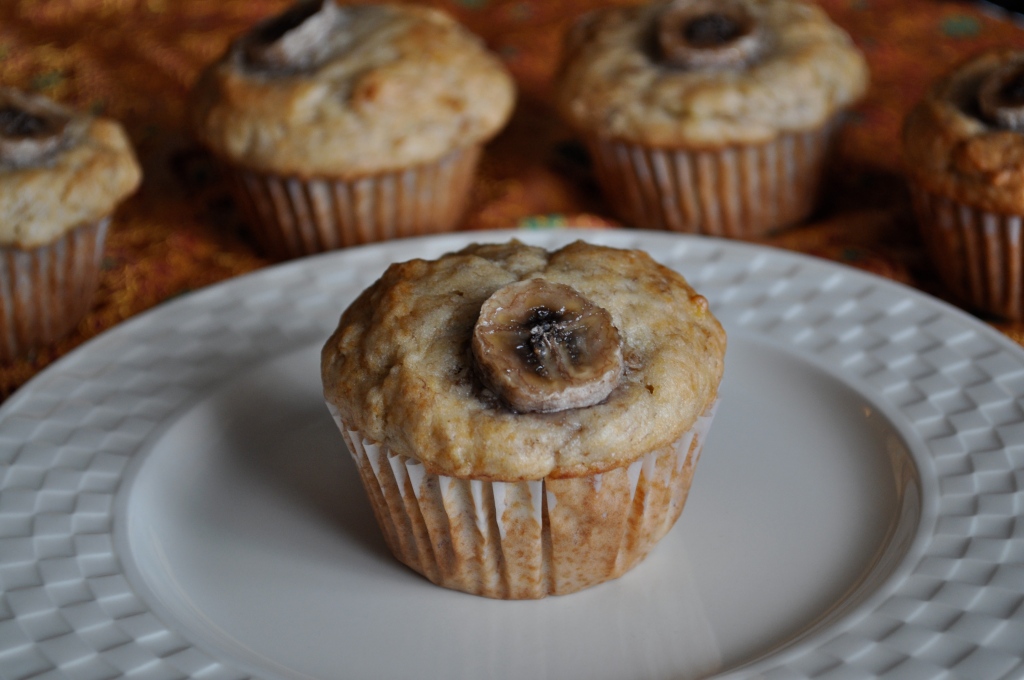
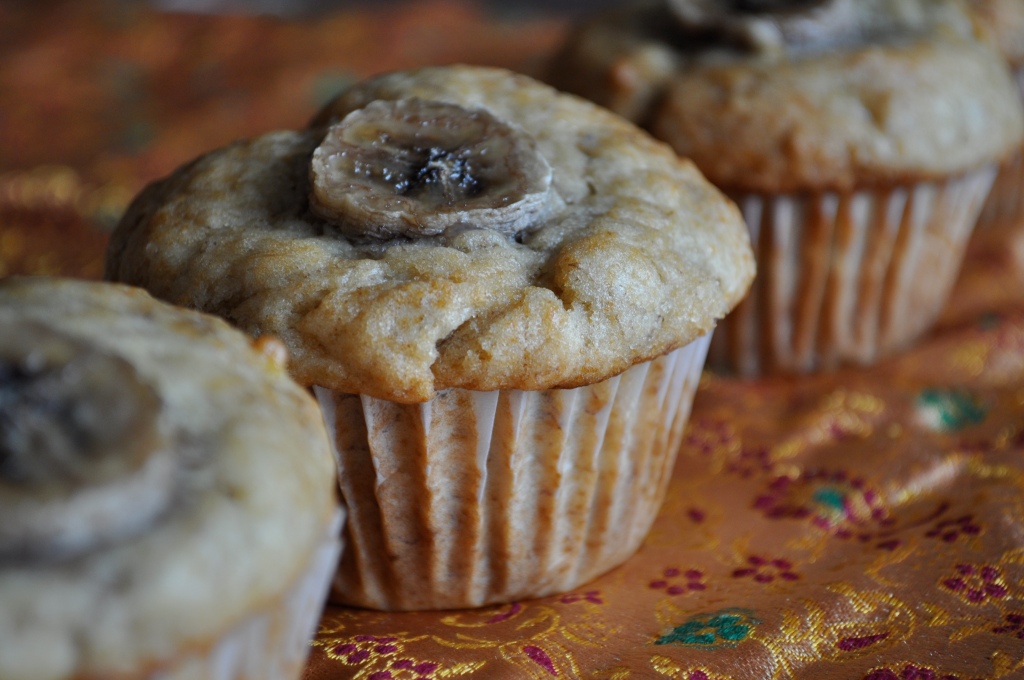
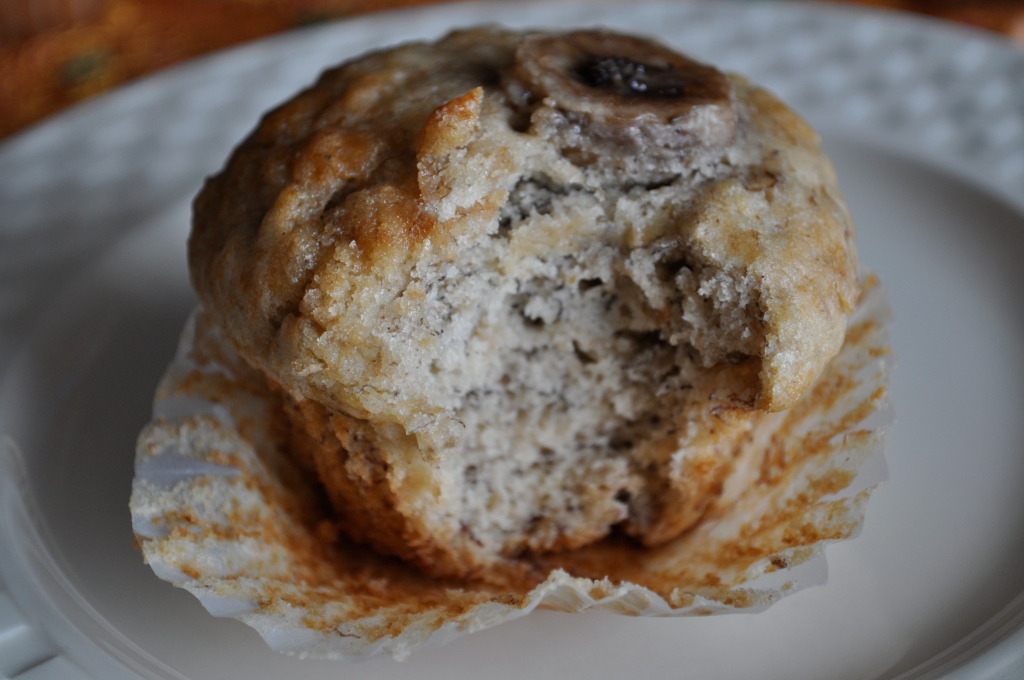
One of my favorite stress-relieving activities is baking. I find calm and serenity in measuring out ingredients and building something warm and comforting. Not to mention the bonus of eating said deliciousness when it’s all said and done. Last night, after lying on the couch watching bad TV for much of the evening, I threw these muffins together. Banana and peanut butter just go together. At first bite, these muffins took me back to my childhood of peanut butter and banana sandwiches. Lots of banana flavor with a hint of peanut butter. Yum. And comforting indeed.

Banana Peanut Butter Muffins (from Lululu at Home)

1 3/4 cups all-purpose flour (next time I will try whole wheat)

1 tsp. baking powder

1/2 tsp. baking soda

1/4 tsp. salt

3/4 cup sugar

1/4 cup butter, softened

1/4 cup peanut butter (I used natural smooth PB)

2 eggs

3 large bananas, mashed (I used 4)

1 sliced banana for garnish

Preheat oven to 350°F. Prepare your muffin tin with liners or grease.

Whisk together the flour, baking powder, baking soda, and salt in a small bowl. In a separate bowl, cream together the butter and sugar until light and fluffy. Beat in the peanut butter. Add in the eggs, one at a time, followed by the mashed bananas. With the mixer on low speed, slowly add in the flour mixture until just combined.

Fill the muffin cups with batter. Top with a slice of banana. Bake for about 25 minutes, or until a toothpick inserted into the center comes out clean. Cool on a wire rack. Enjoy!

PS. Chocolate chips would be a great addition to this recipe for some added richness, although they taste just fabulous the way they are. I bet peanut butter chips would be incredible as well. Oh the possibilities!