Things Are Working Out | Lemon Coconut Cookies

Hello friends. My mind is full and cluttered today, so rather than fill your screens with my typical mutterings, I thought I would share a passage from a book I’ve been enjoying lately. If you’ve never heard of Melody Beattie’s Journey to the Heart, you should check it out. Journey to the Heart is a book of daily meditations – lovely and inspirational words to guide you on the path towards spiritual growth. If you just rolled your eyes, and spiritual growth isn’t your thang, keep scrolling for a wicked recipe. If you’re intrigued, keep on reading.

Many of my yoga instructors routinely read passages from this book, and during one particular class I connected so strongly to the passage that was shared that I approached the instructor afterwards to ask her what she was reading from. I picked up a copy of the book not long after that, and I’ve been slowly working my way through it. If you like what you hear, you might wish to get your hands on a copy too.

Things Are Working Out (Journey to the Heart: Daily Meditations on the Path to Freeing Your Soul, HarperCollins, 1996, p. 255-256):

Right now, this moment, things are working out. We natter away, trying to control, shape, and form. Trying to figure things out. We back off, then come closer. We worry and wonder. But things are working out. Things are working out as beautifully and Divinely as possible. The dance of life is taking place in sync with the rhythm of the universe.

Everything is working out, moving forward, evolving. There is a rhythm, an energy, a life force that continues, that shapes, that grows. You do not have to fight, resist, control, or even understand it. All you need to do is be – be present for your life, your love, yourself.

Your soul will lead you on. Your inner voice, your heart, is leading you on. Quiet your mind and trust that where you are and where you’re being led is perfect.

You don’t have to try to get it all together. You don’t have to strive to “have it all.” You already do have all that you need.

How many times have you been through an experience, fretting and fearful about the shape things were taking, only later to exclaim, Oh, I see now. Things were working out all along! Learn to say and believe that now.

Let your mind see what your soul already knows: things are working out perfectly. 

Sometimes it’s easy to worry and over think where we are at in our lives – are we doing enough? Are we doing too little? Relax. Breathe. Everything is working out, let’s enjoy the journey.

Be present. 

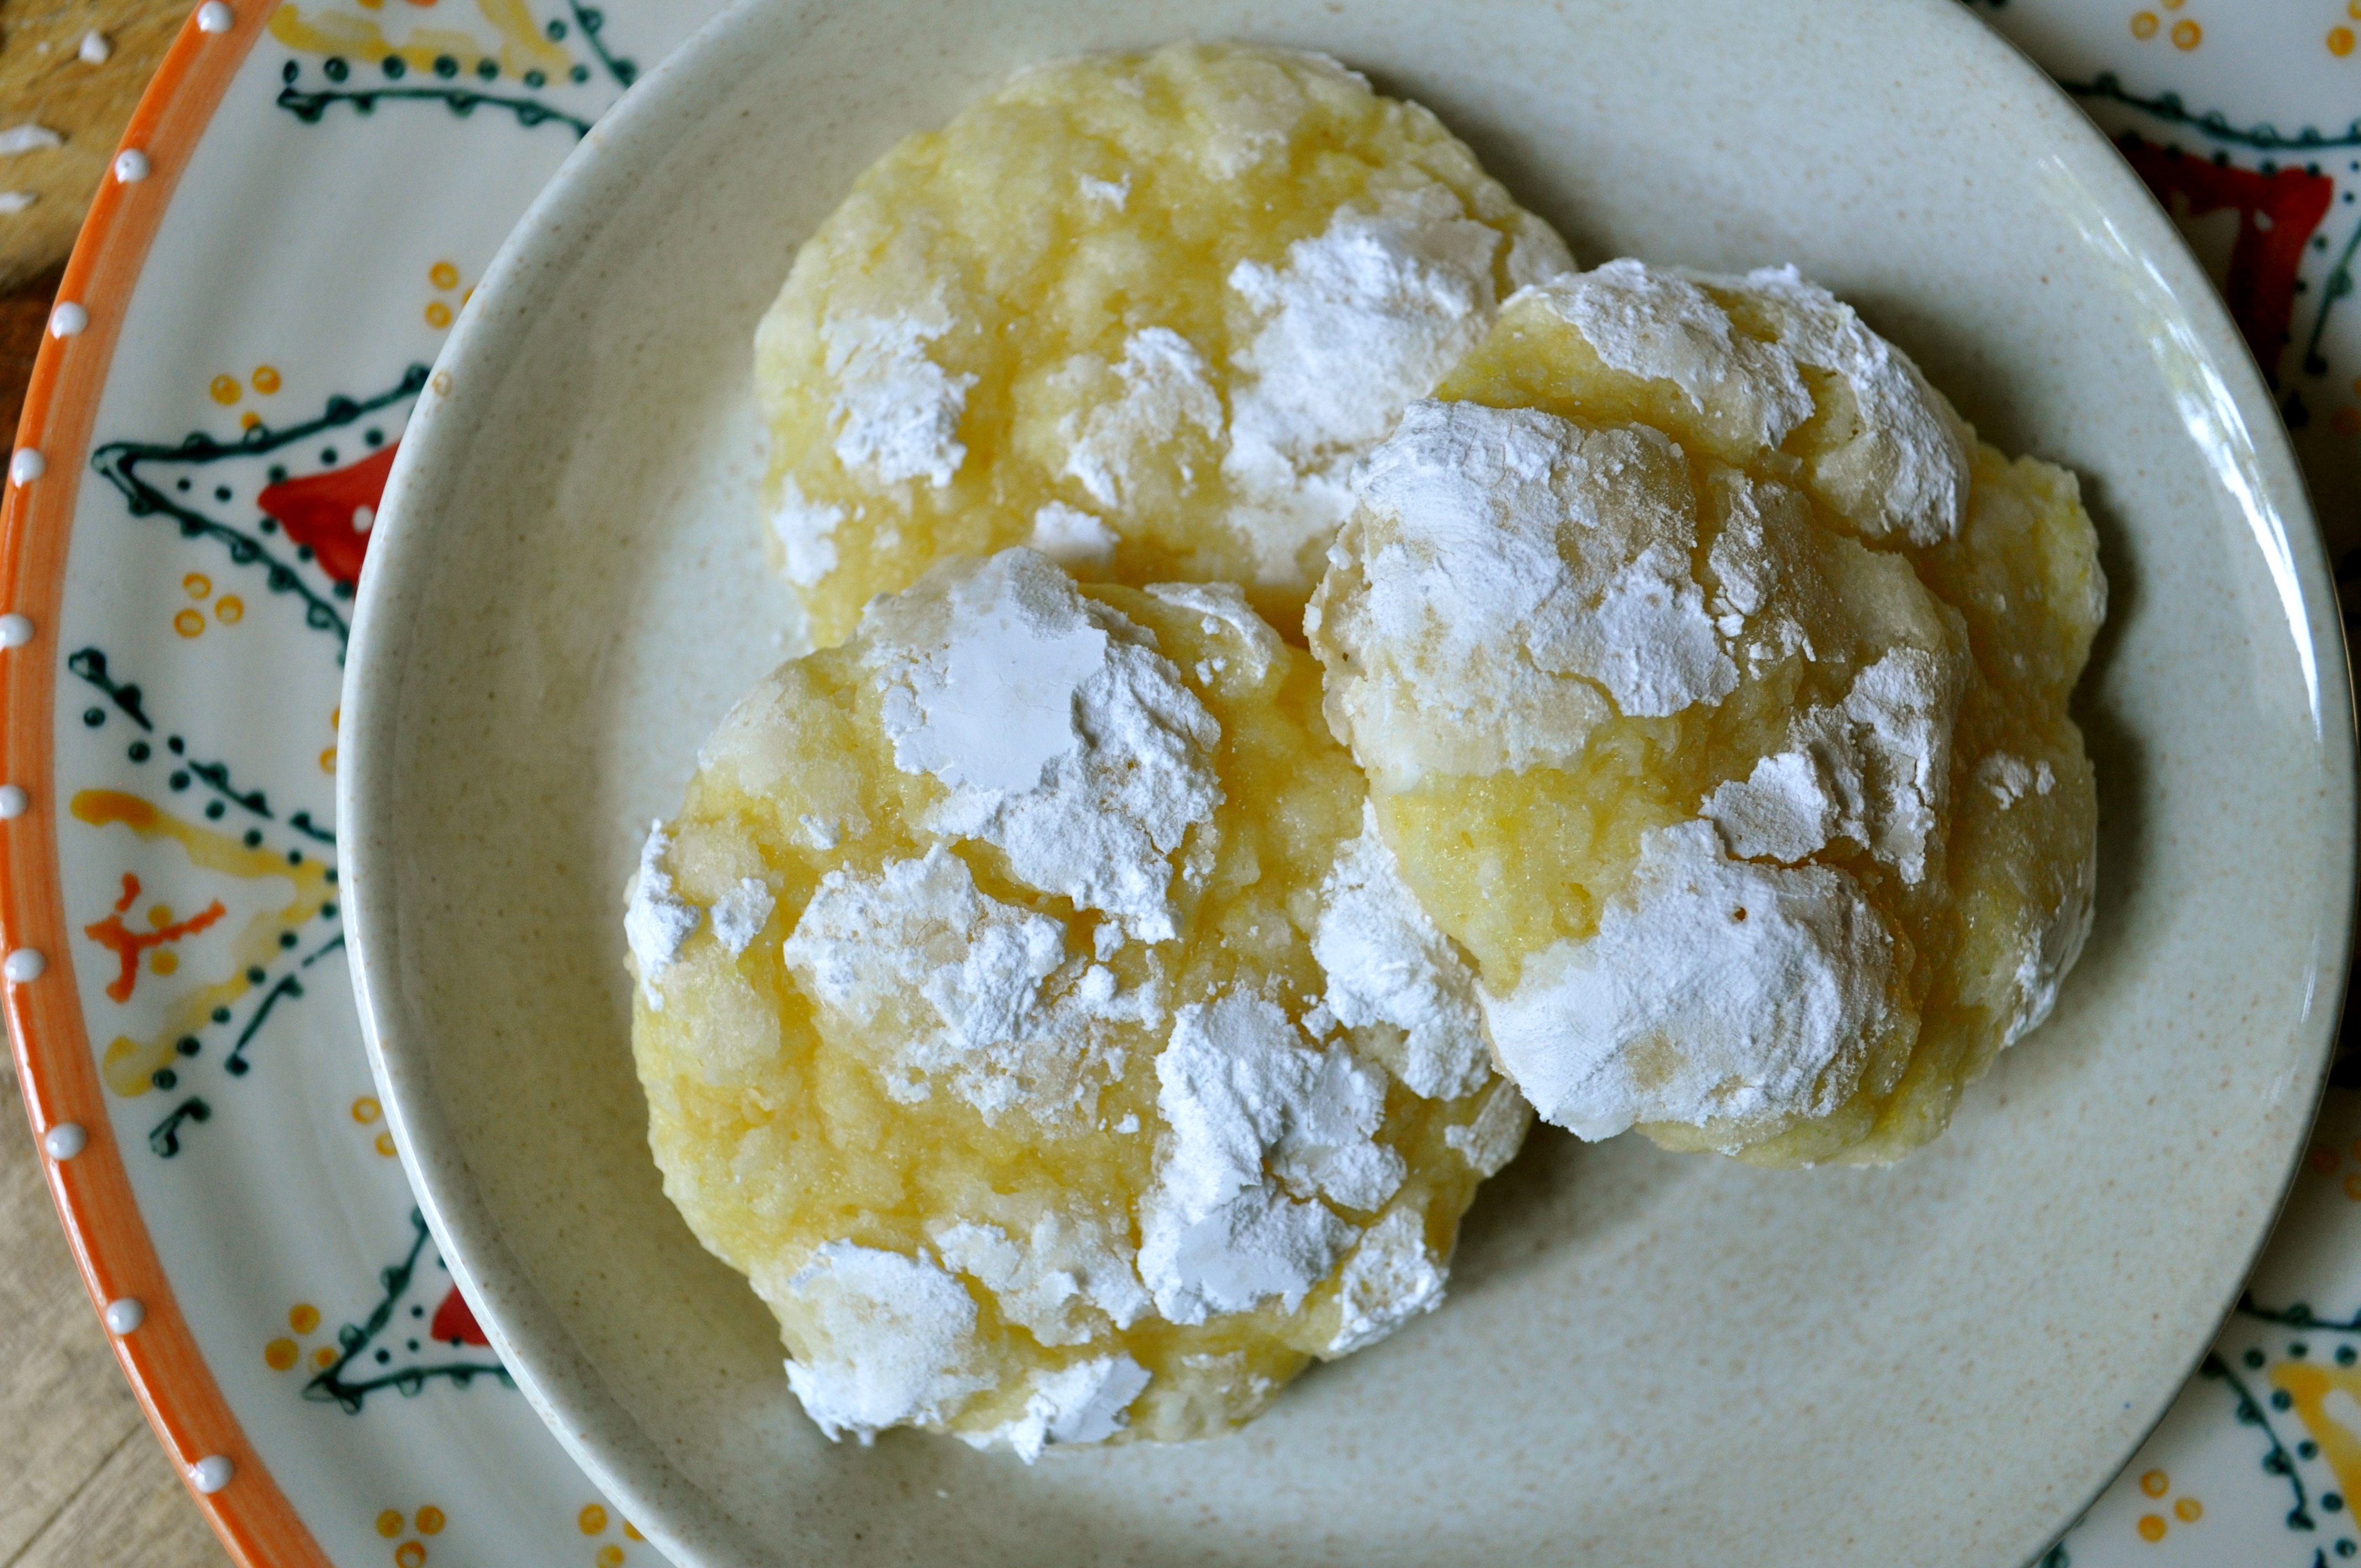
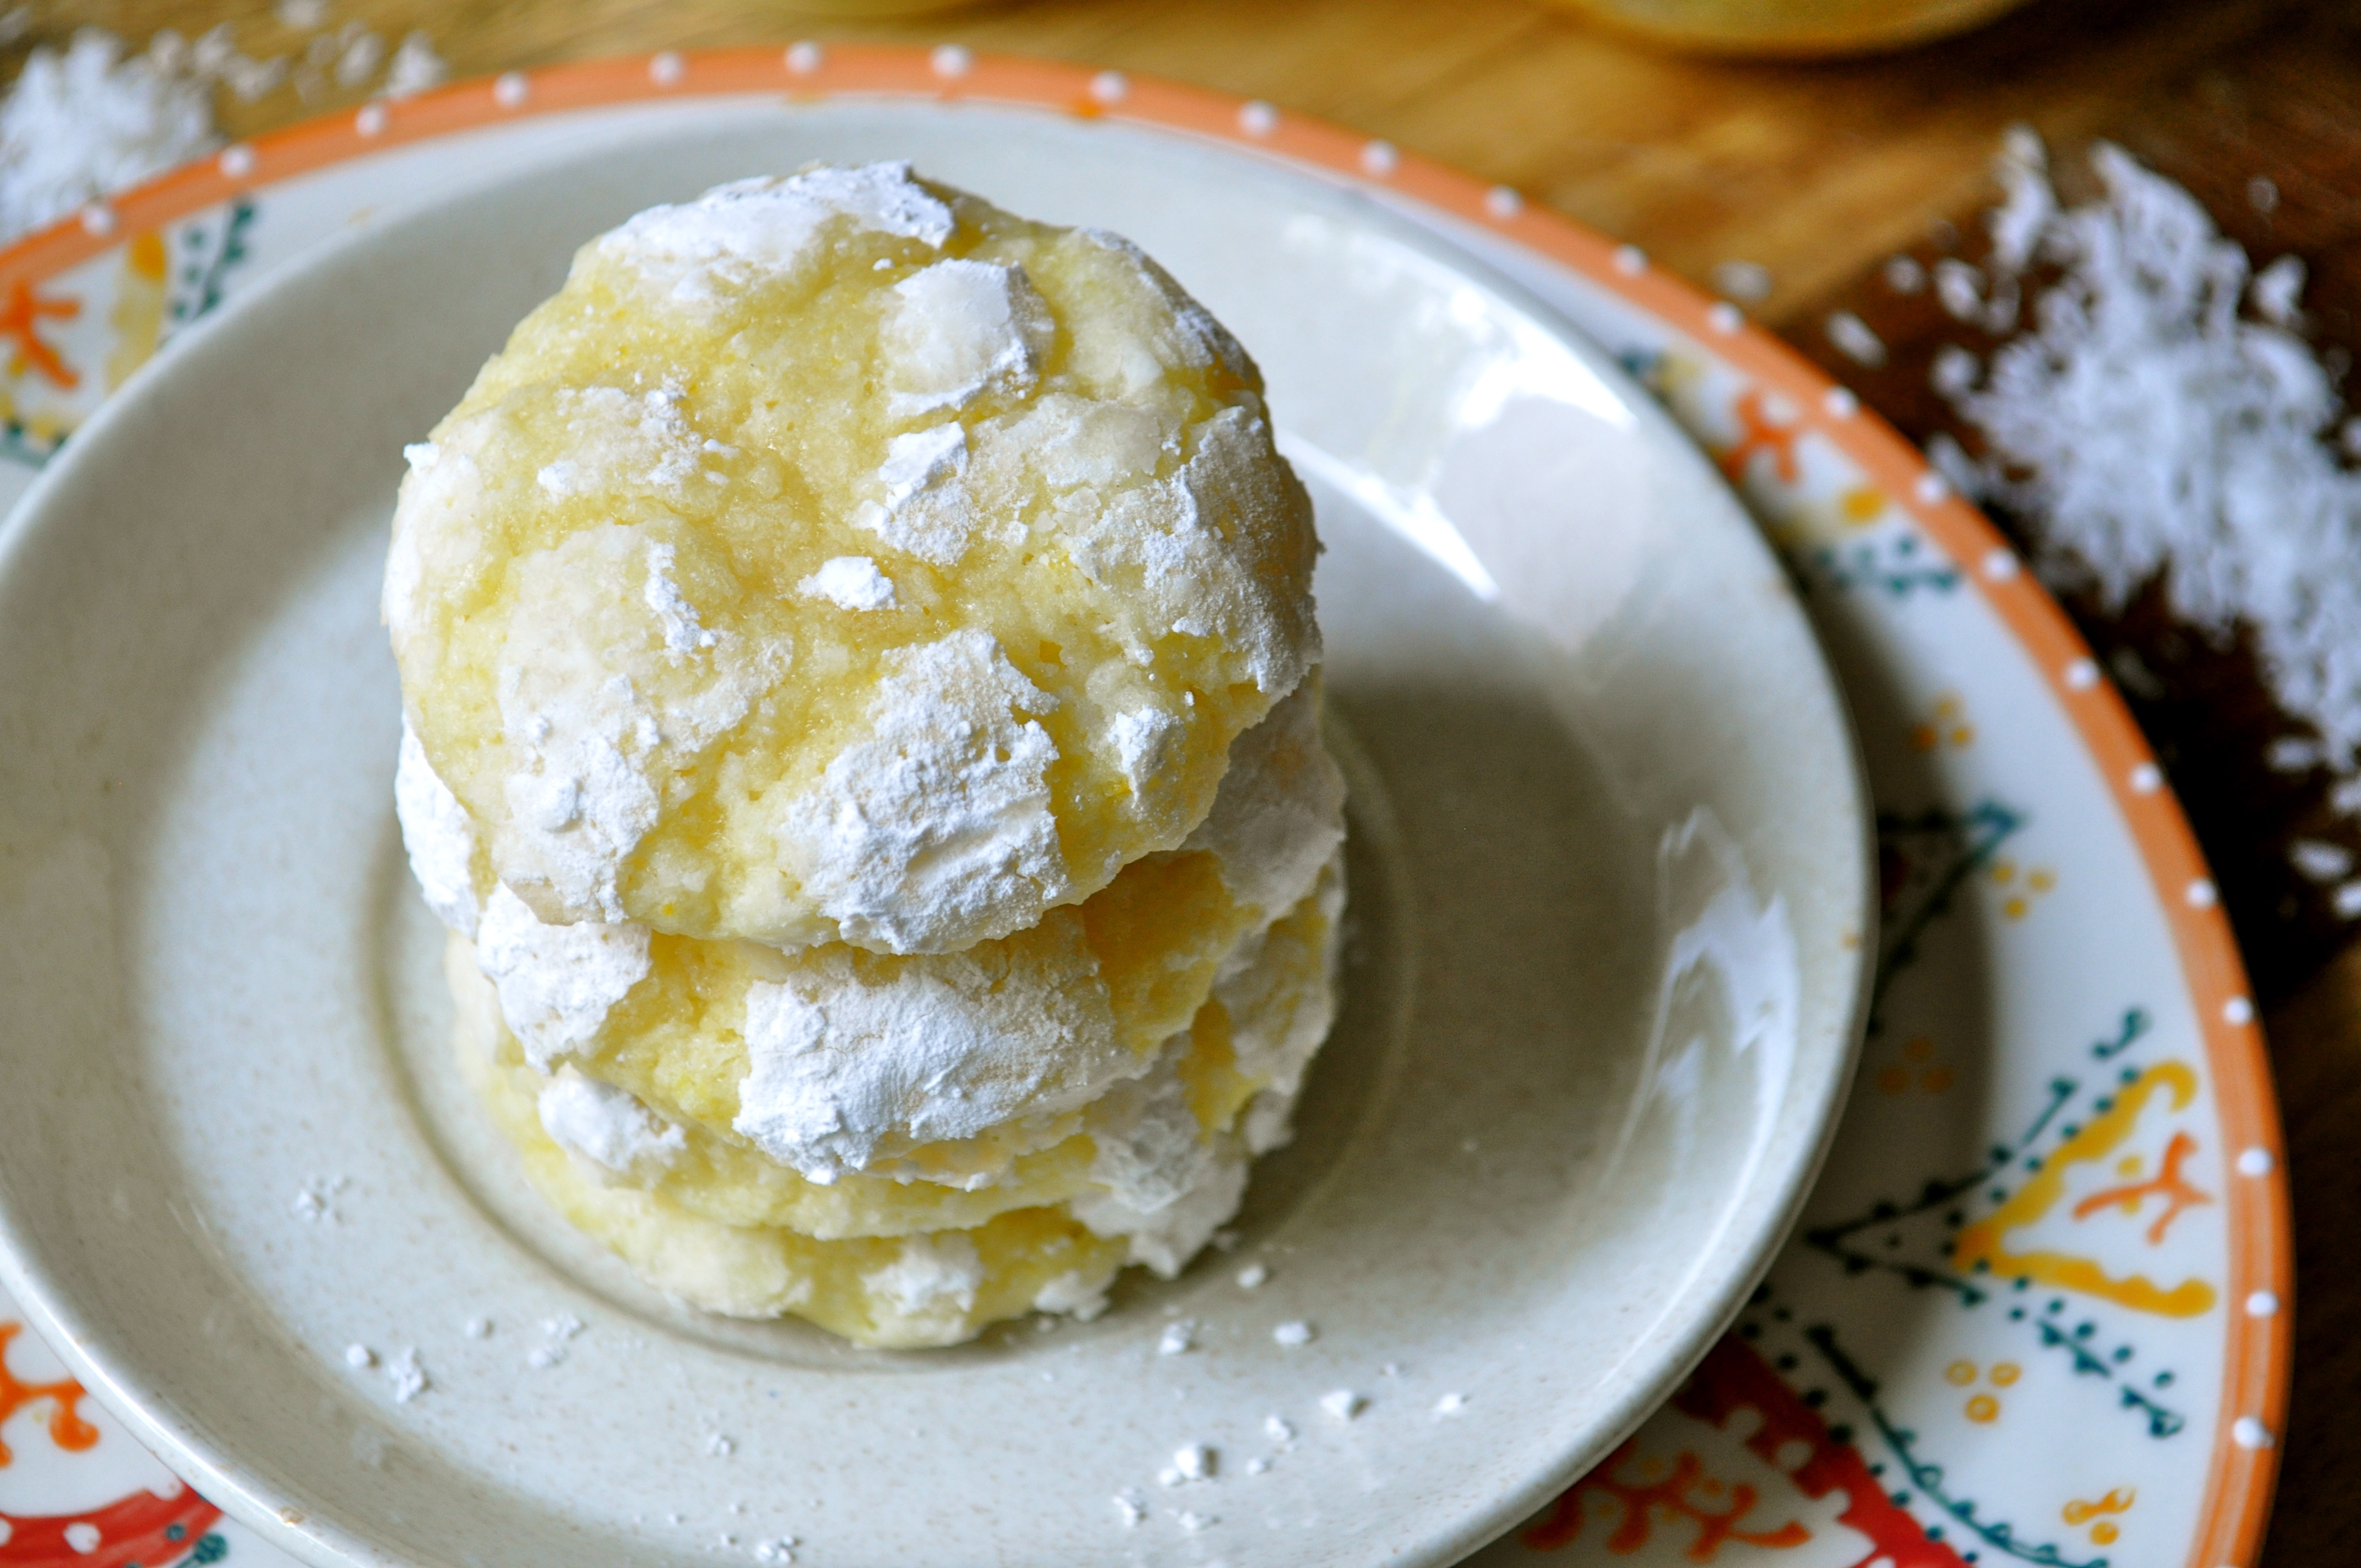
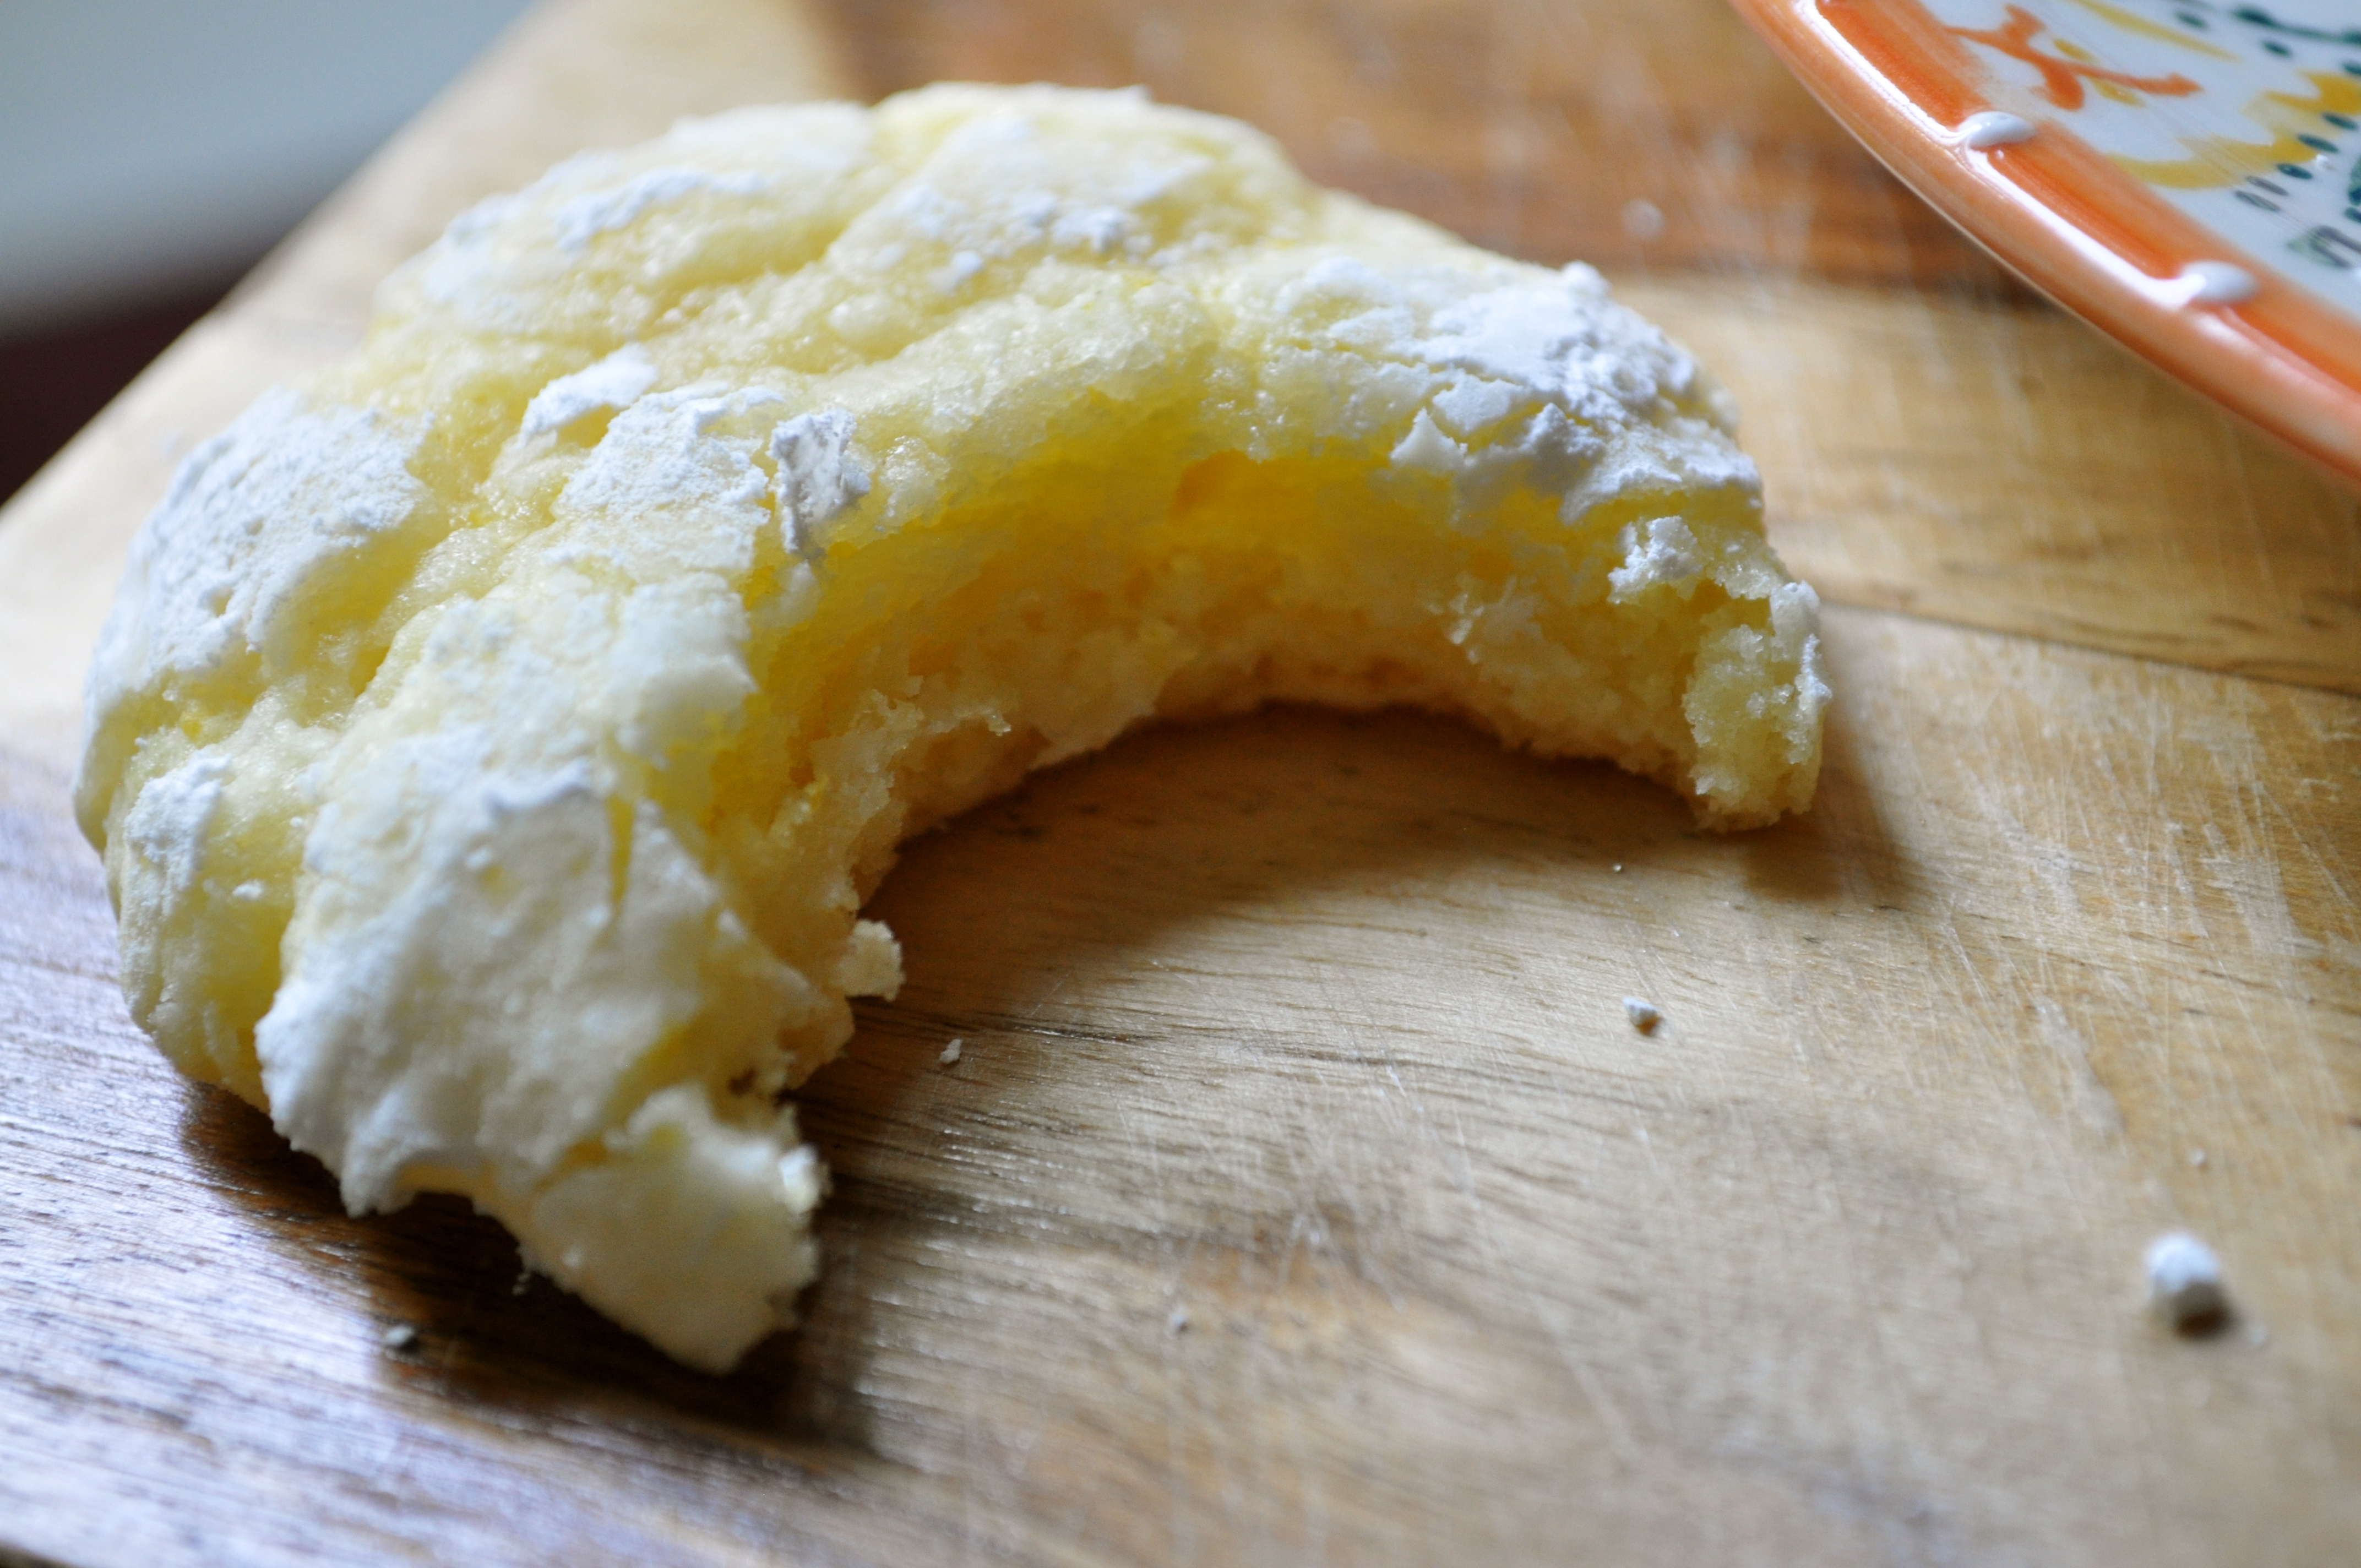
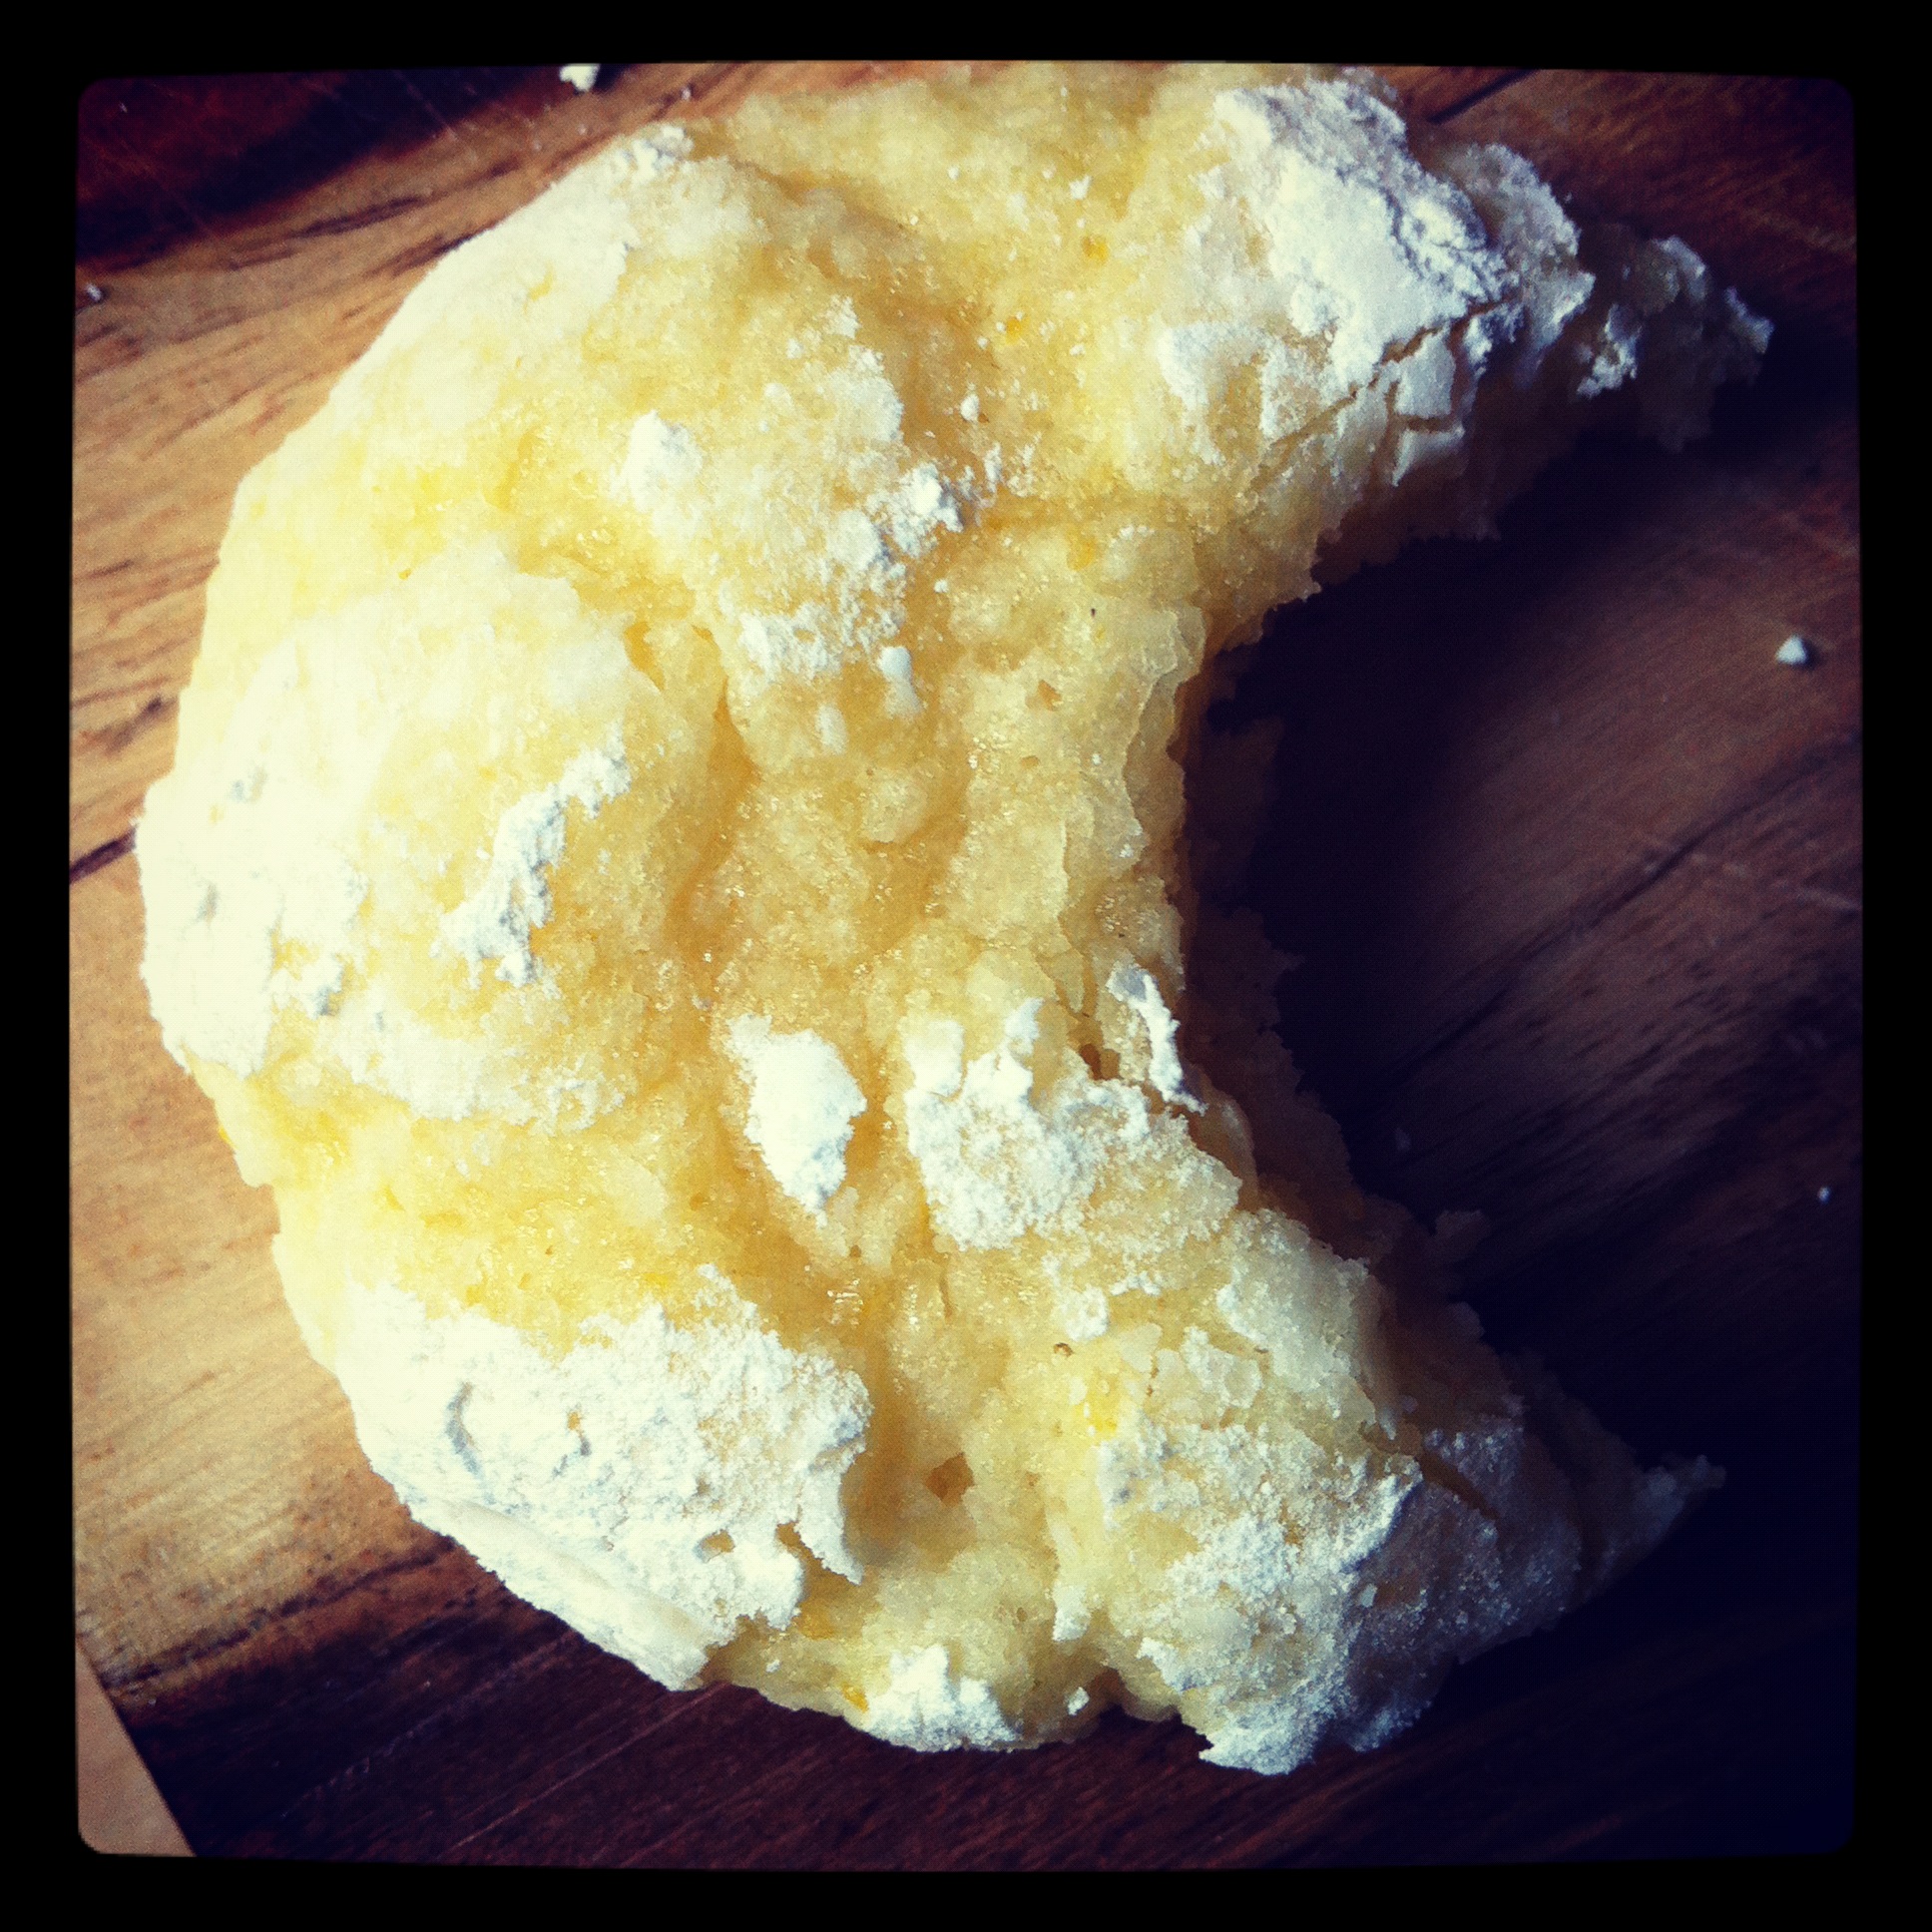
And now, a delicious, sweet, tart, chewy cookie for you to enjoy on this spectacular, overwhelming, complicated journey that is life. Lemon and coconut lovers, this one’s for you. As well as those who are curious about what would happen if a macaroon and lemon cookie had a lovechild.

Lemon Coconut Cookies (from Hershey’s Kitchens)

Makes about 2 dozen cookies.

1/4 cup butter, softened

1 cup granulated sugar

Zest from 2 lemons (about 2 tsp.)

2 eggs

1 1/2 cups all-purpose flour

2 tsp. baking powder

1/4 tsp. salt

1 cup shredded coconut

Powdered sugar, for rolling

Preheat your oven to 300°F. Beat the butter and sugar together until fluffy. Add the eggs and lemon zest, and beat until well mixed. In a separate bowl, stir together the flour, baking powder, and salt. Gradually add the flour mixture to the butter/sugar mixture, beating until well blended. Stir in the coconut. Cover and refrigerate the dough for at least an hour (or overnight), until the dough is firm enough to handle.

Roll the dough into 1.5-inch balls, roll in the powdered sugar, and place two inches apart on a lined baking sheet. Bake for 16-18 minutes until the edges are set. Move the cookies to a wire rack and allow to cool completely.
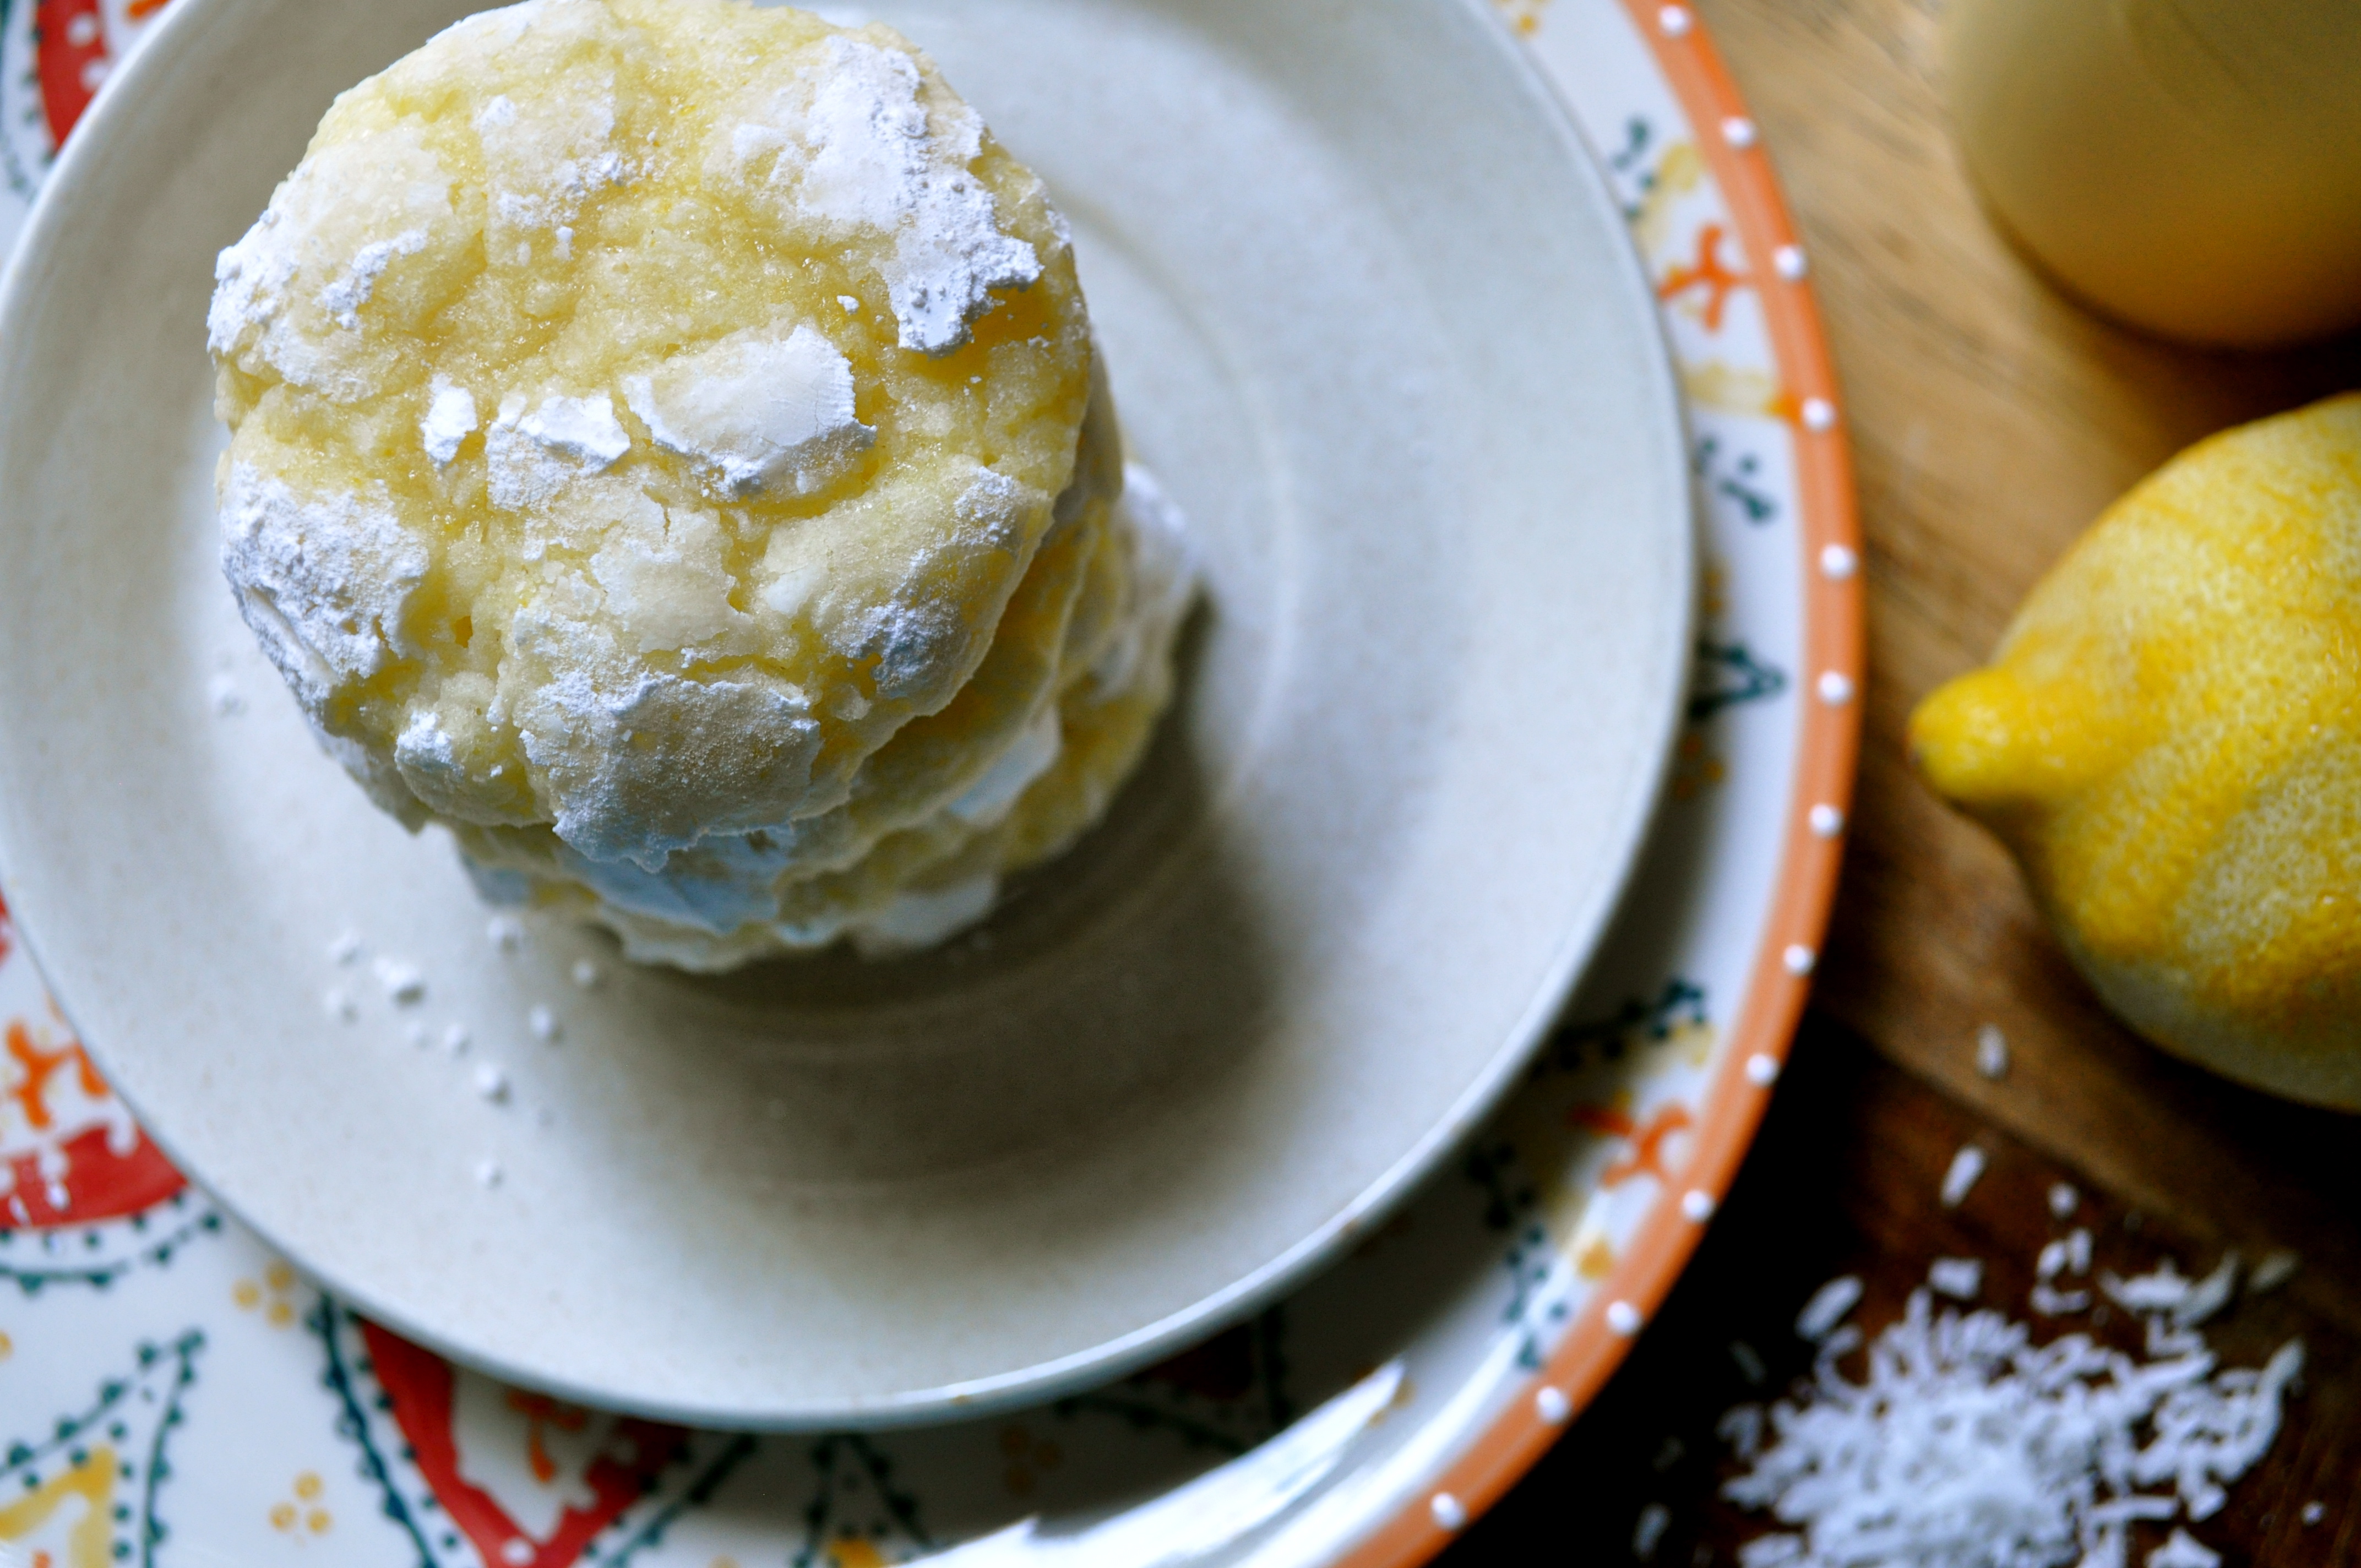
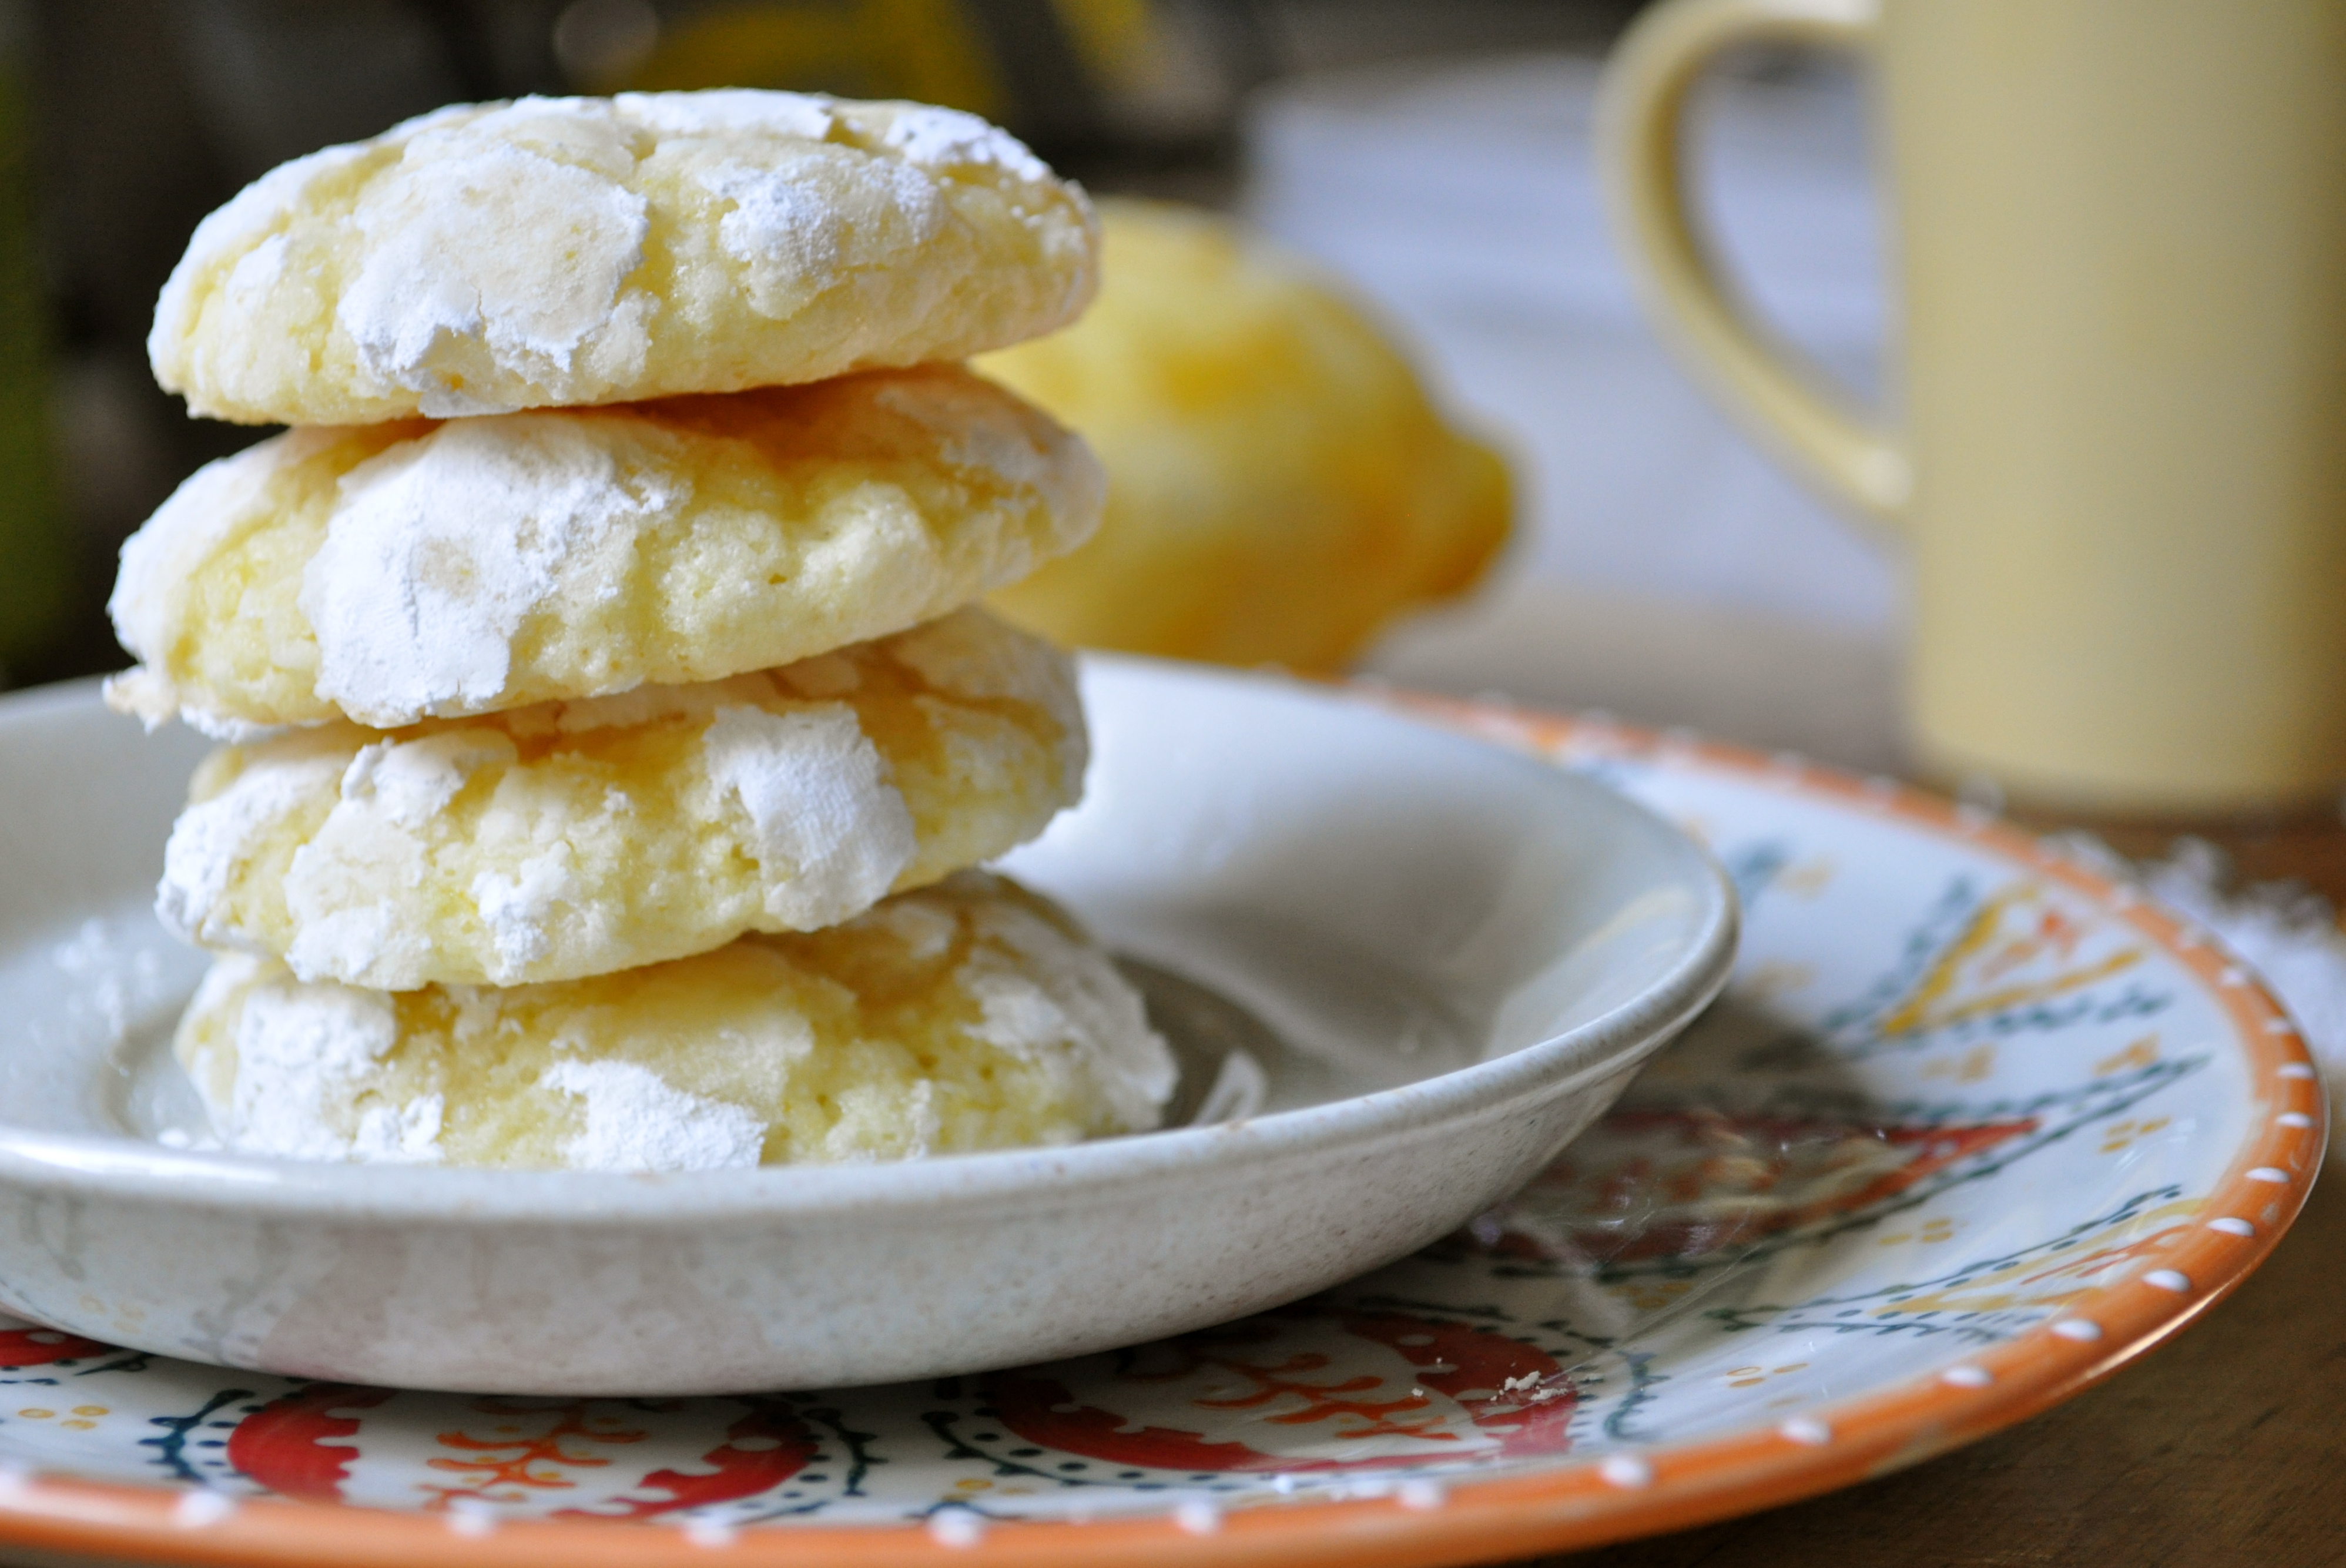
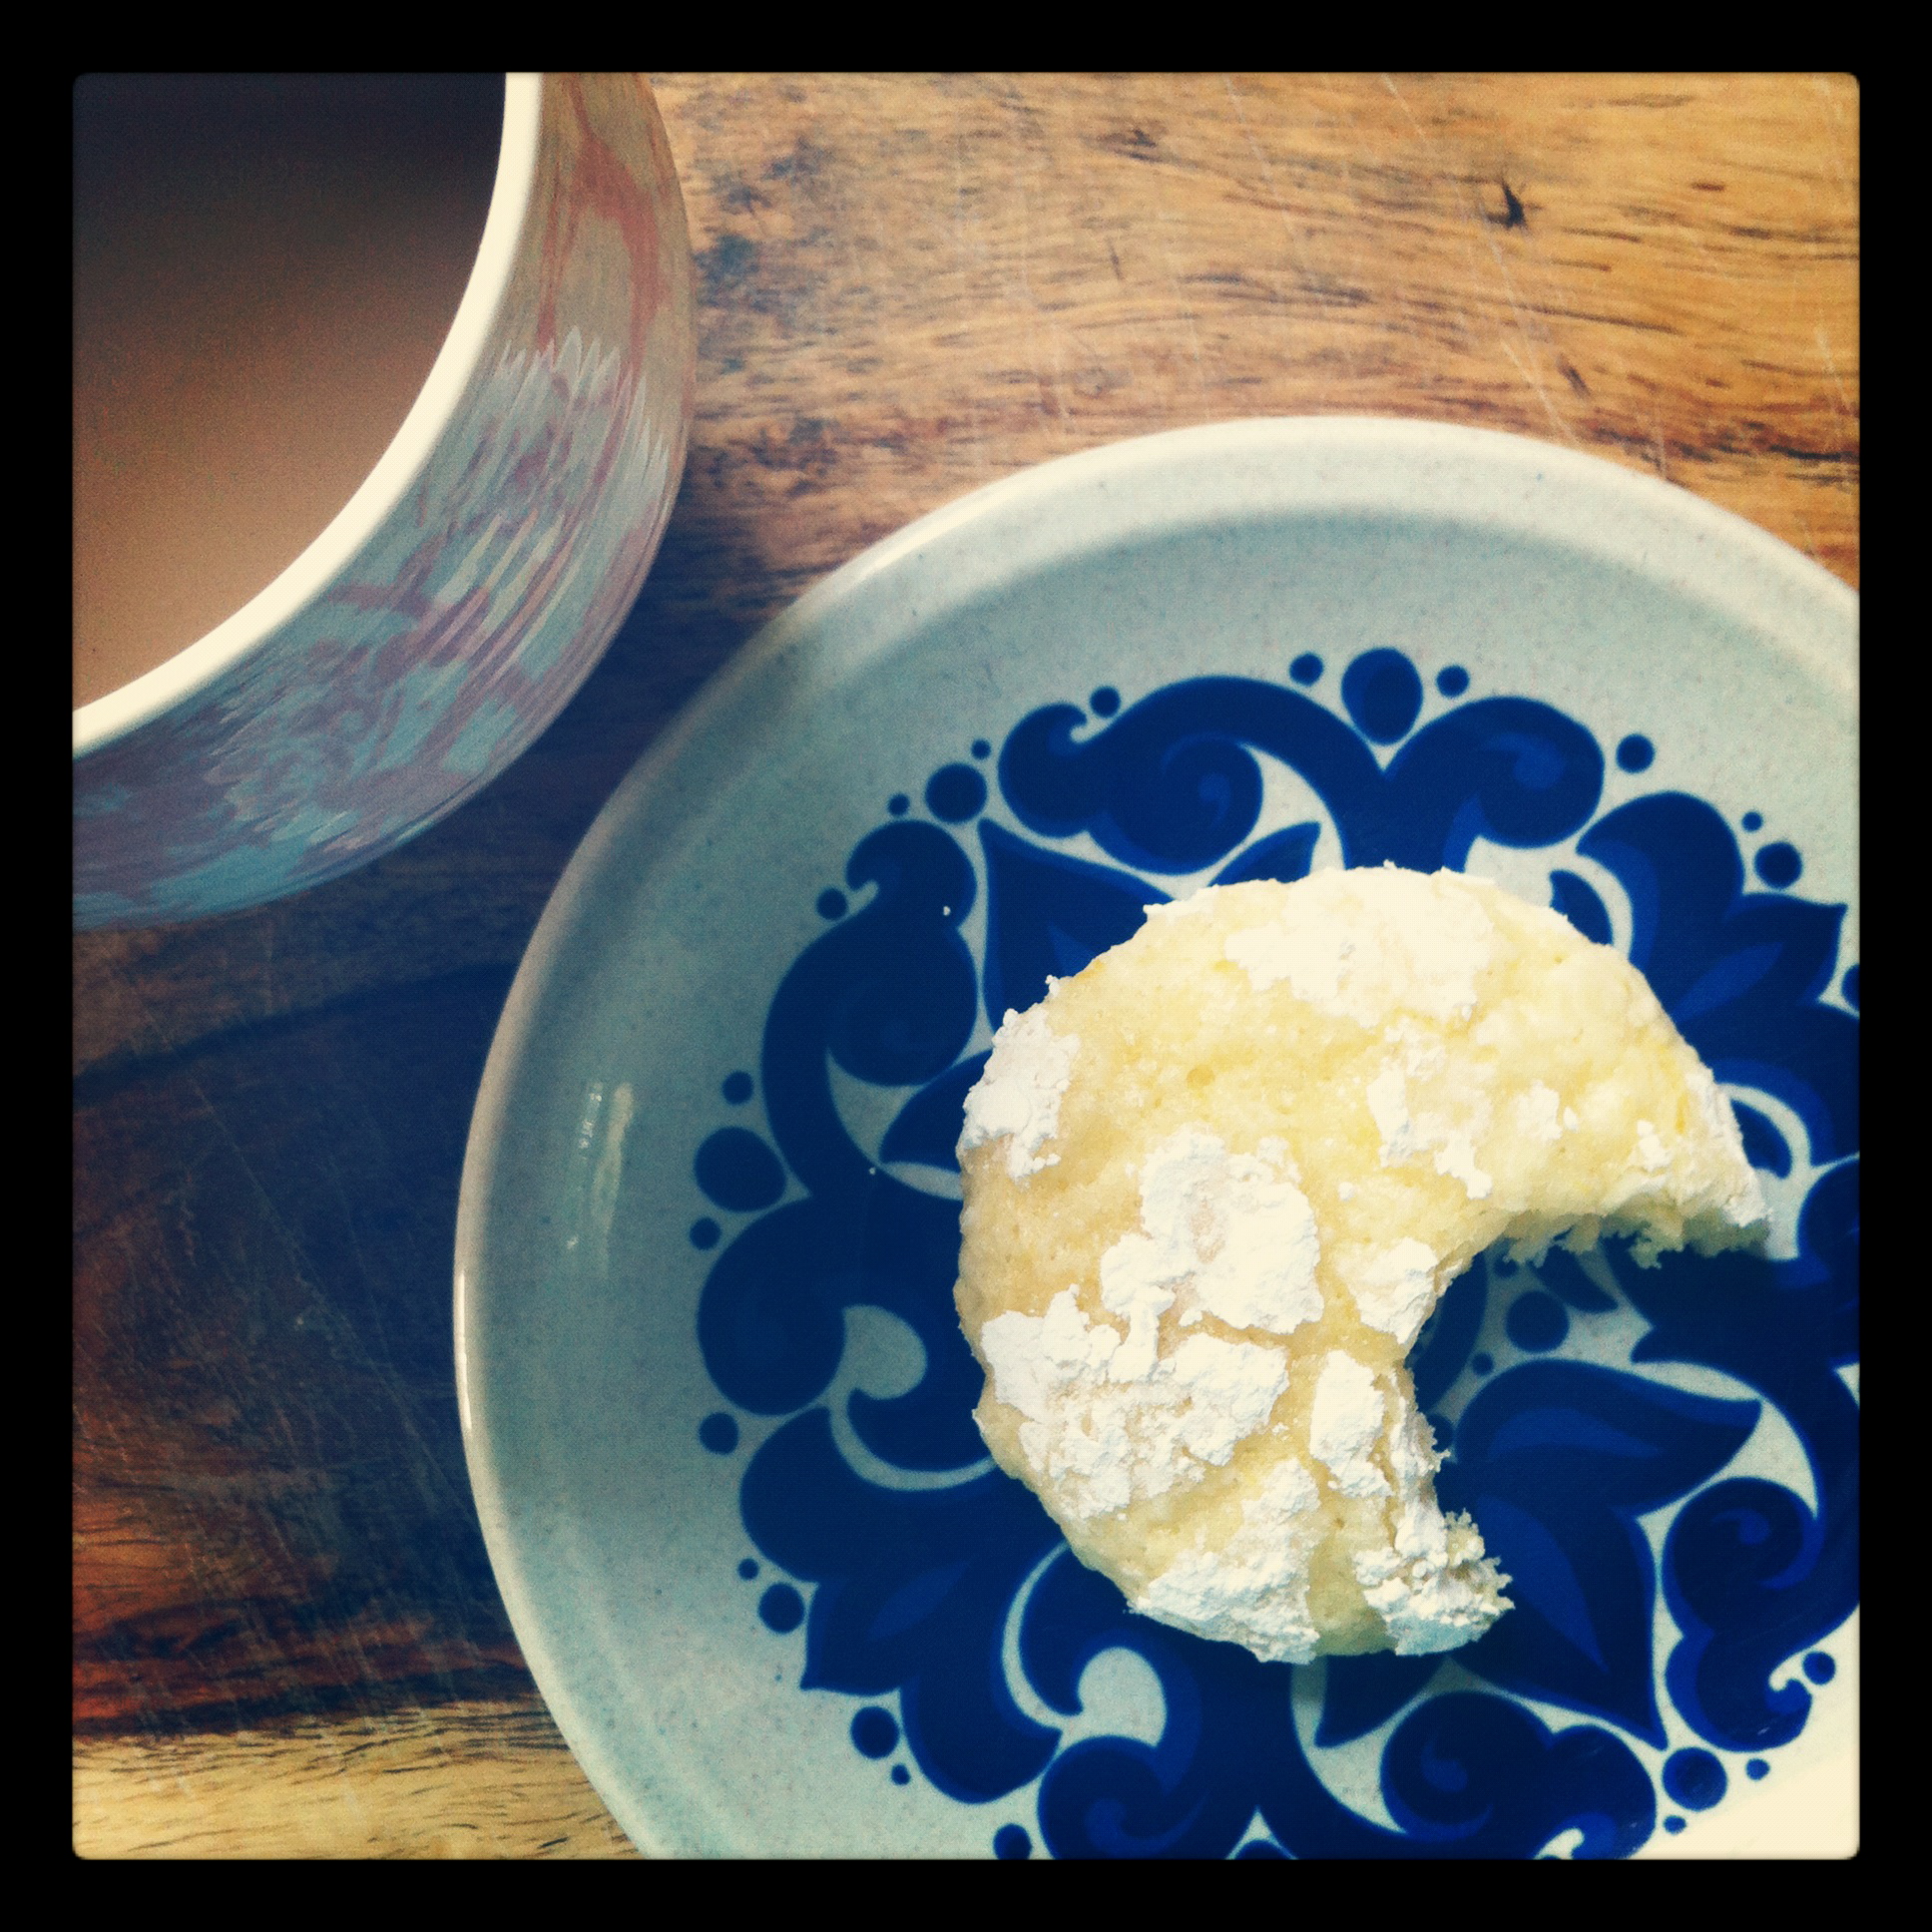
The last two photos in this post were taken with Instagram, an iPhone app. If you are an IG user and want to follow my daily foodie (etc.) life, you can find me at @onceuponarecipe. 
Now go make these cookies!

I Scream, You Scream, We All Scream For… | Mint Chocolate Chip Ice Cream

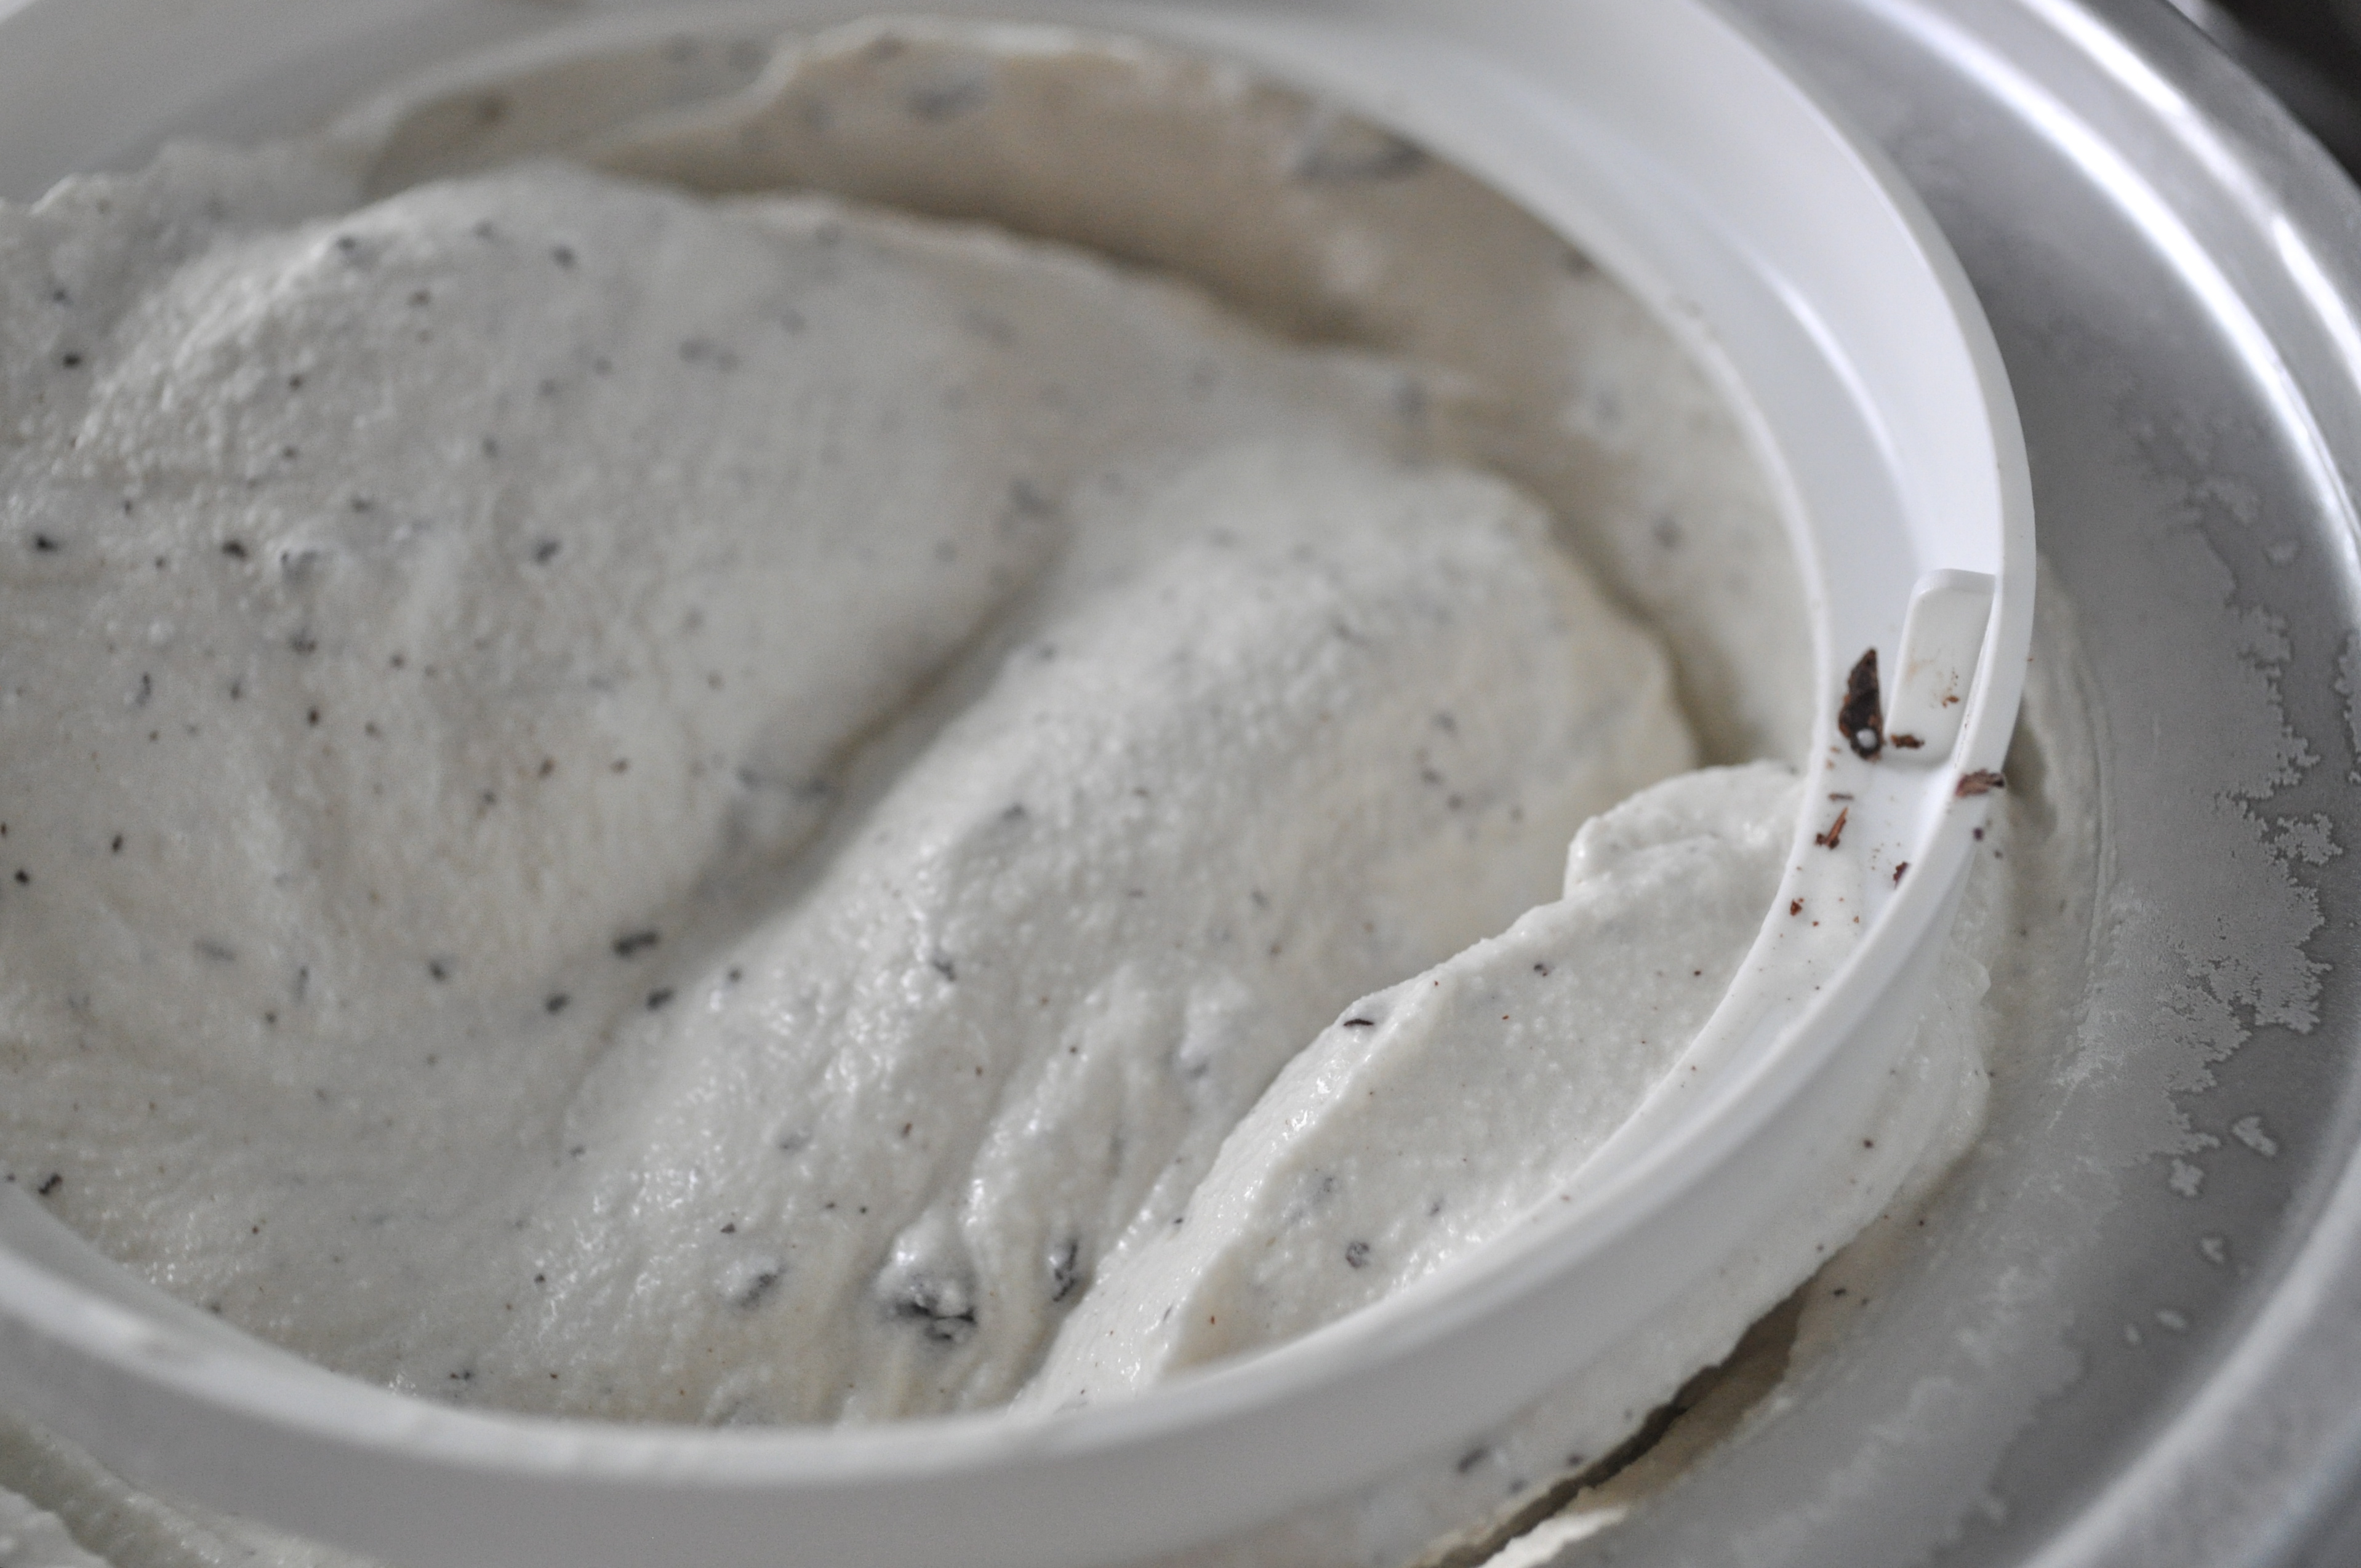
Friends, I have a very sad confession to make. I have had an ice cream maker sitting, unused, in its original box, for one and a half long years. I received it as a gift for Christmas in 2010. I had good intentions of using it immediately. I picked out recipes. I formulated ice cream-making plans. And it never happened.

You see, whenever I followed through on those good intentions, and got all geared up to make ice cream, I’d open the box and realize (for the bazillionth time) that the canister needed to be frozen for at least 8 hours prior to using it. And I’m embarrassed to report that instead of taking it out of the box and sticking in the freezer to avoid the same disappointment the next time around, I just closed it right back up again. It is important to note that there was one other very labor intensive step required…washing the canister. Sometimes I confuse even myself.

Thankfully, I righted all of these wrongs last weekend when I did the smart thing and stuck that dang canister into the freezer, and the next day went out and picked up my ice cream making supplies. And then I got straight to makin’ ice cream!

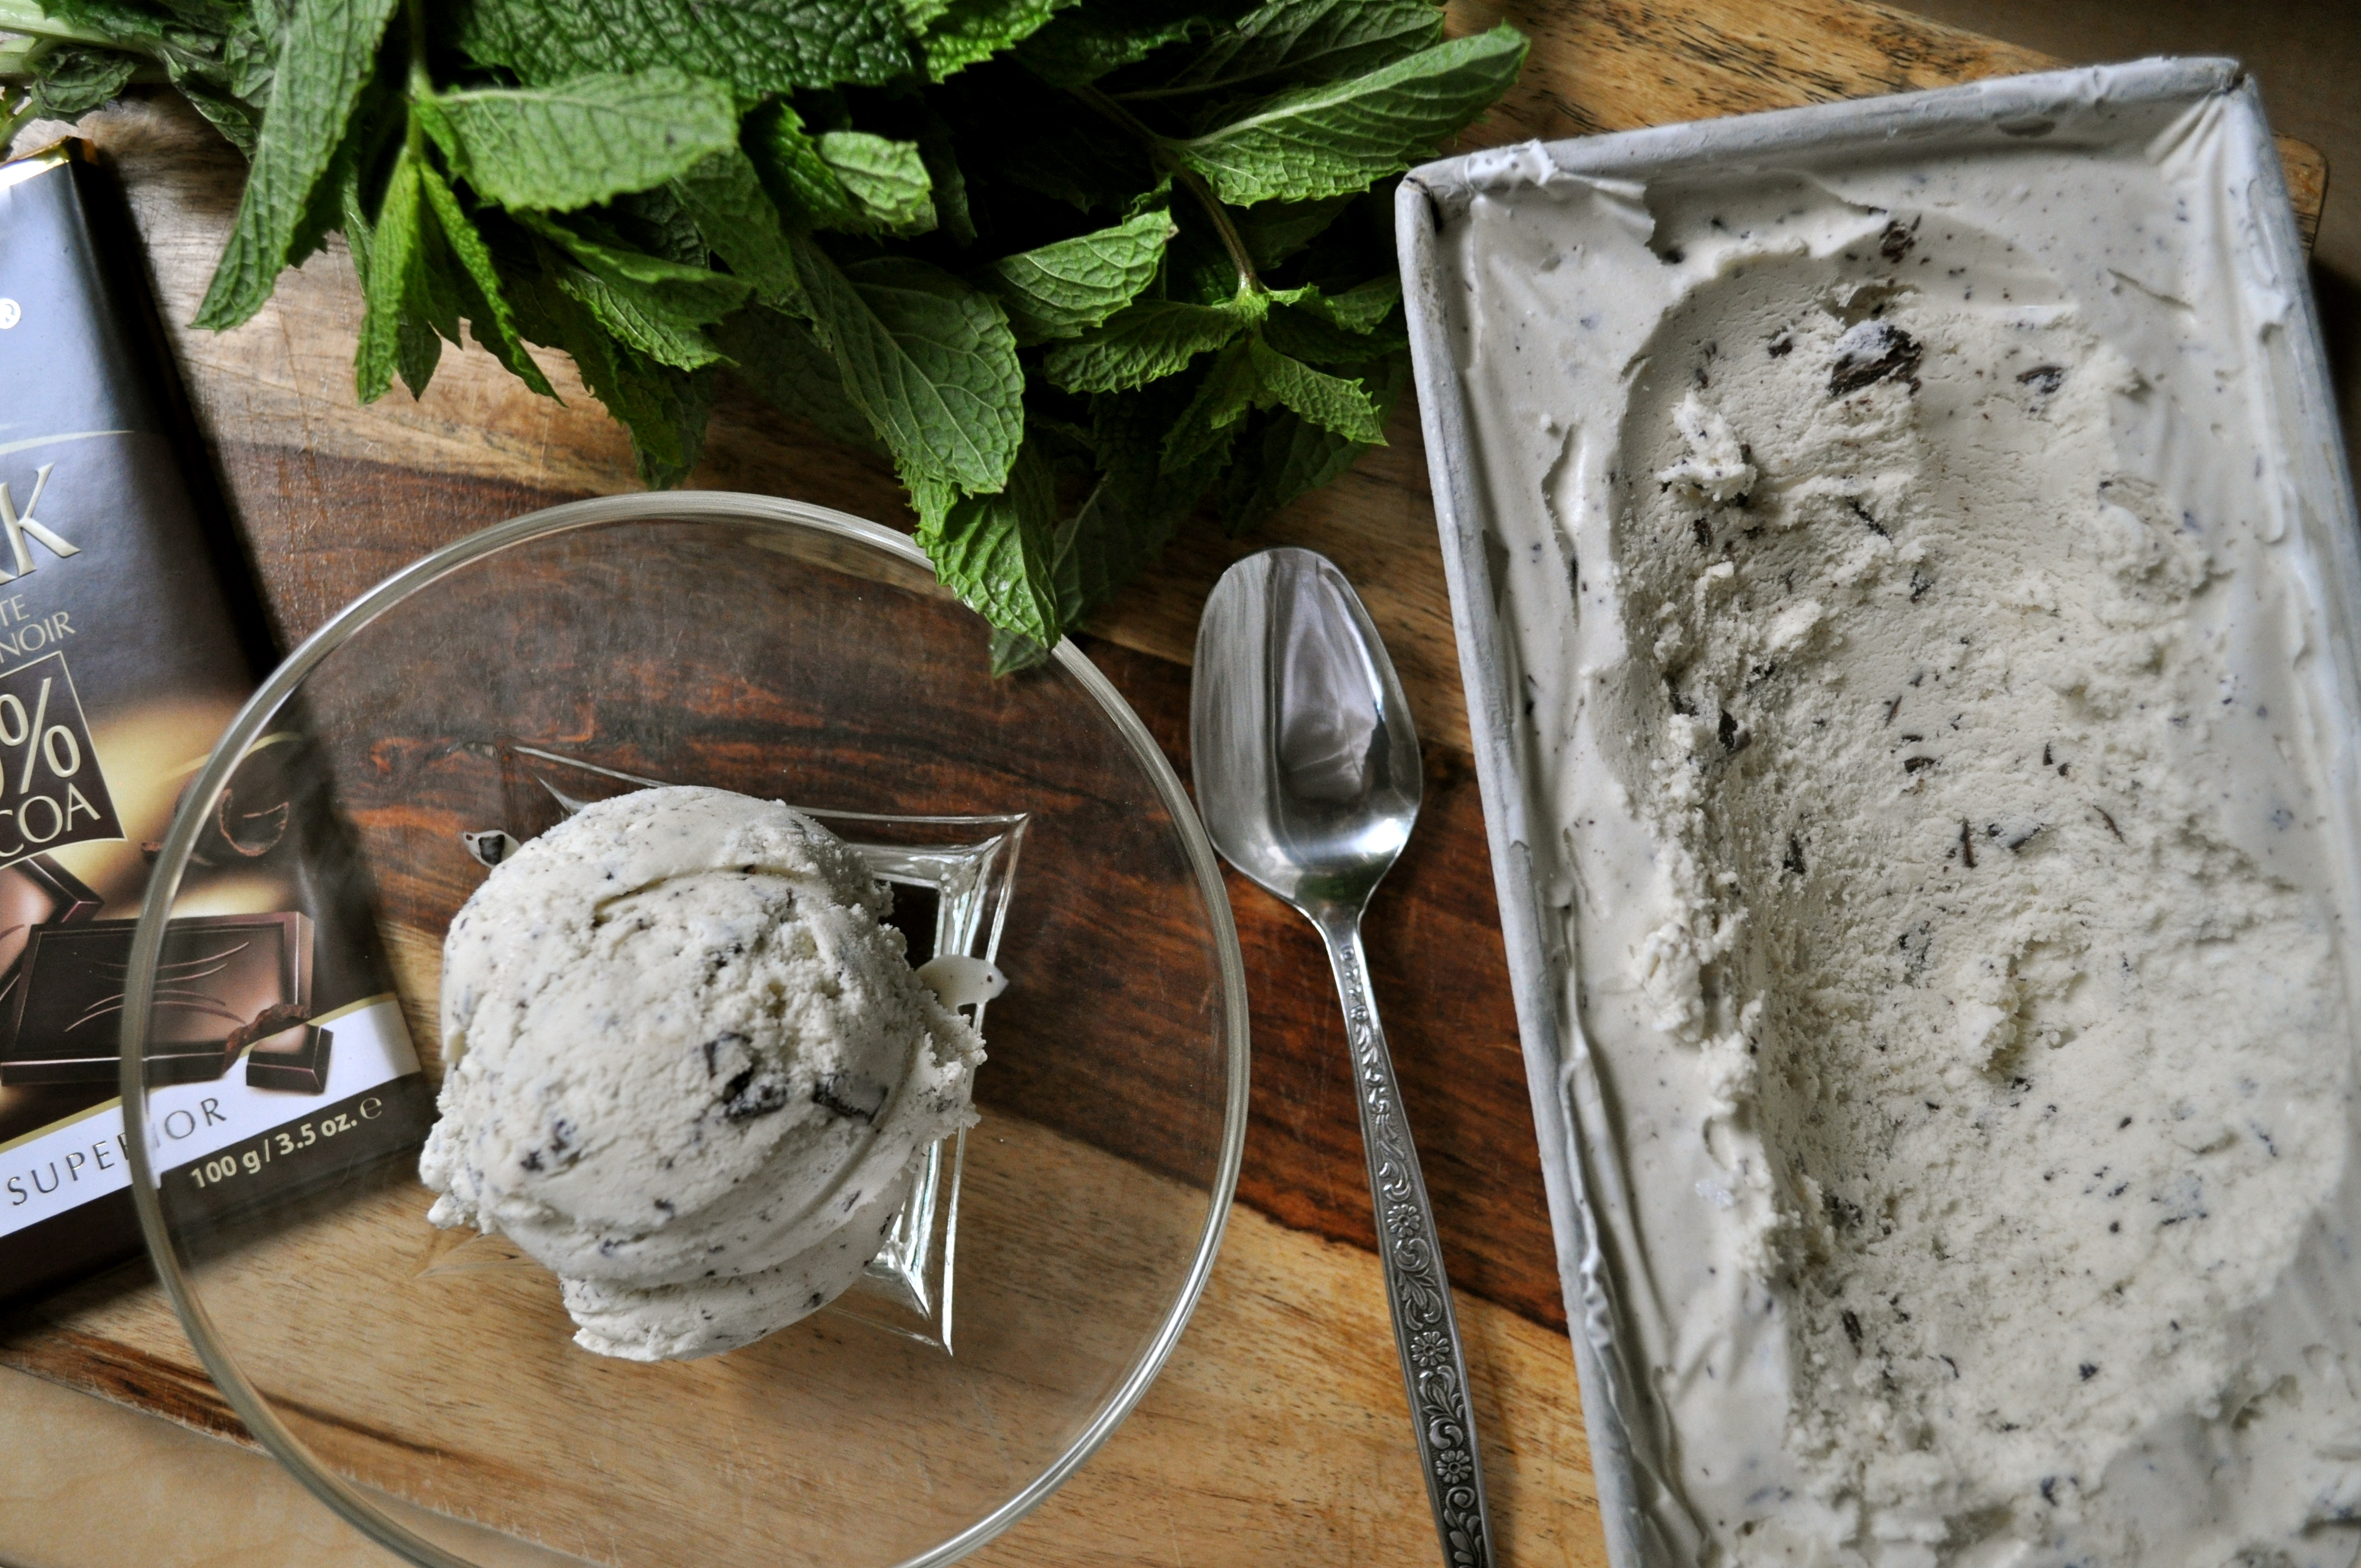
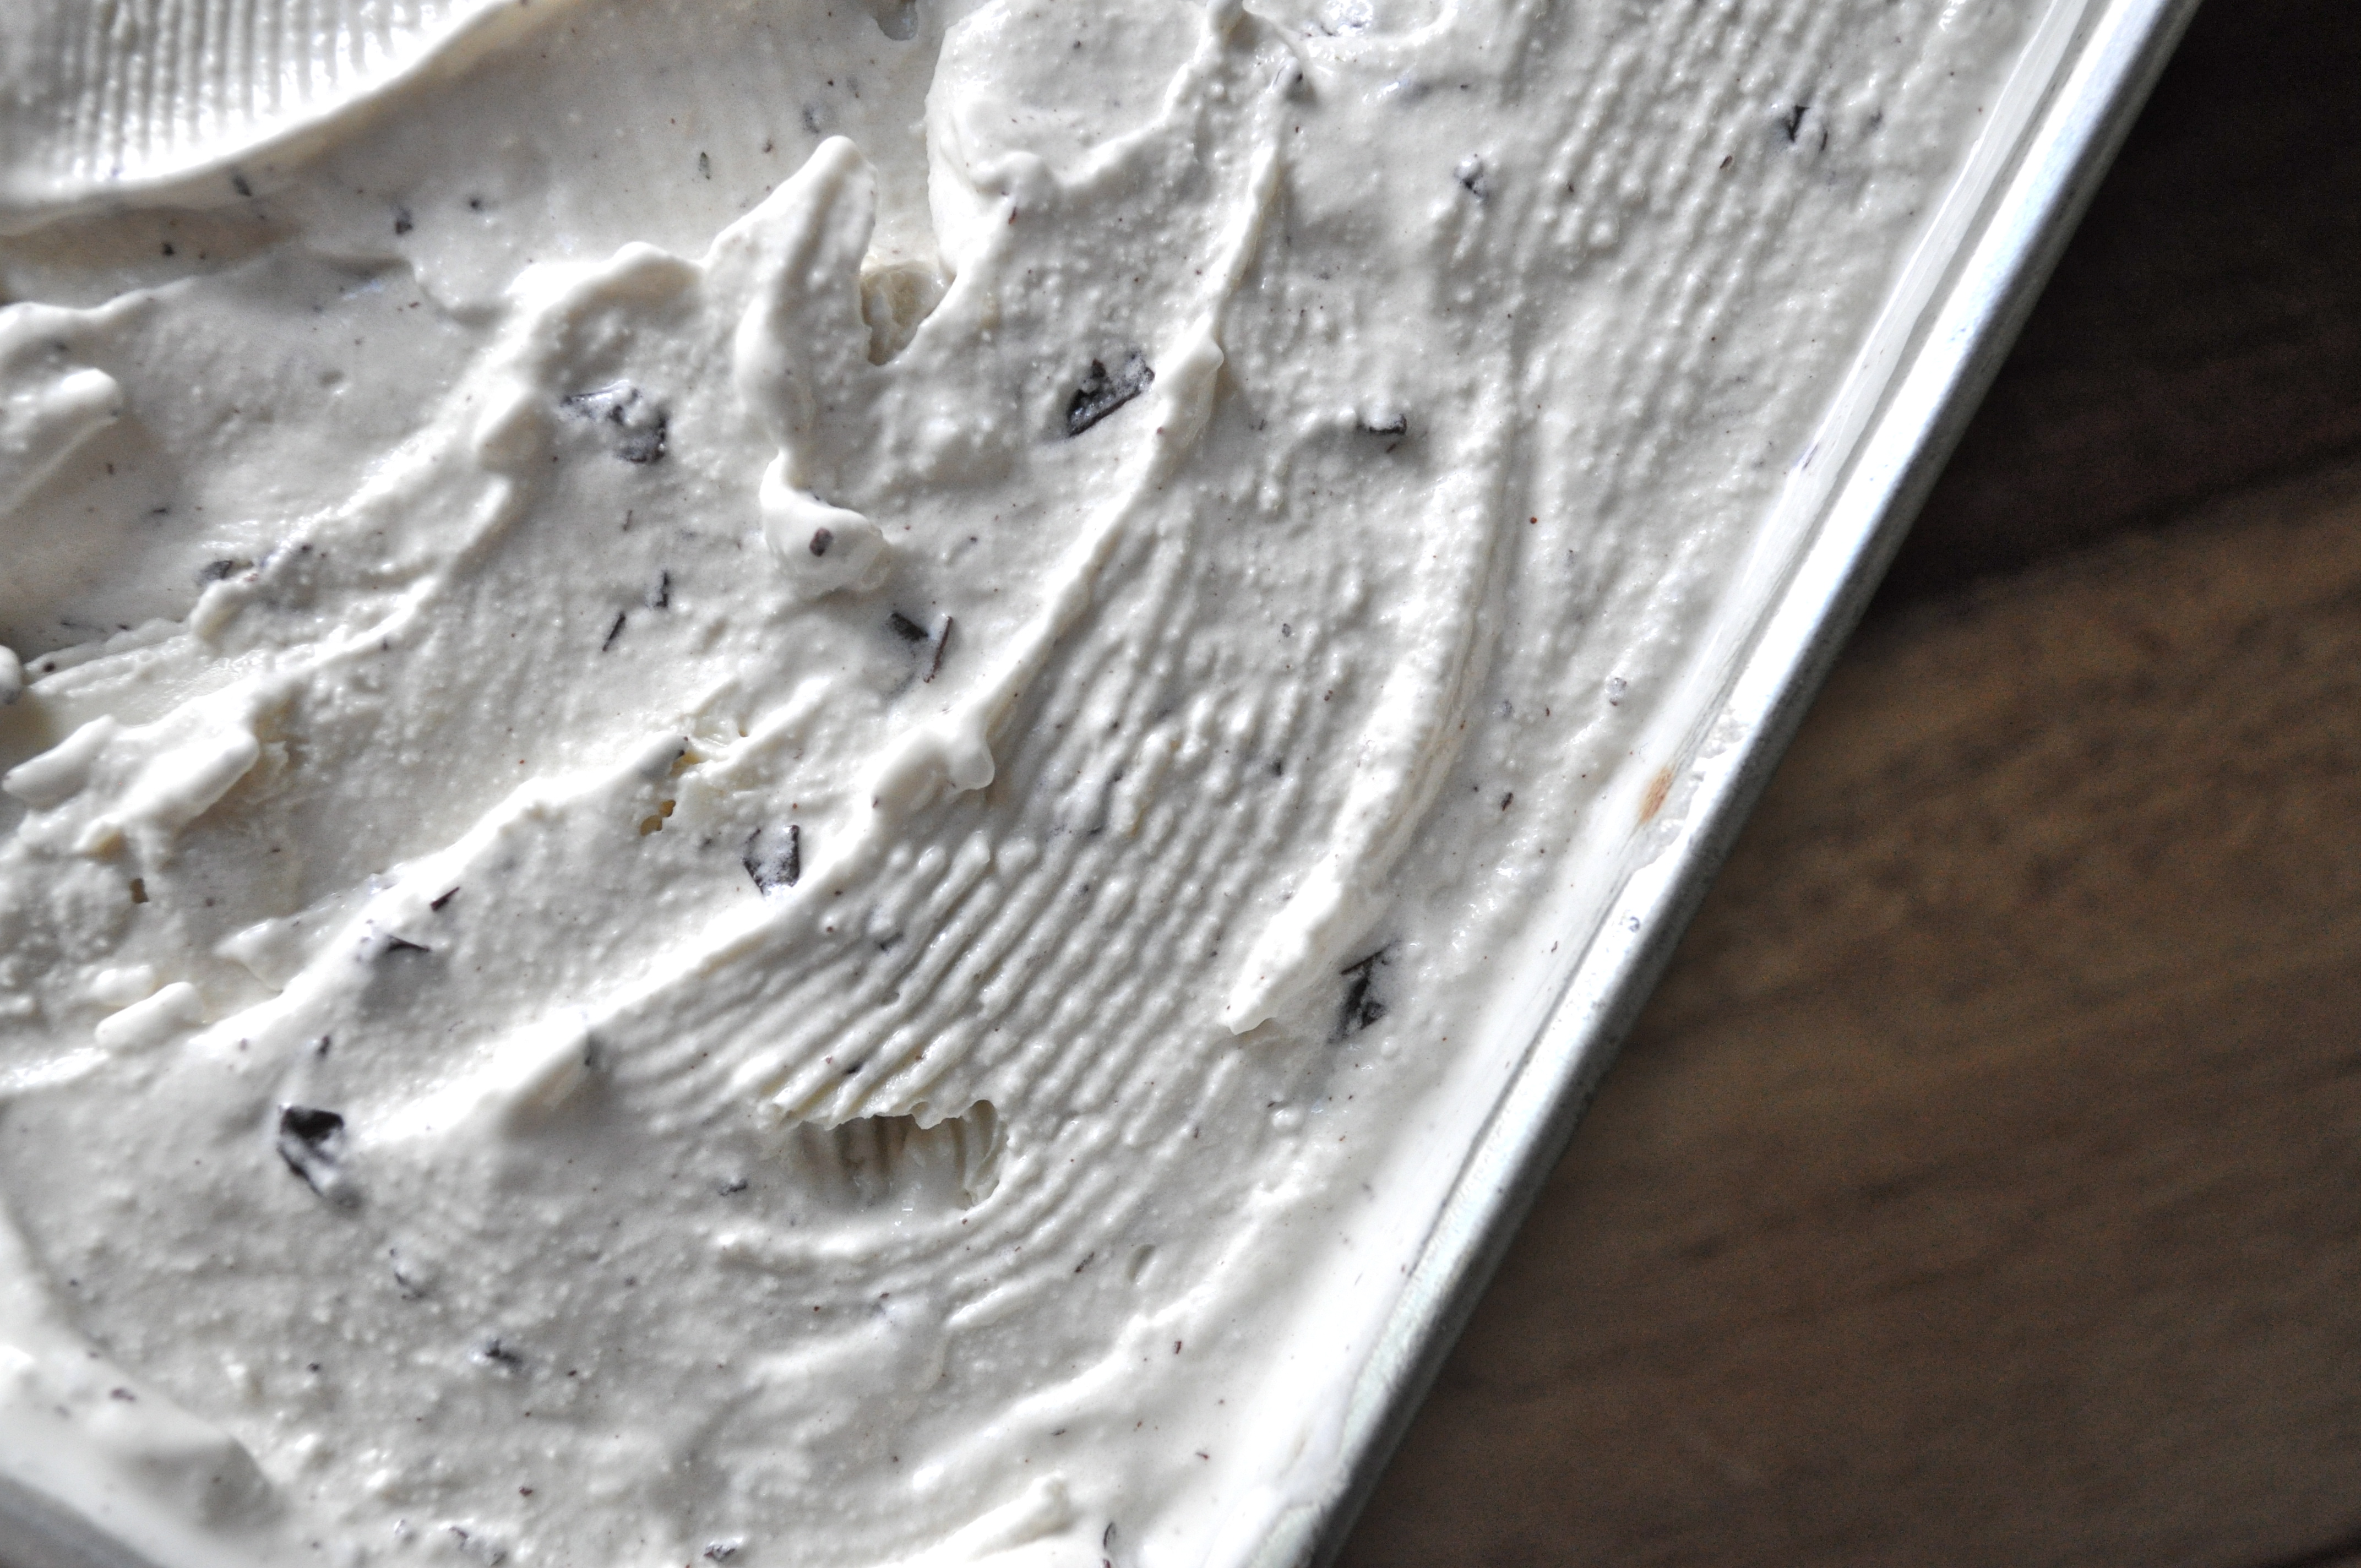
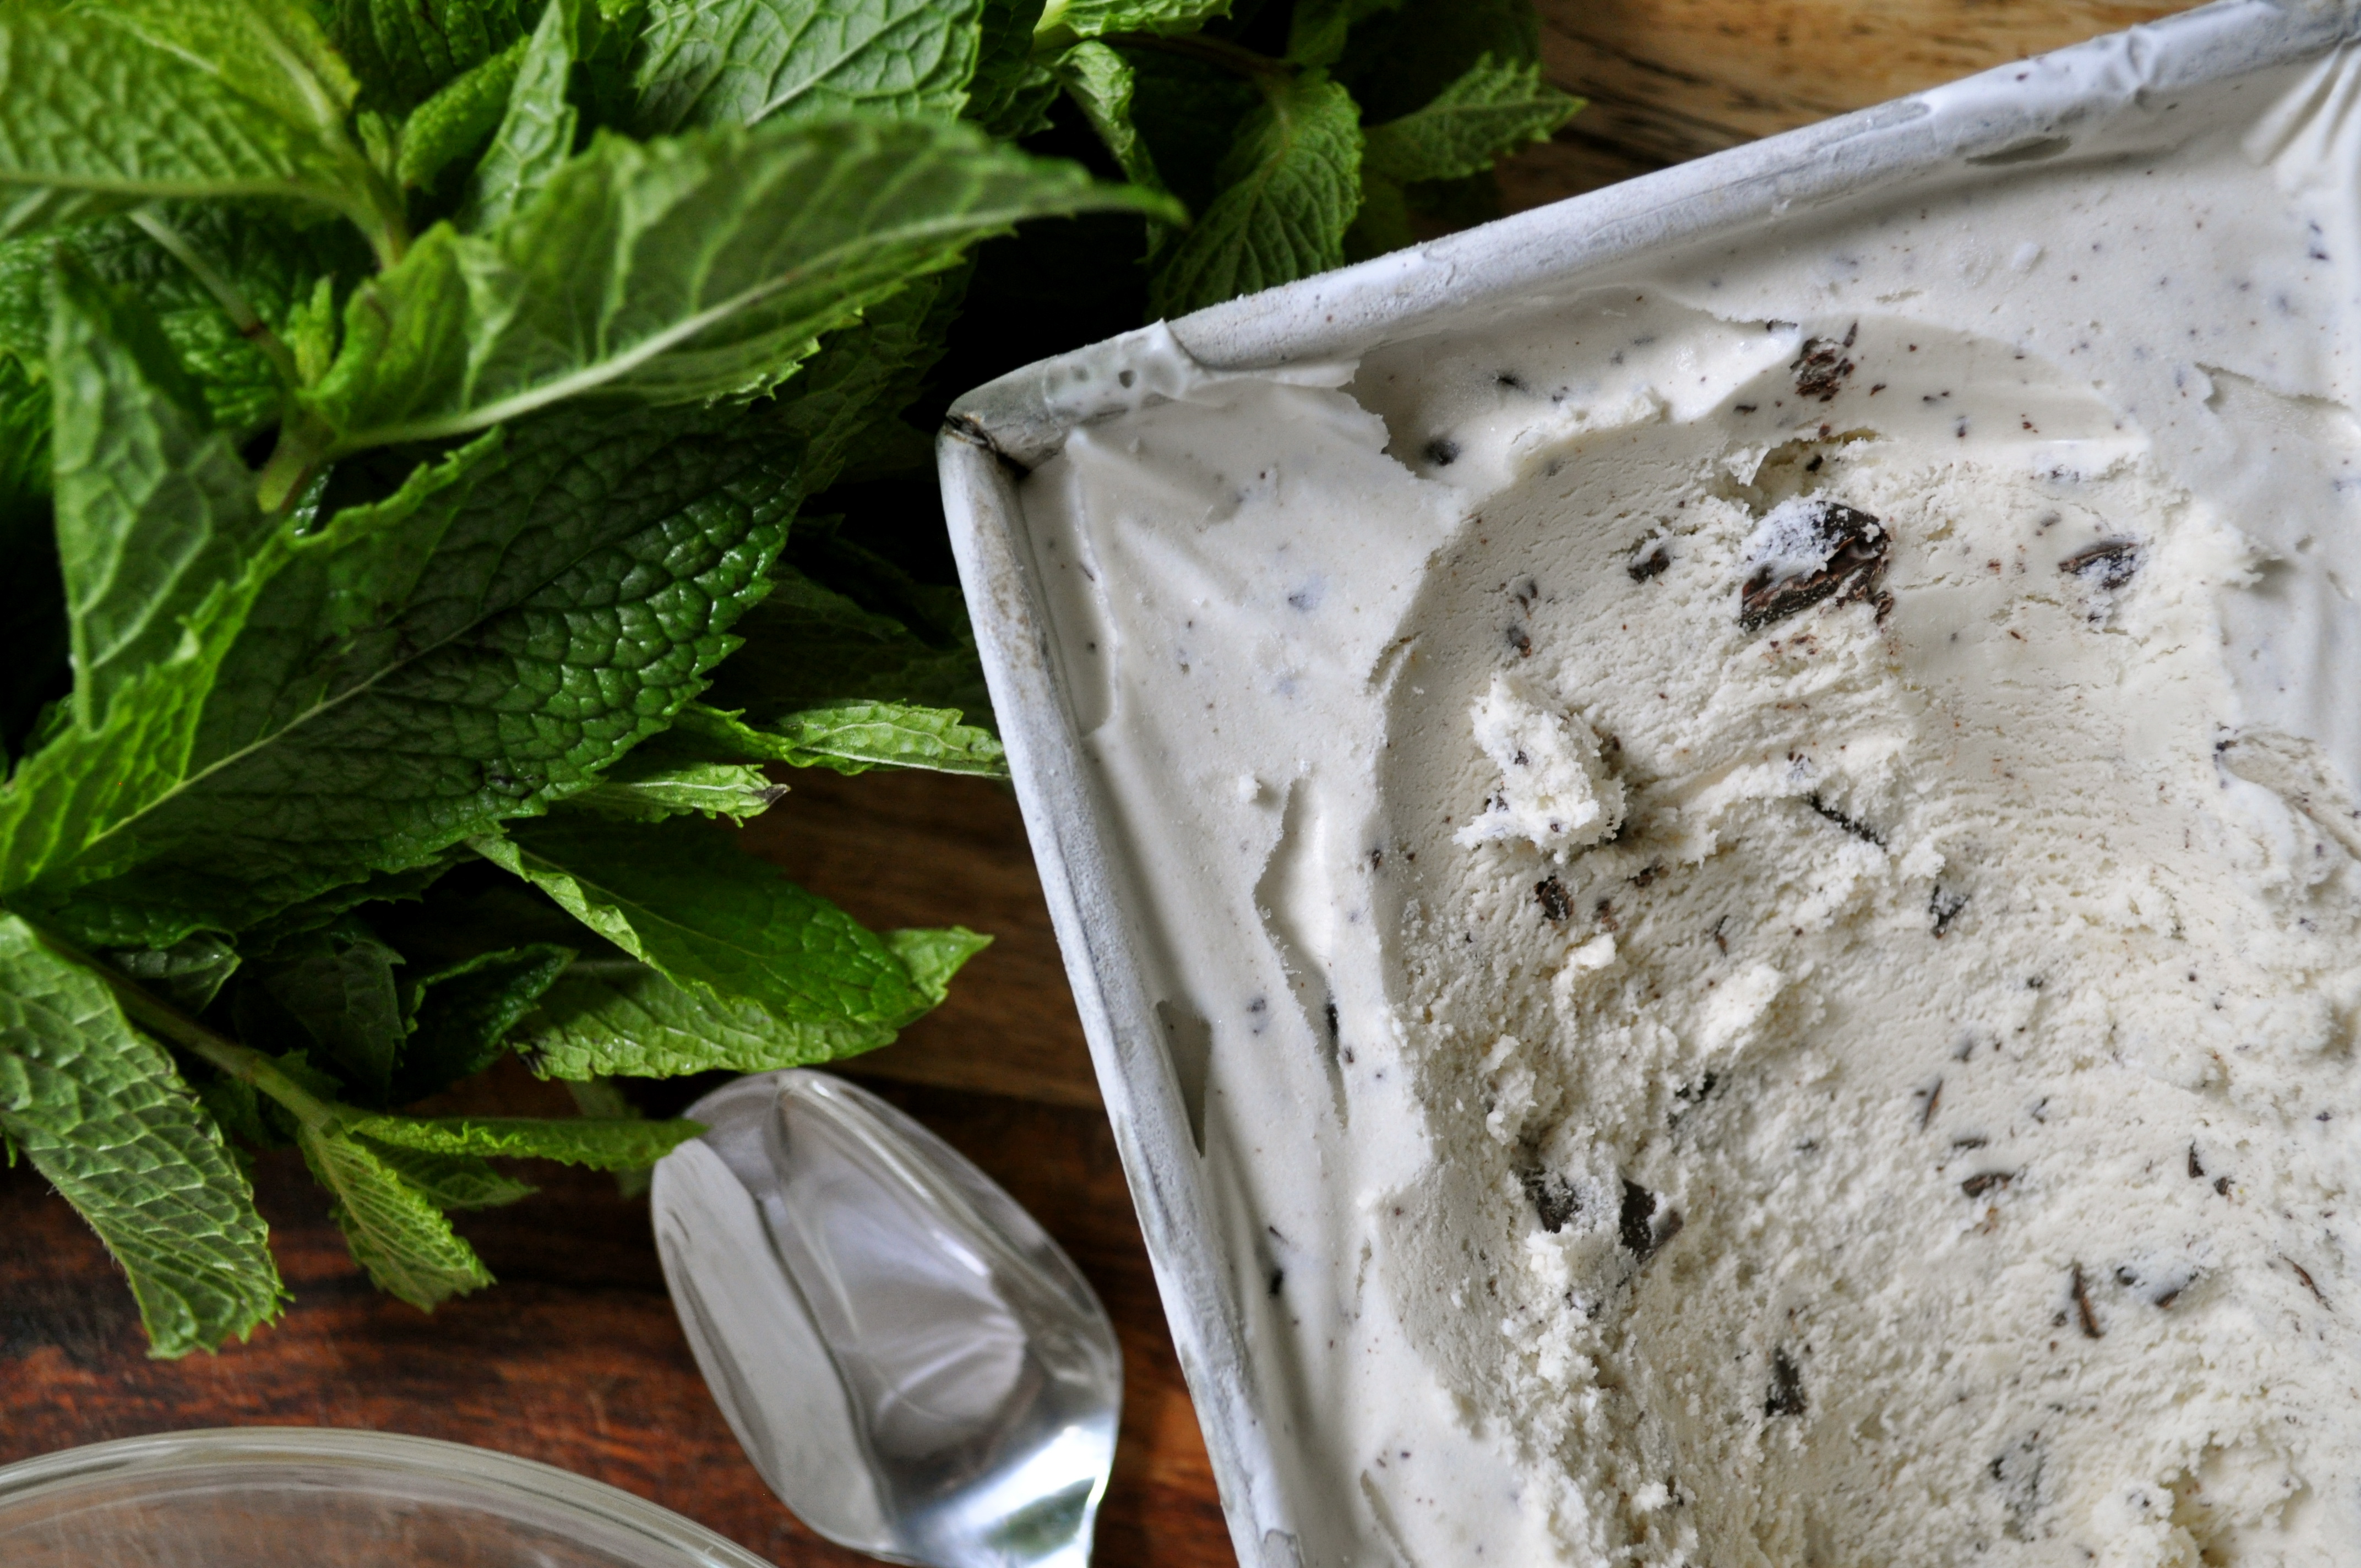
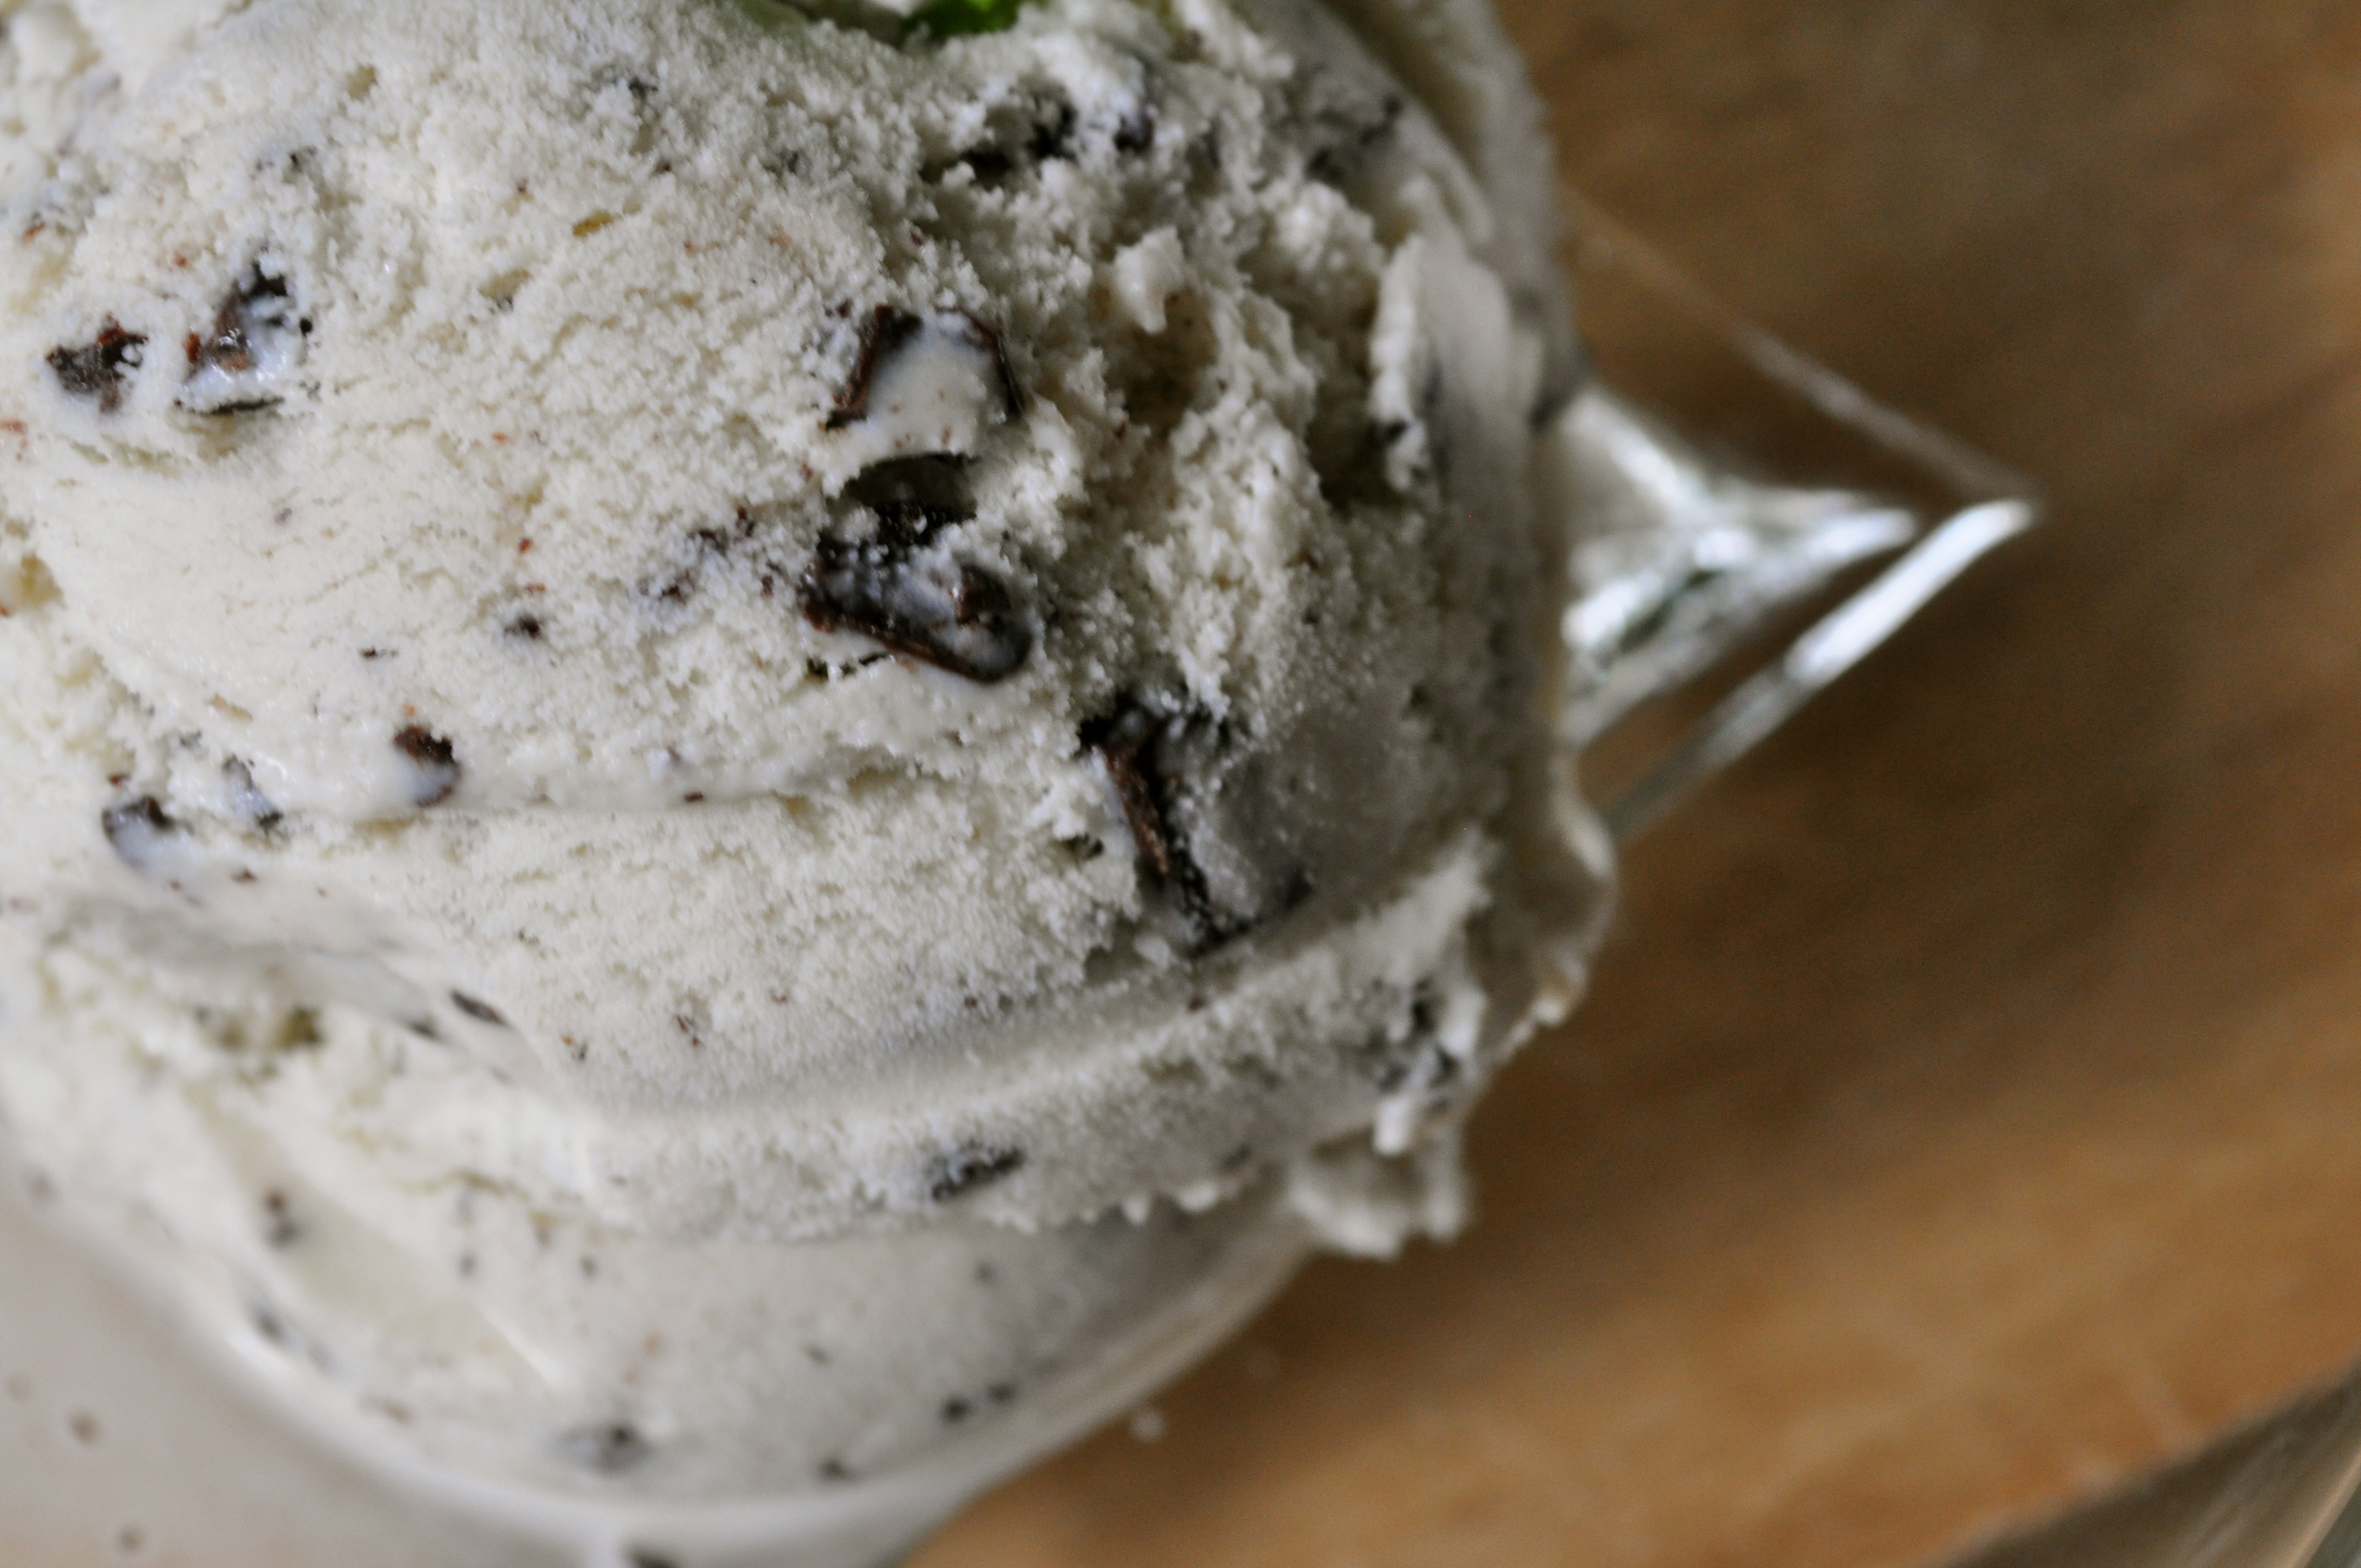
The combination of mint and chocolate has been one of my favorites for a long time, so I immediately began searching for a mint chocolate chip ice cream recipe. Cool, minty ice cream chock full of dark chocolate chunks. And let me tell you…there is nothing quite like a humongous bowl of cold, minty ice cream on a hot summer evening to help cool a person down. Heat wave is an understatement. Let’s just say there’s been much spread eagle, underwear only, fan blasting directly at the bed insomnia sleeping going on lately. Thank goodness for ice cream.

PS. July is National Ice Cream month! Don’t be surprised if you see another ice cream recipe (or two) posted here in the next few weeks. I’ve spotted a recipe for peanut butter ice cream…trouble!

Mint Chocolate Chip Ice Cream (adapted from The Kitchn)

Makes about two quarts.

3 cups fresh mint leaves

4 cups half and half

3/4 cup sugar

A pinch of salt

1 tsp. vanilla

4 egg yolks

6 ounces good quality dark chocolate, chopped

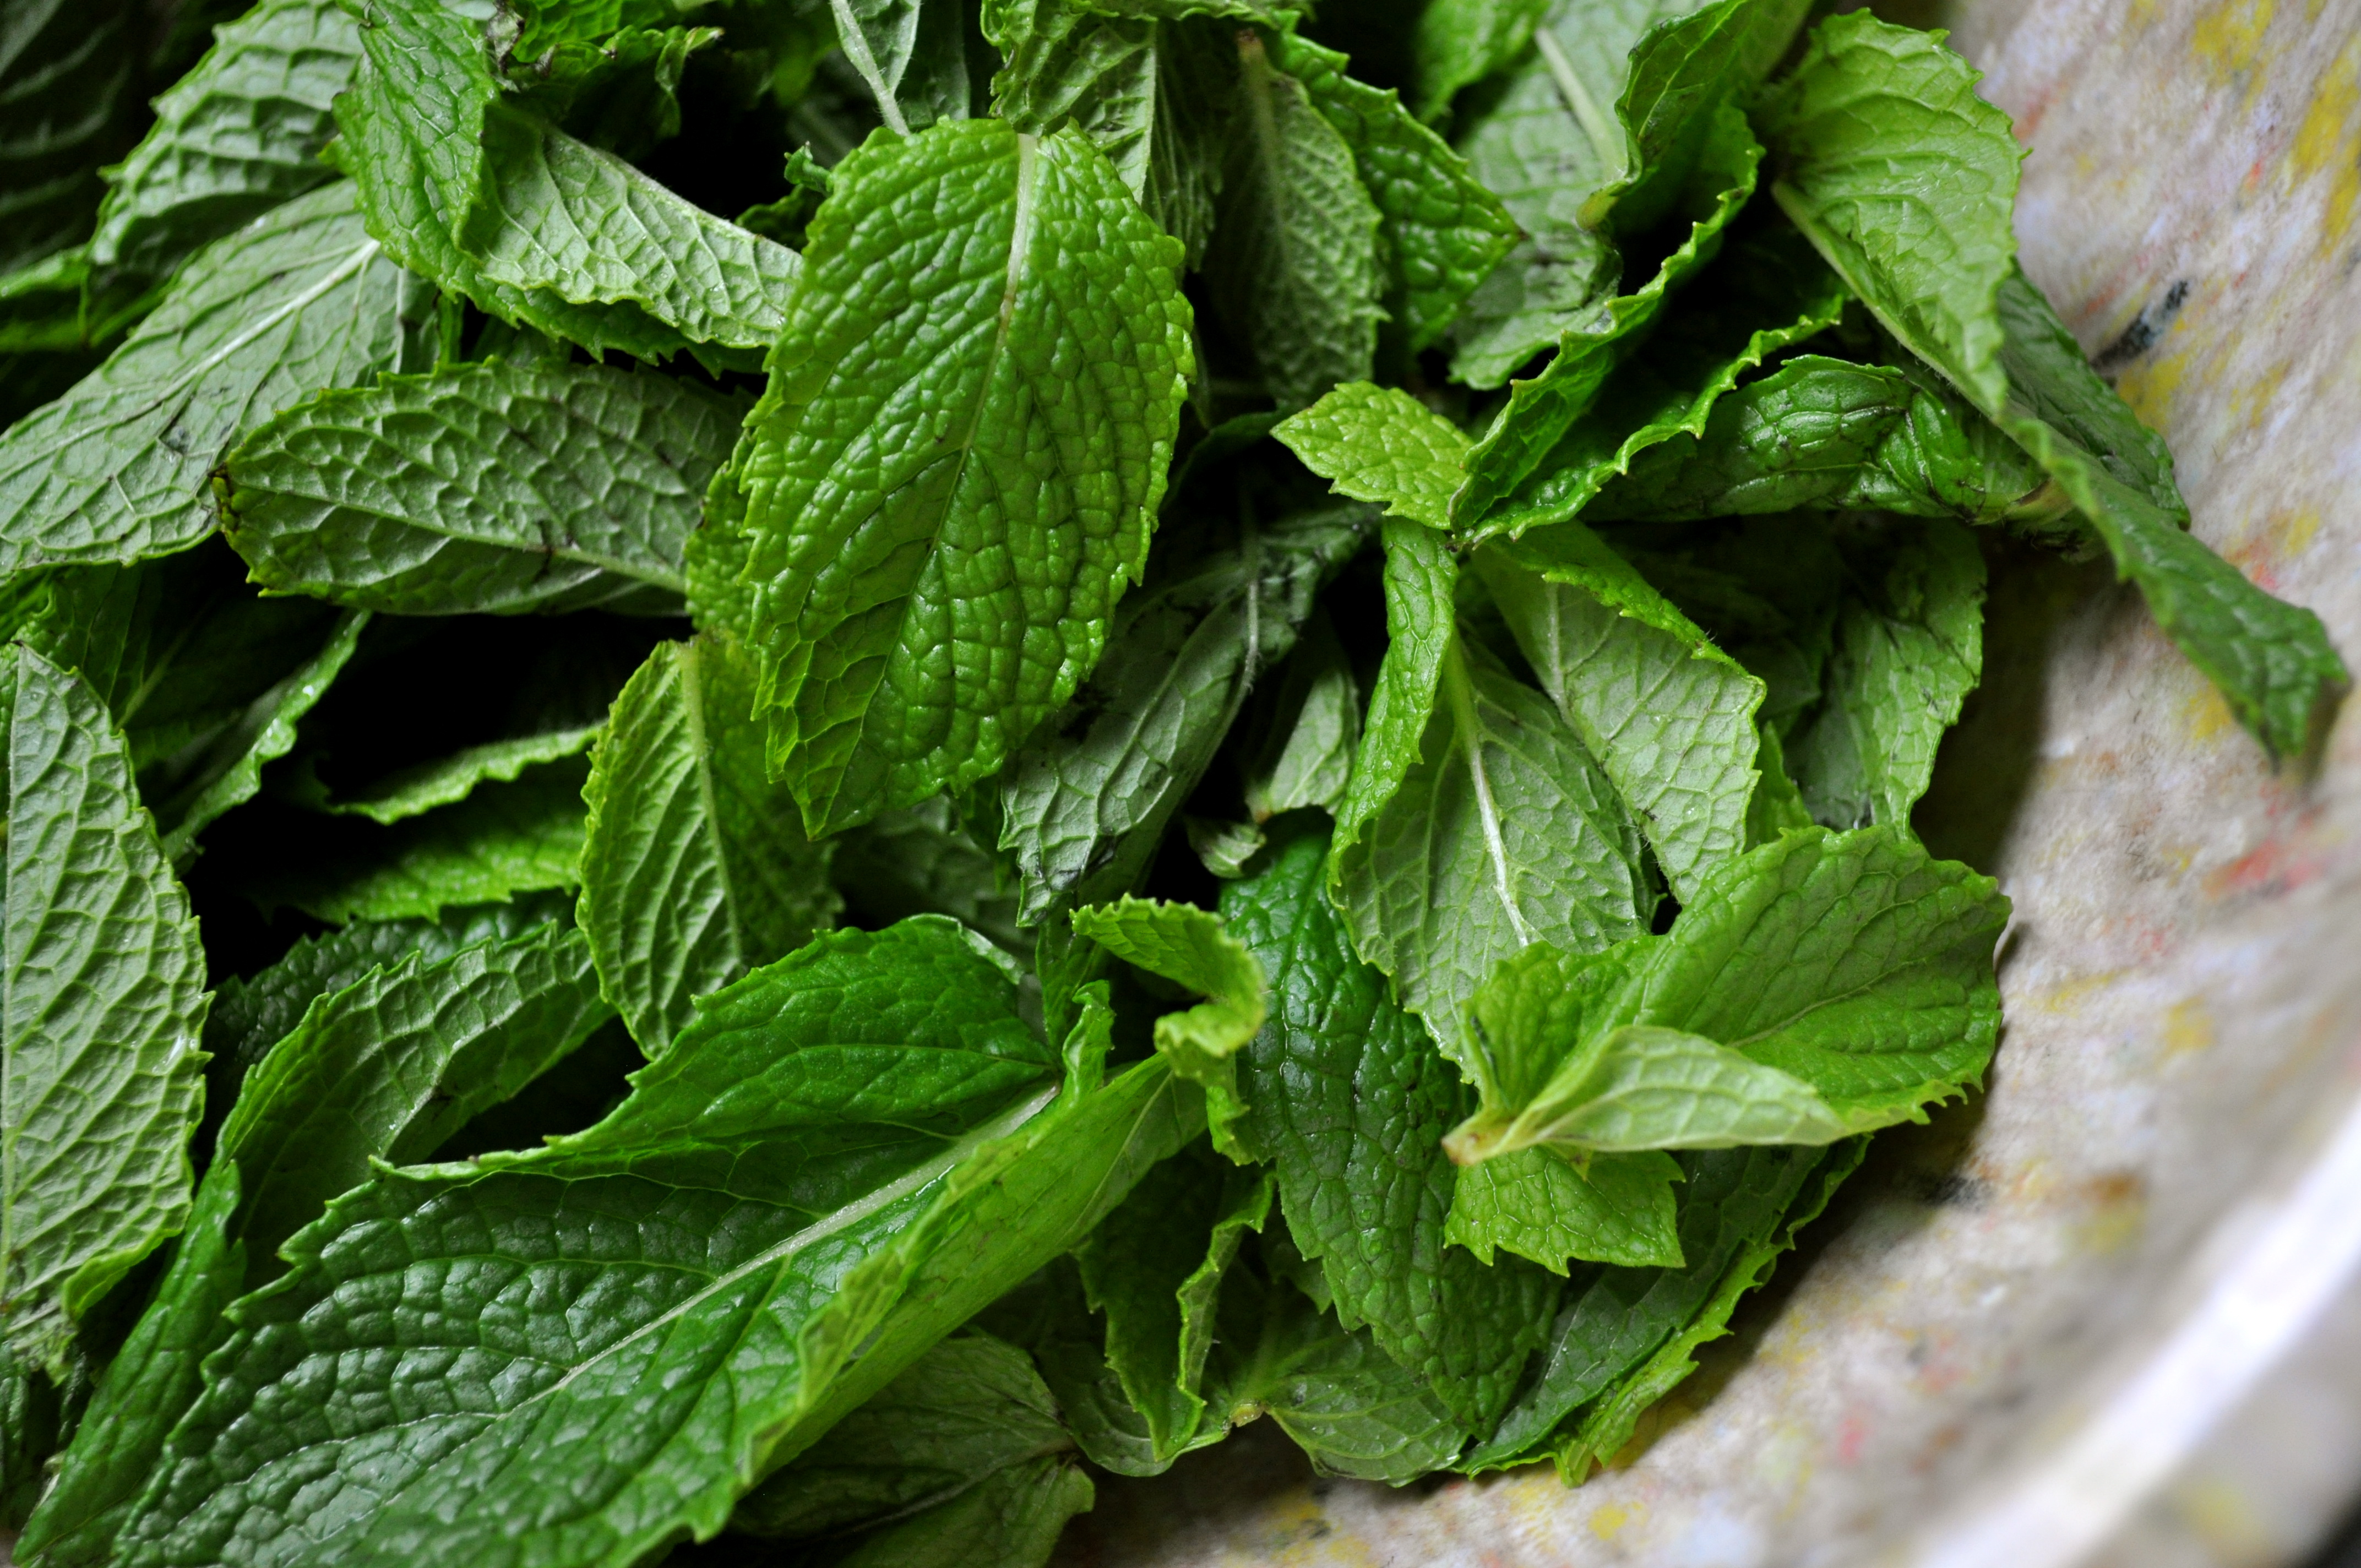
Tear the mint leaves off of their stems and put in a bowl. Pound with a pestle or large spoon just until they are bruised and start to give off their delicious minty fragrance.

In a heavy saucepan over medium heat, whisk together the half and half, sugar, and salt. Heat until the mixture just begins to steam, the remove from heat, add the mint leaves, and cover. Steep for about two hours. Once the mixture has steeped, strain out the mint leaves and bring the mixture to just under a simmer. Whisk the egg yolks together in a small bowl and add a cup of the cream to temper the eggs. Whisk it all back into the saucepan and cook, stirring, until the custard reaches 170º to 174ºF (this only took a couple of minutes for me). Remove from heat and stir in the vanilla. Pour into a bowl, cover, and refrigerate overnight.

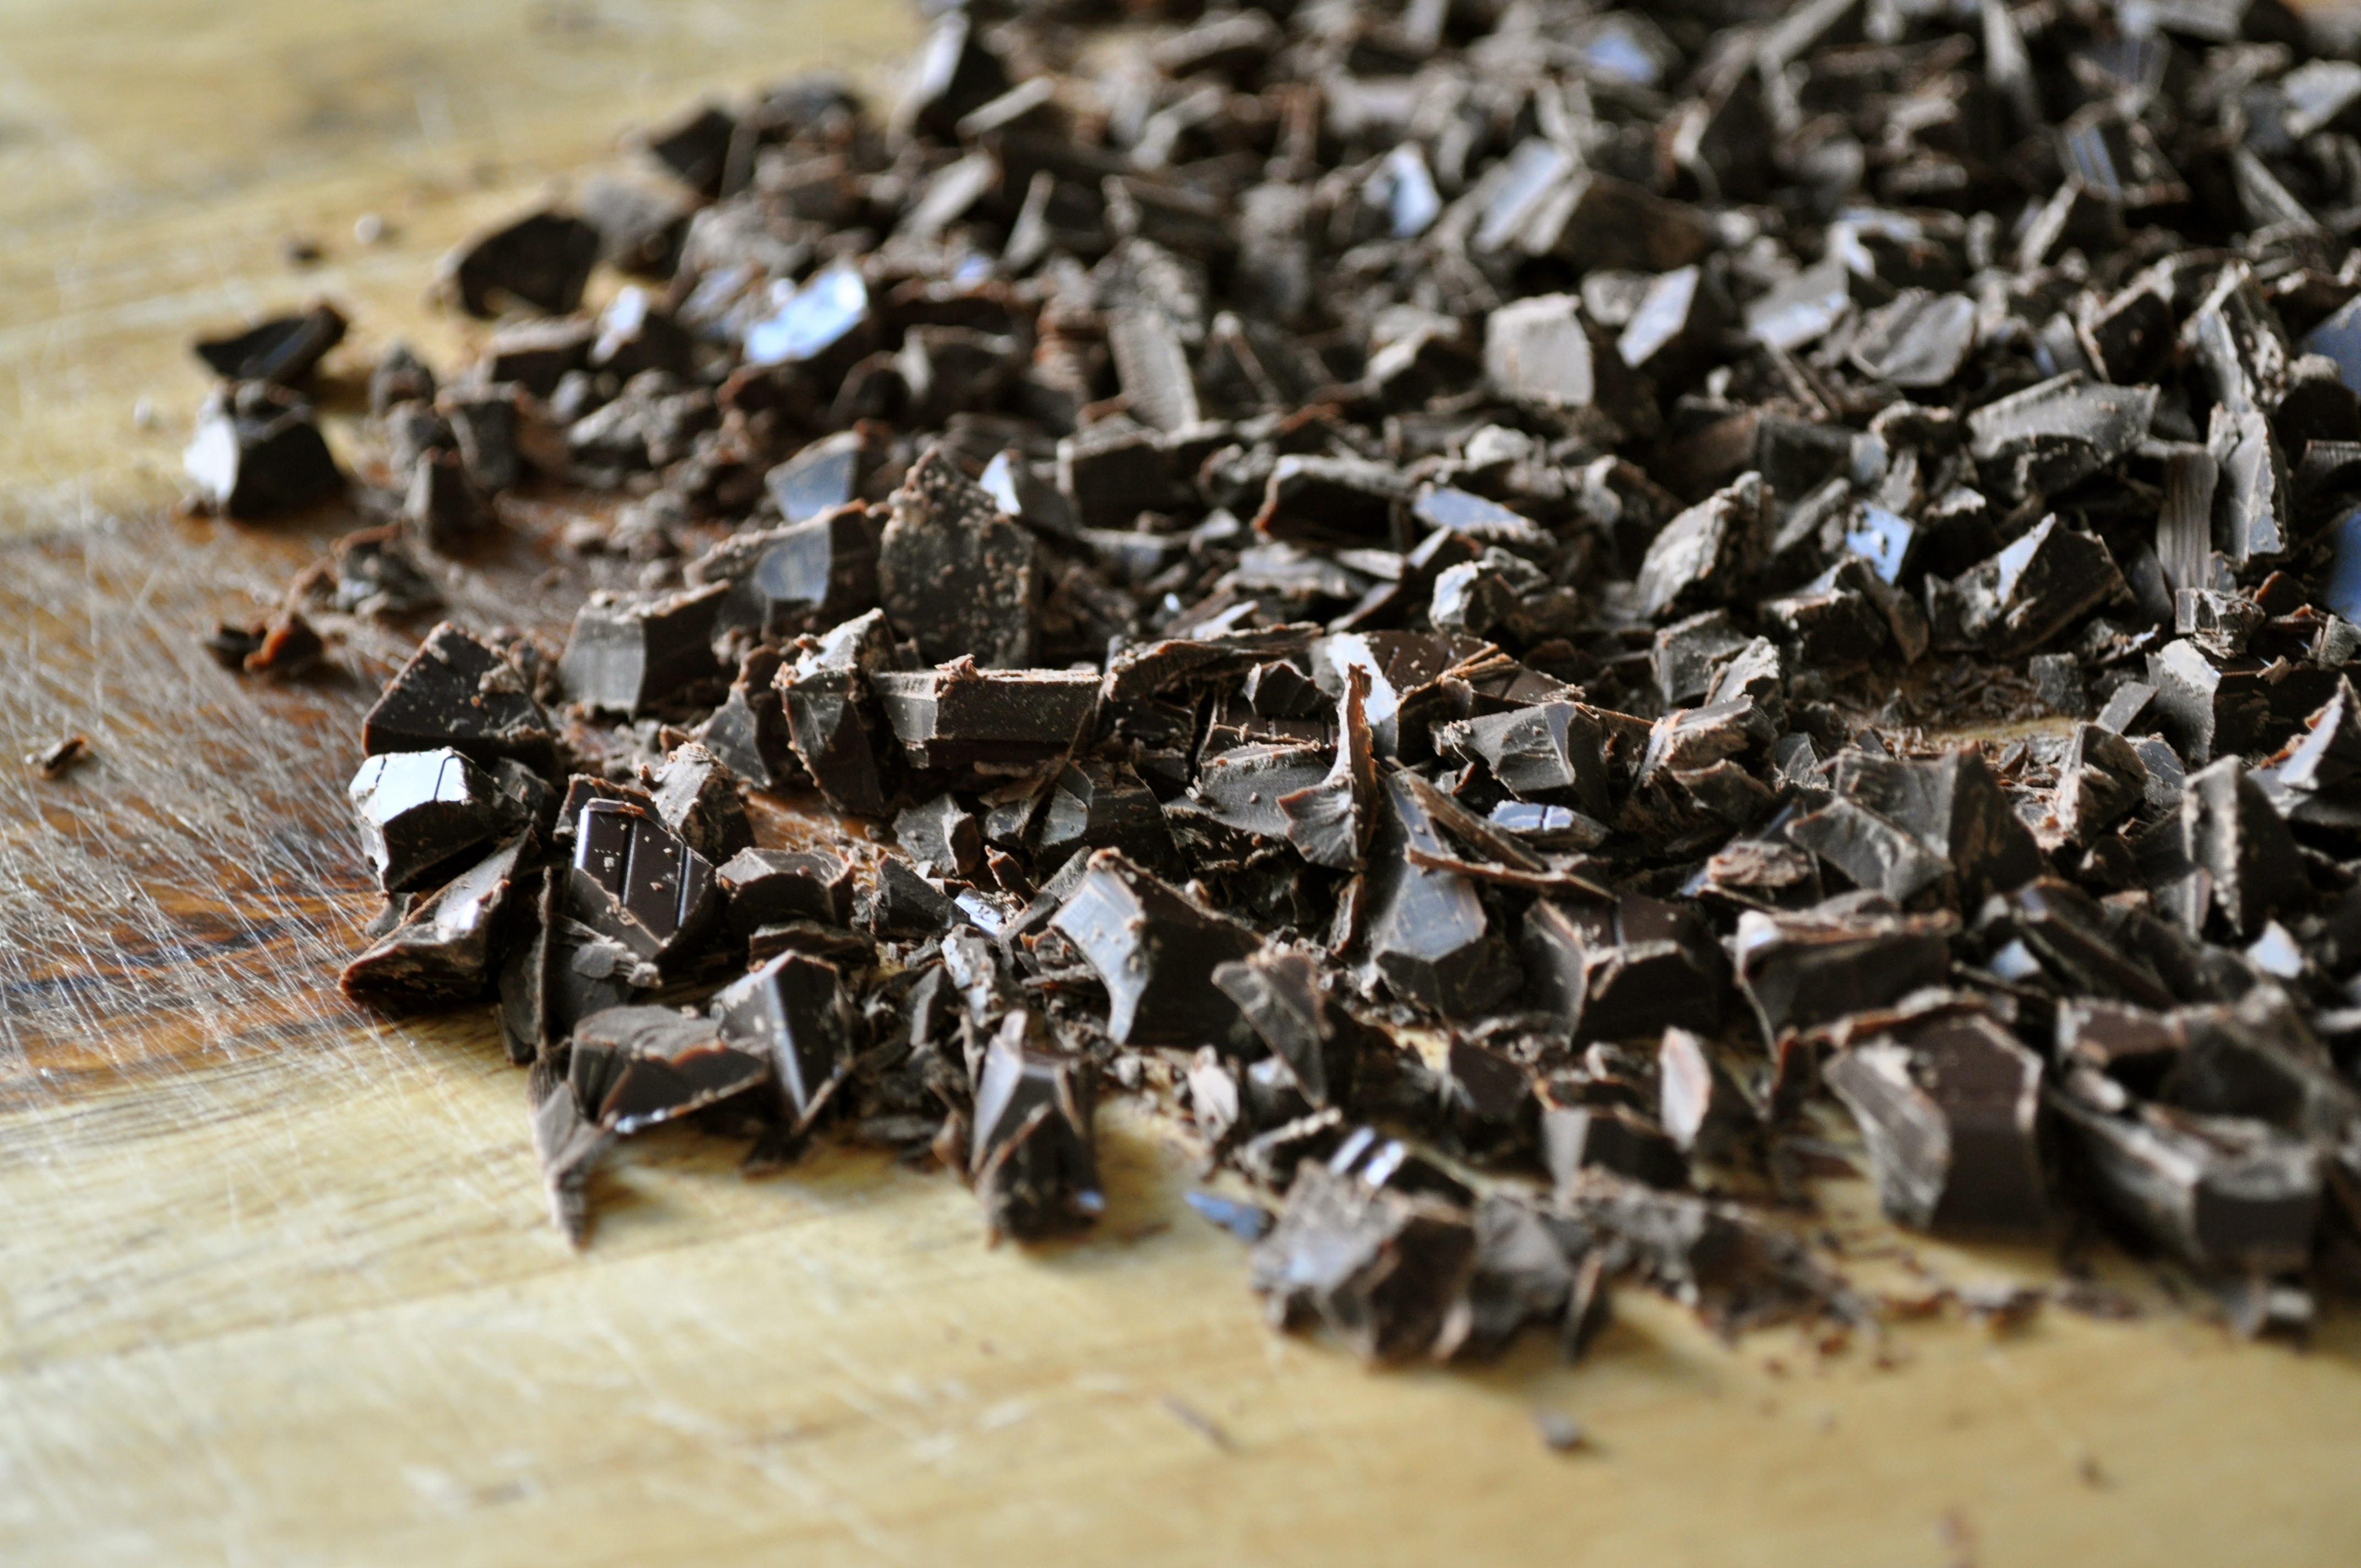
We’re ready to make ice cream! First, chop the chocolate into chunks and set aside. Freeze the custard in your ice cream maker according to directions, adding the chocolate about halfway through. Transfer ice cream to a container and cover with plastic wrap so that the wrap is touching the surface of the ice cream (this will prevent ice crystals from forming). Freeze for at least four hours before serving. Enjoy!

For Dad | Homemade Snickers Bars

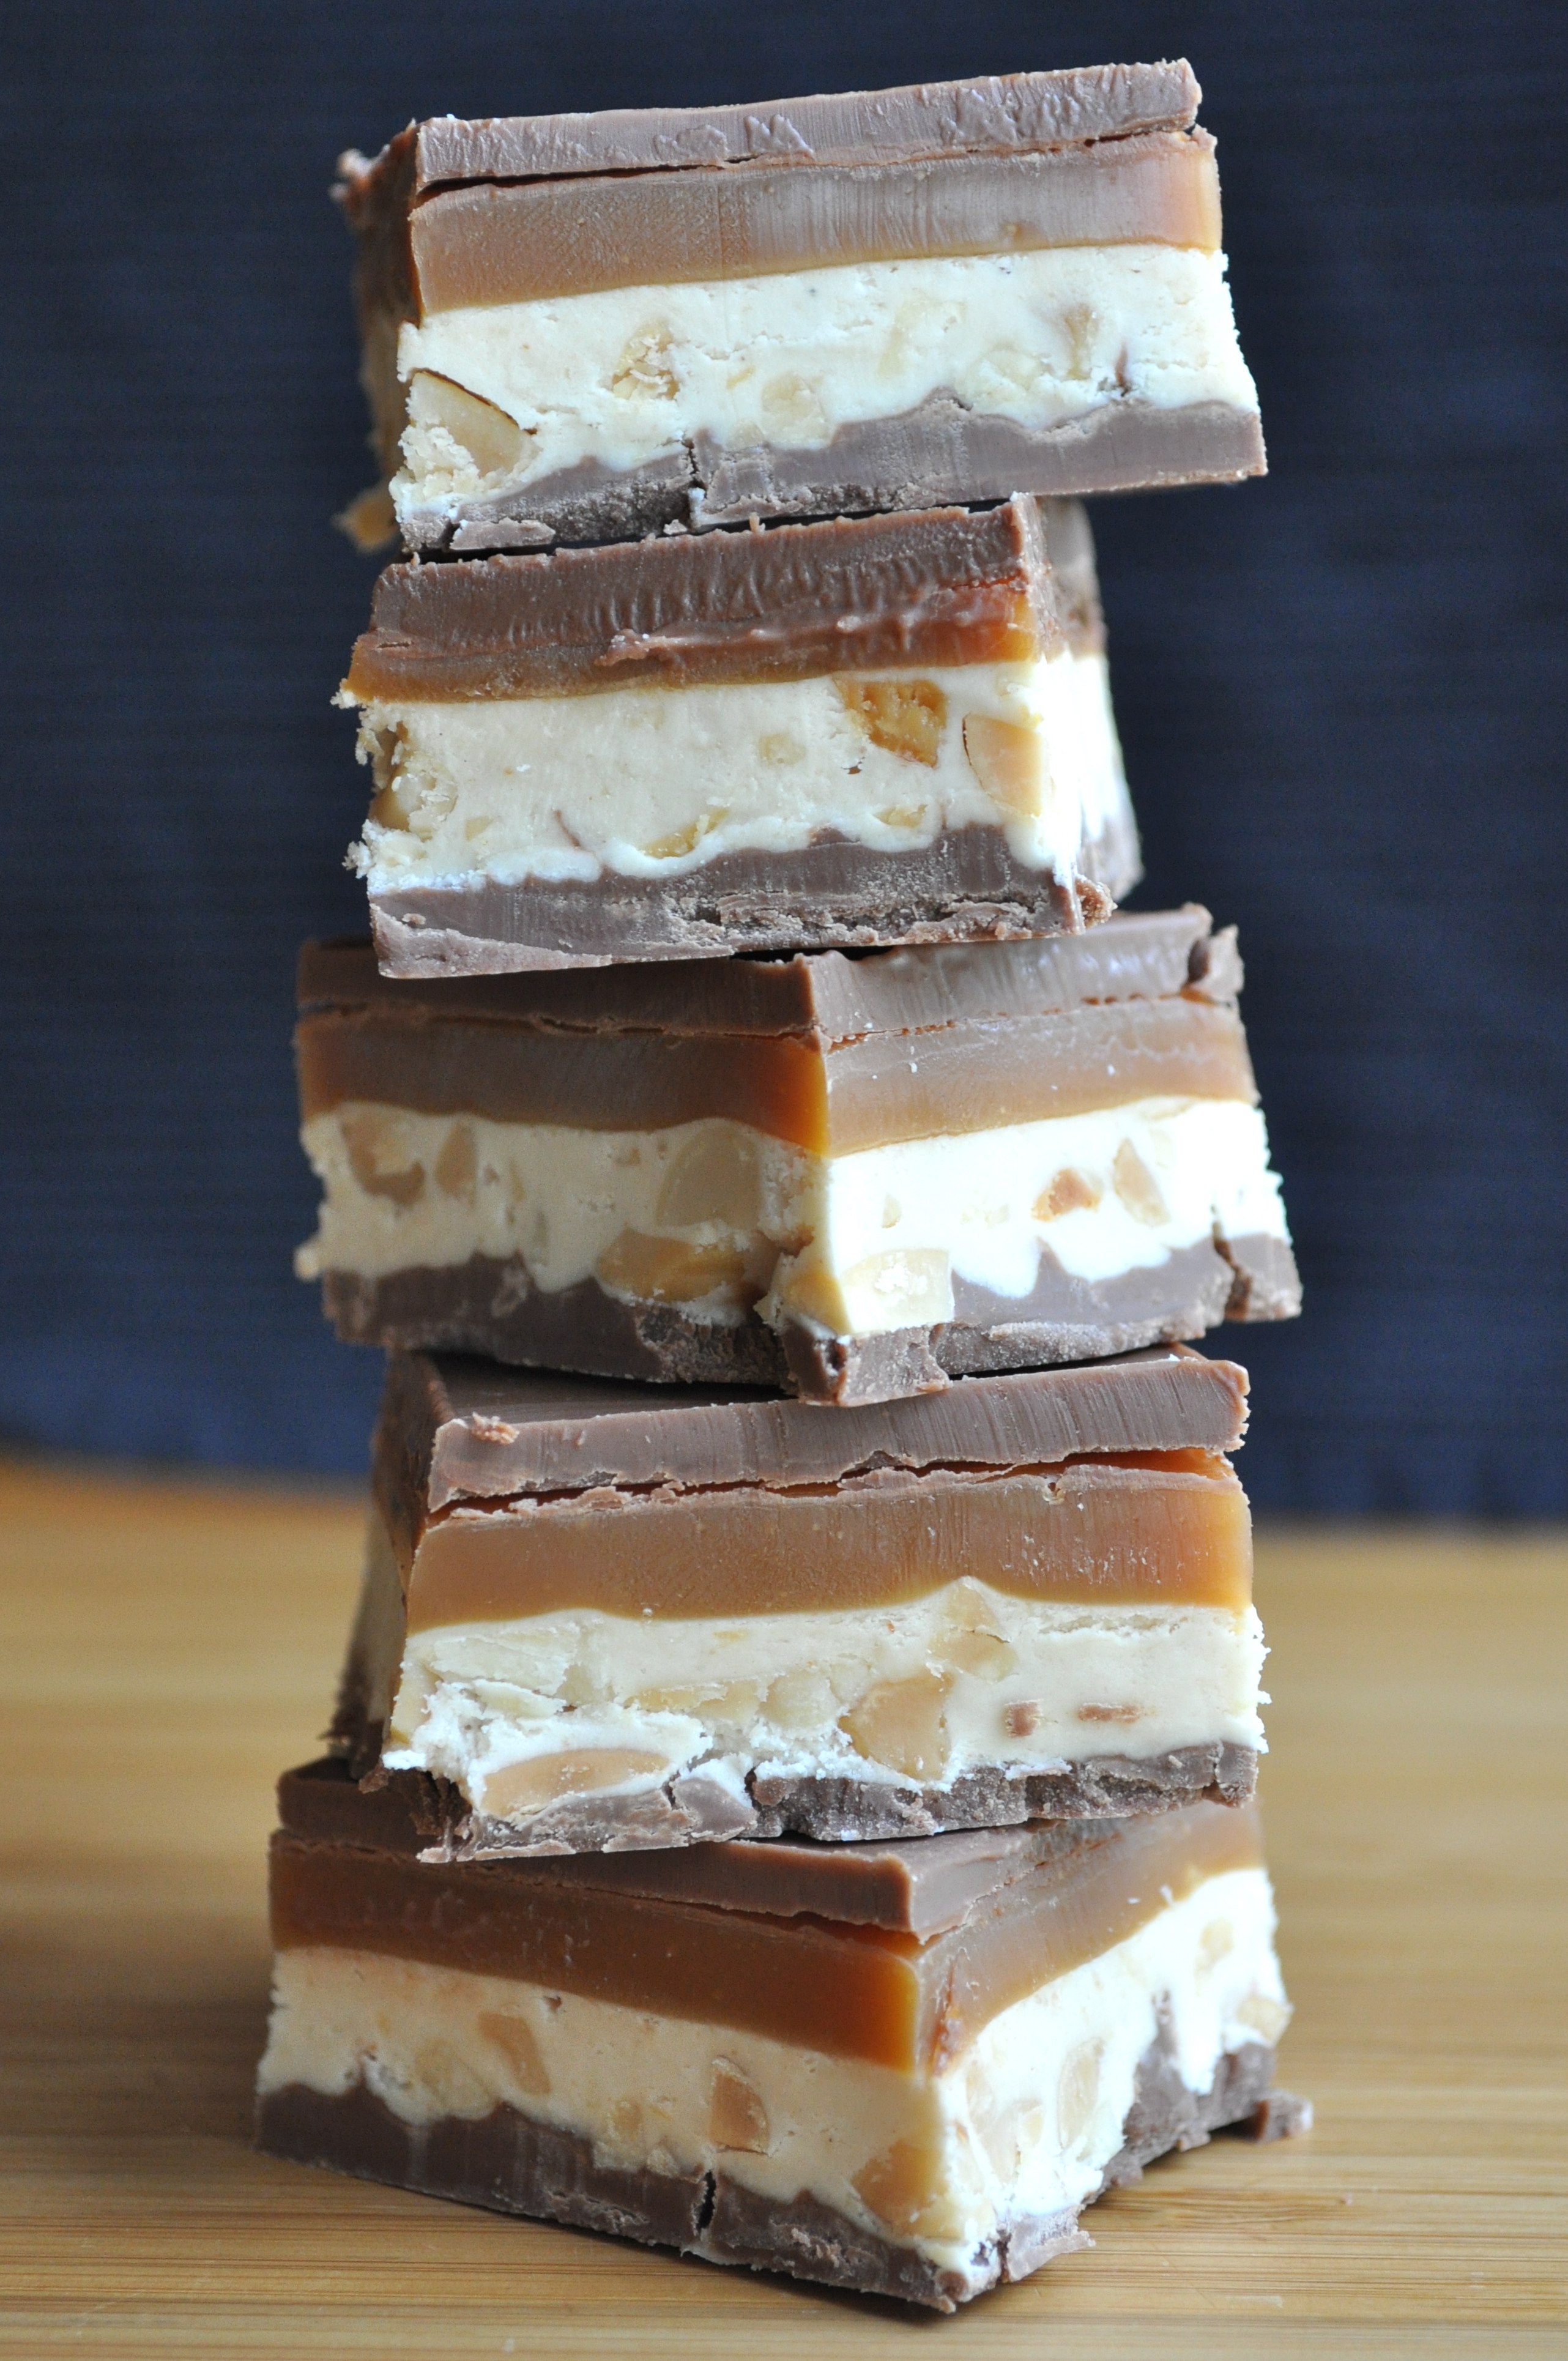
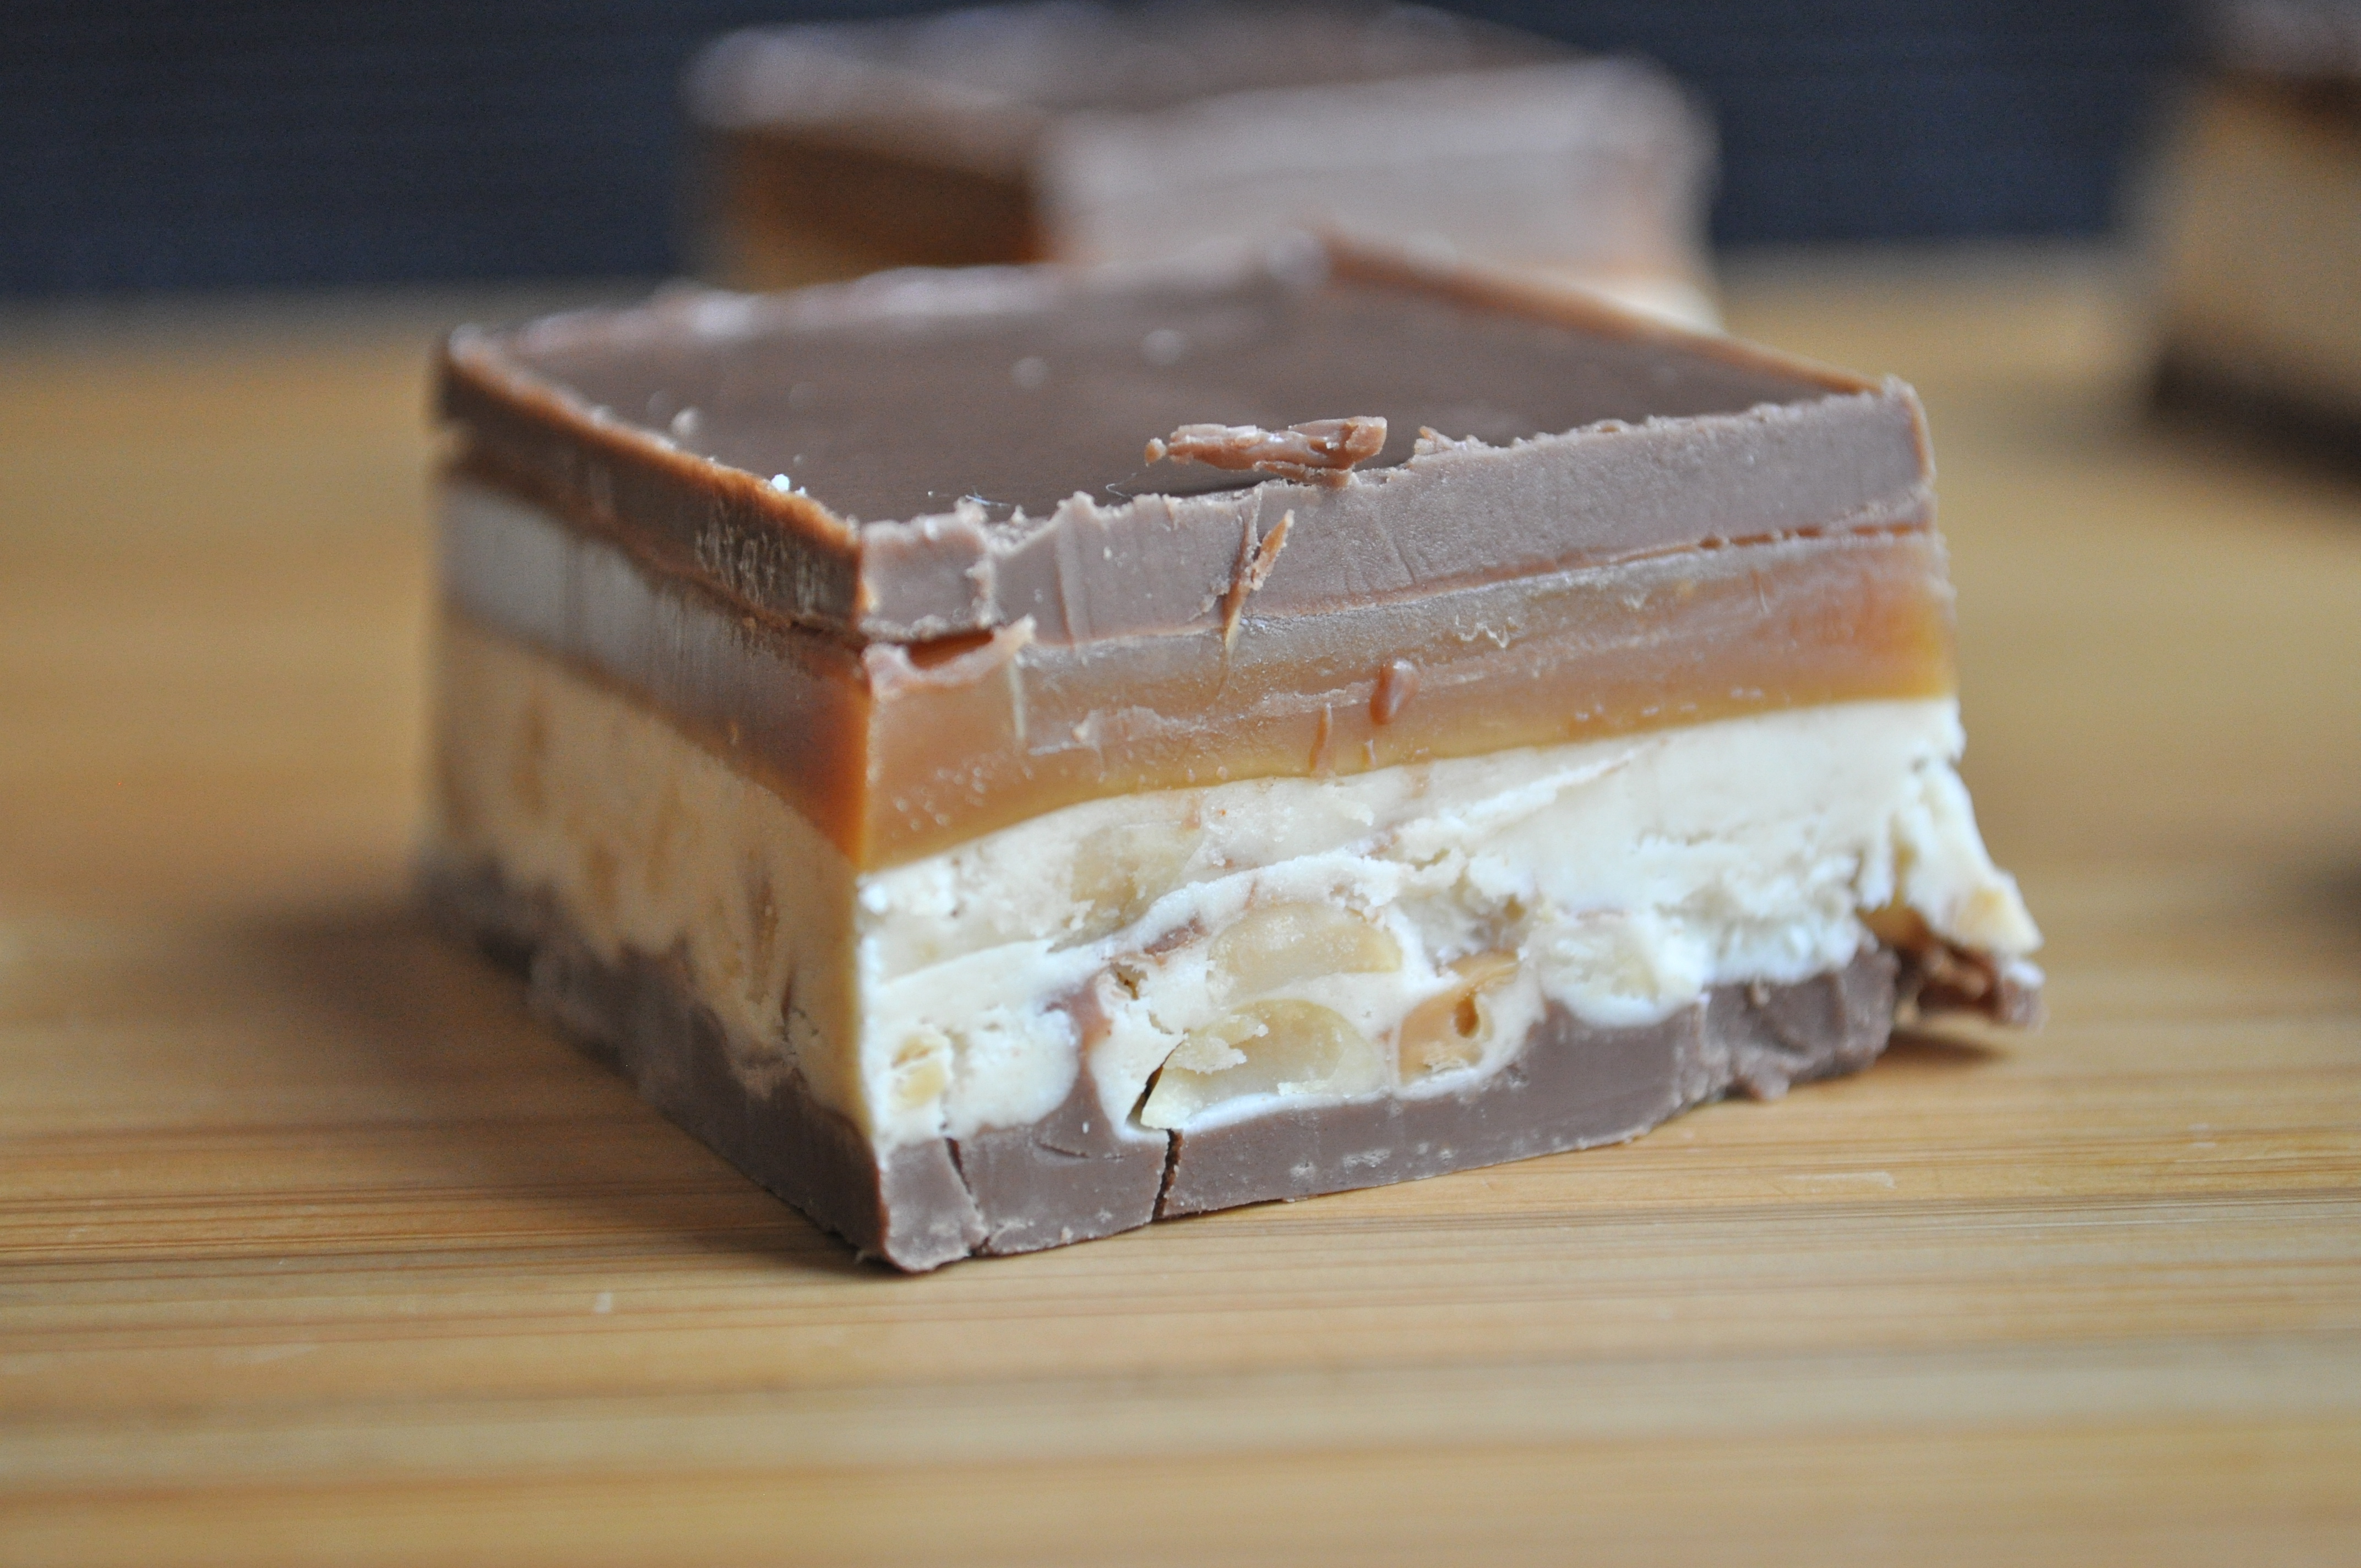
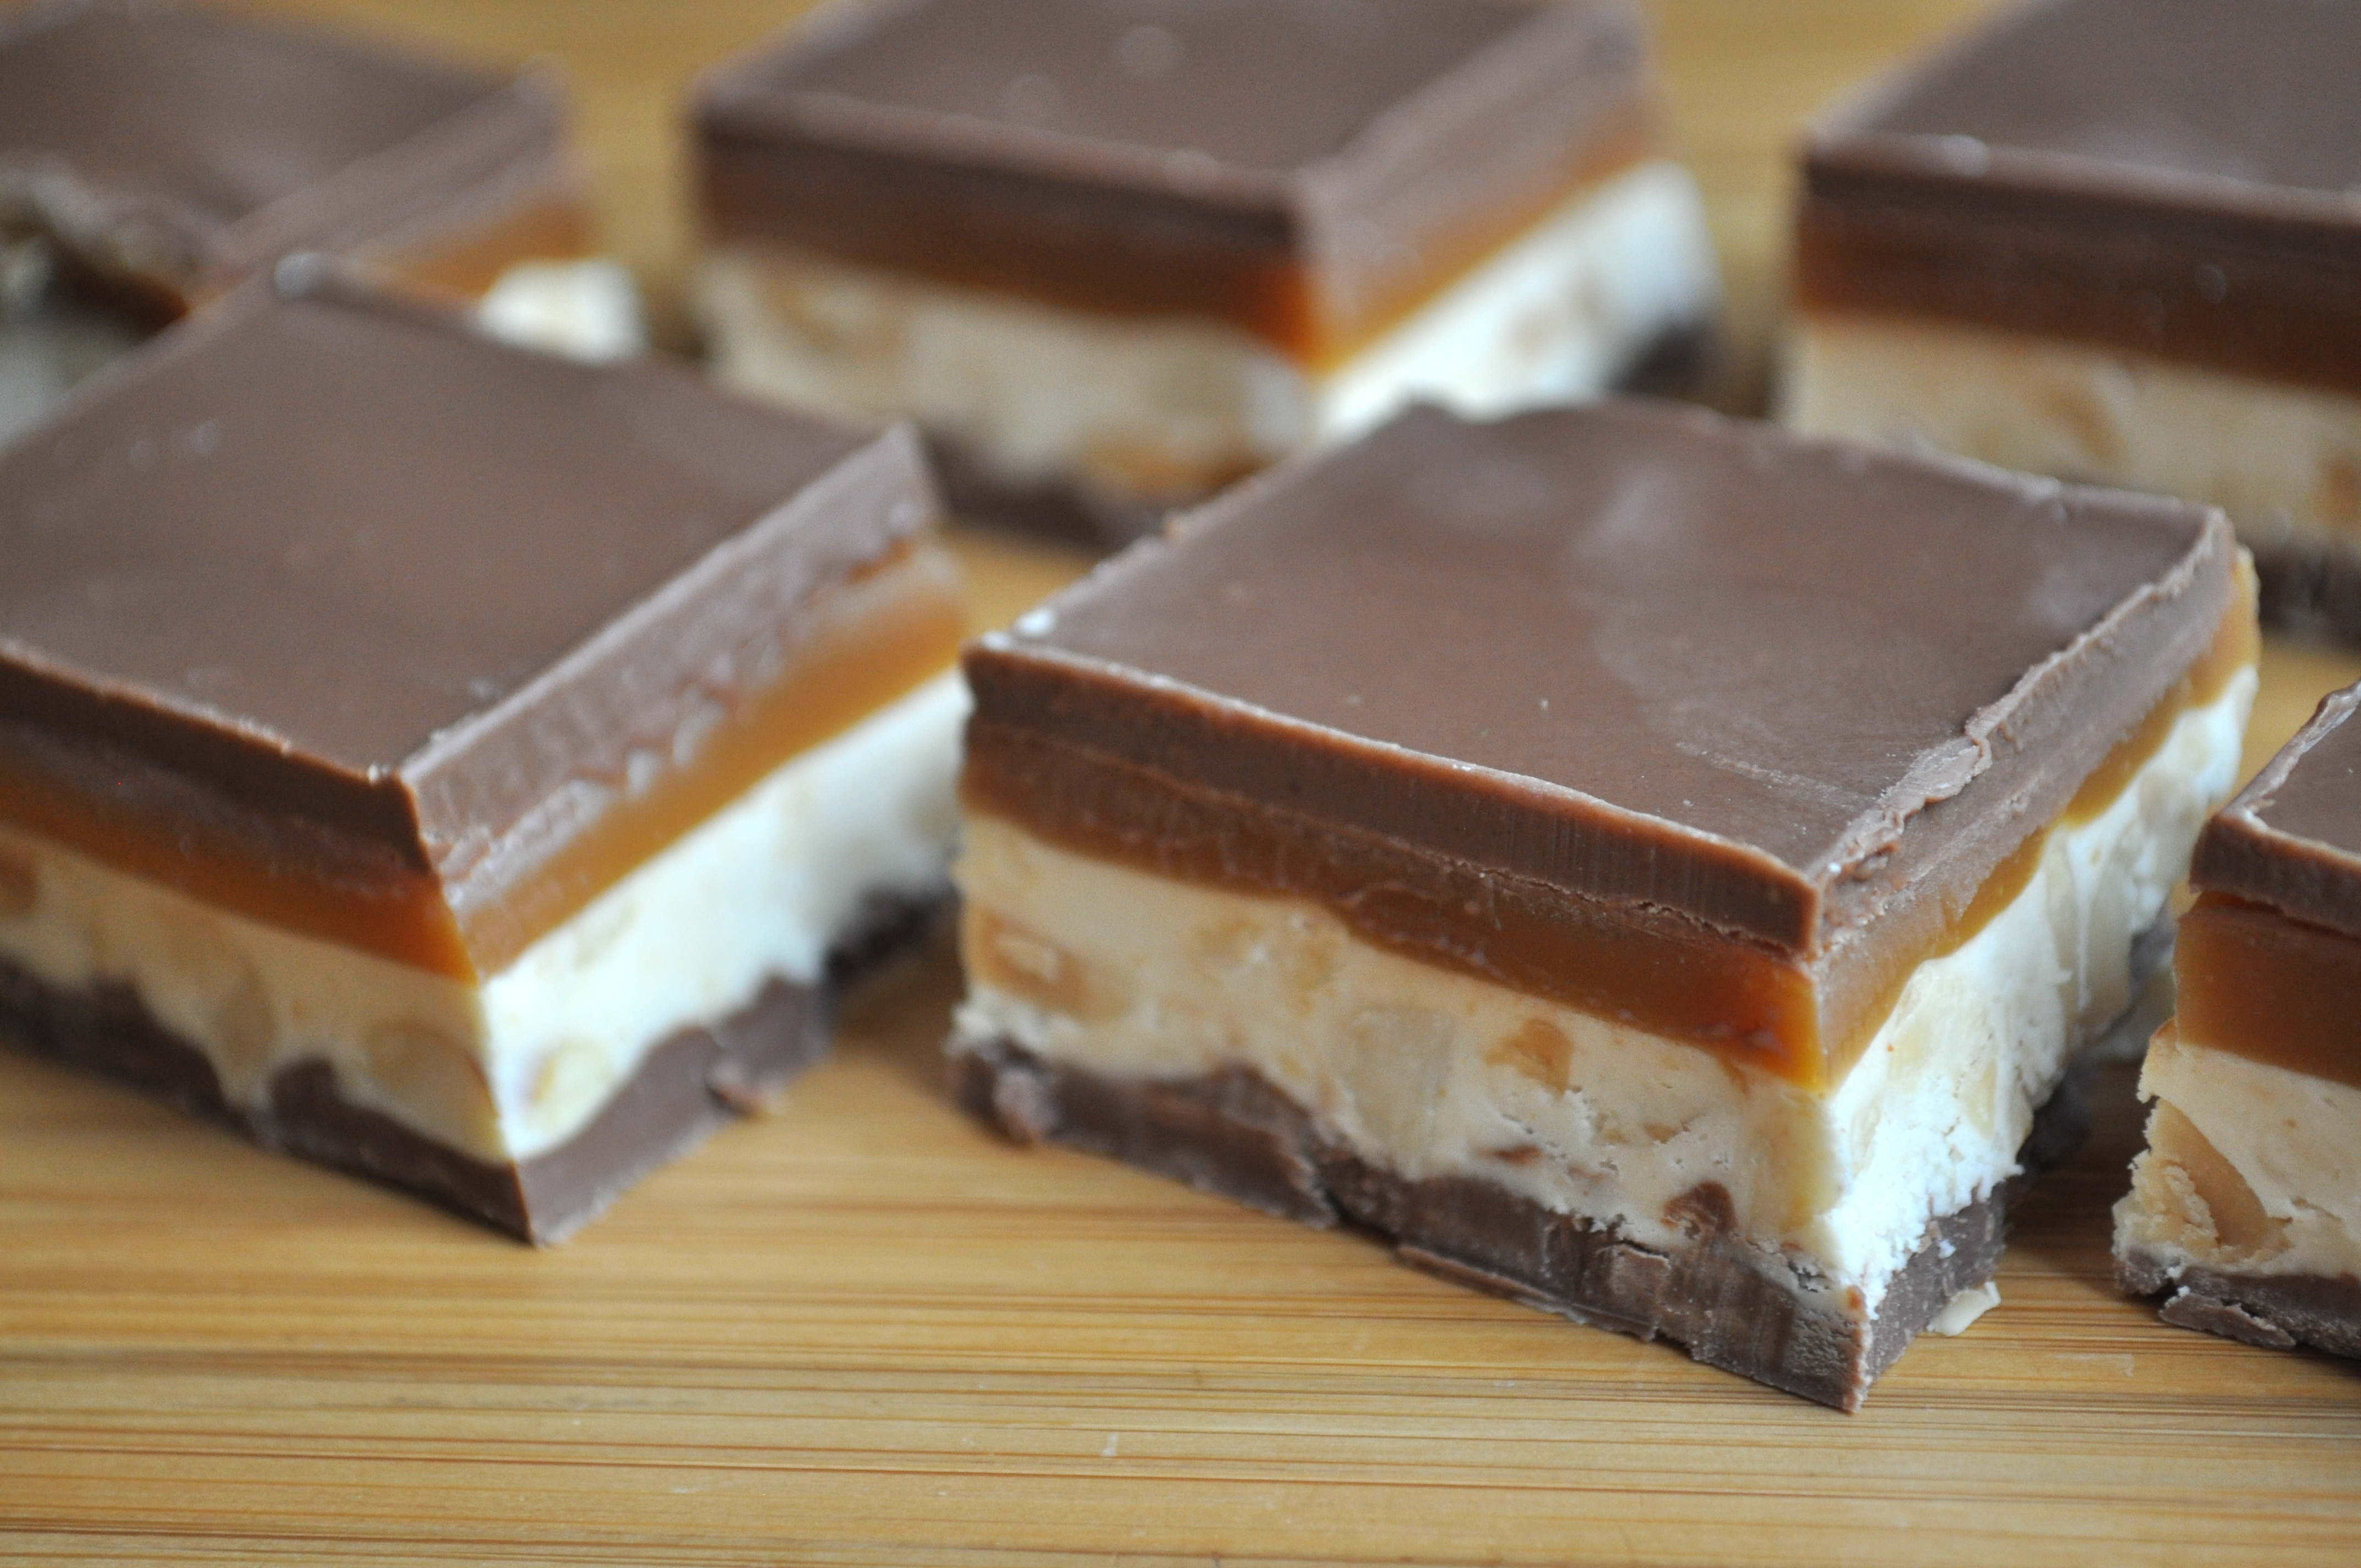
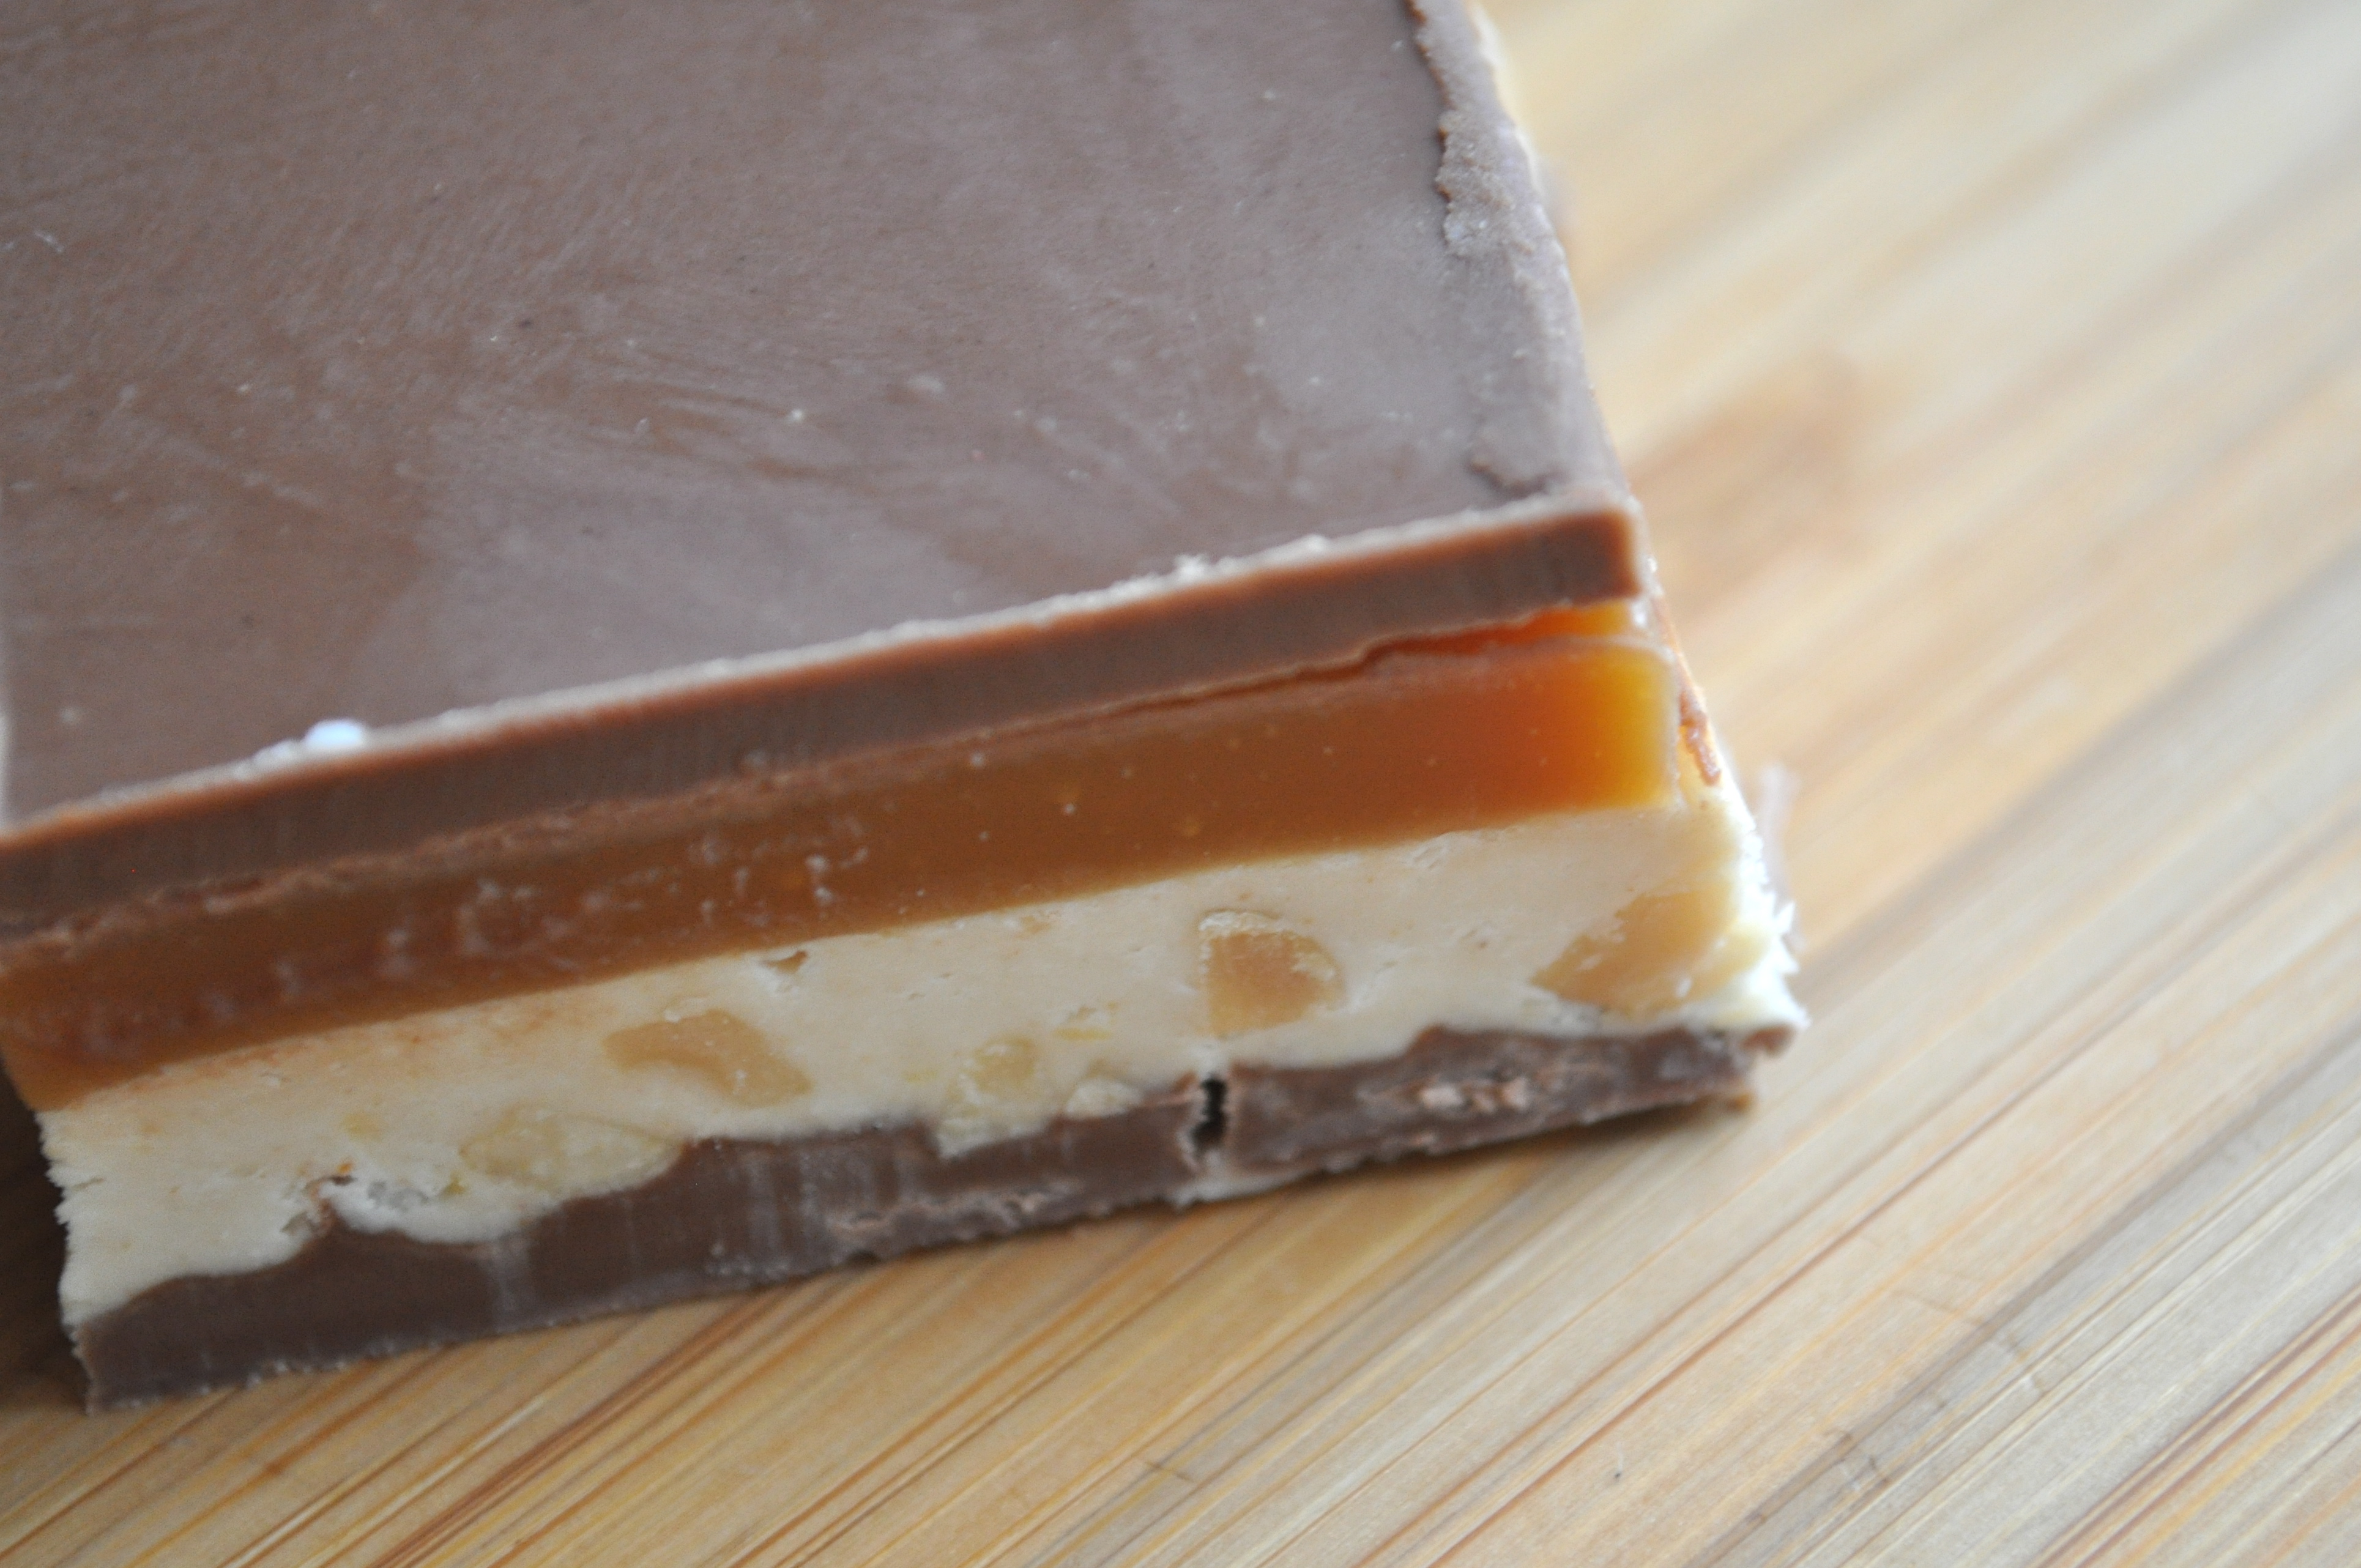
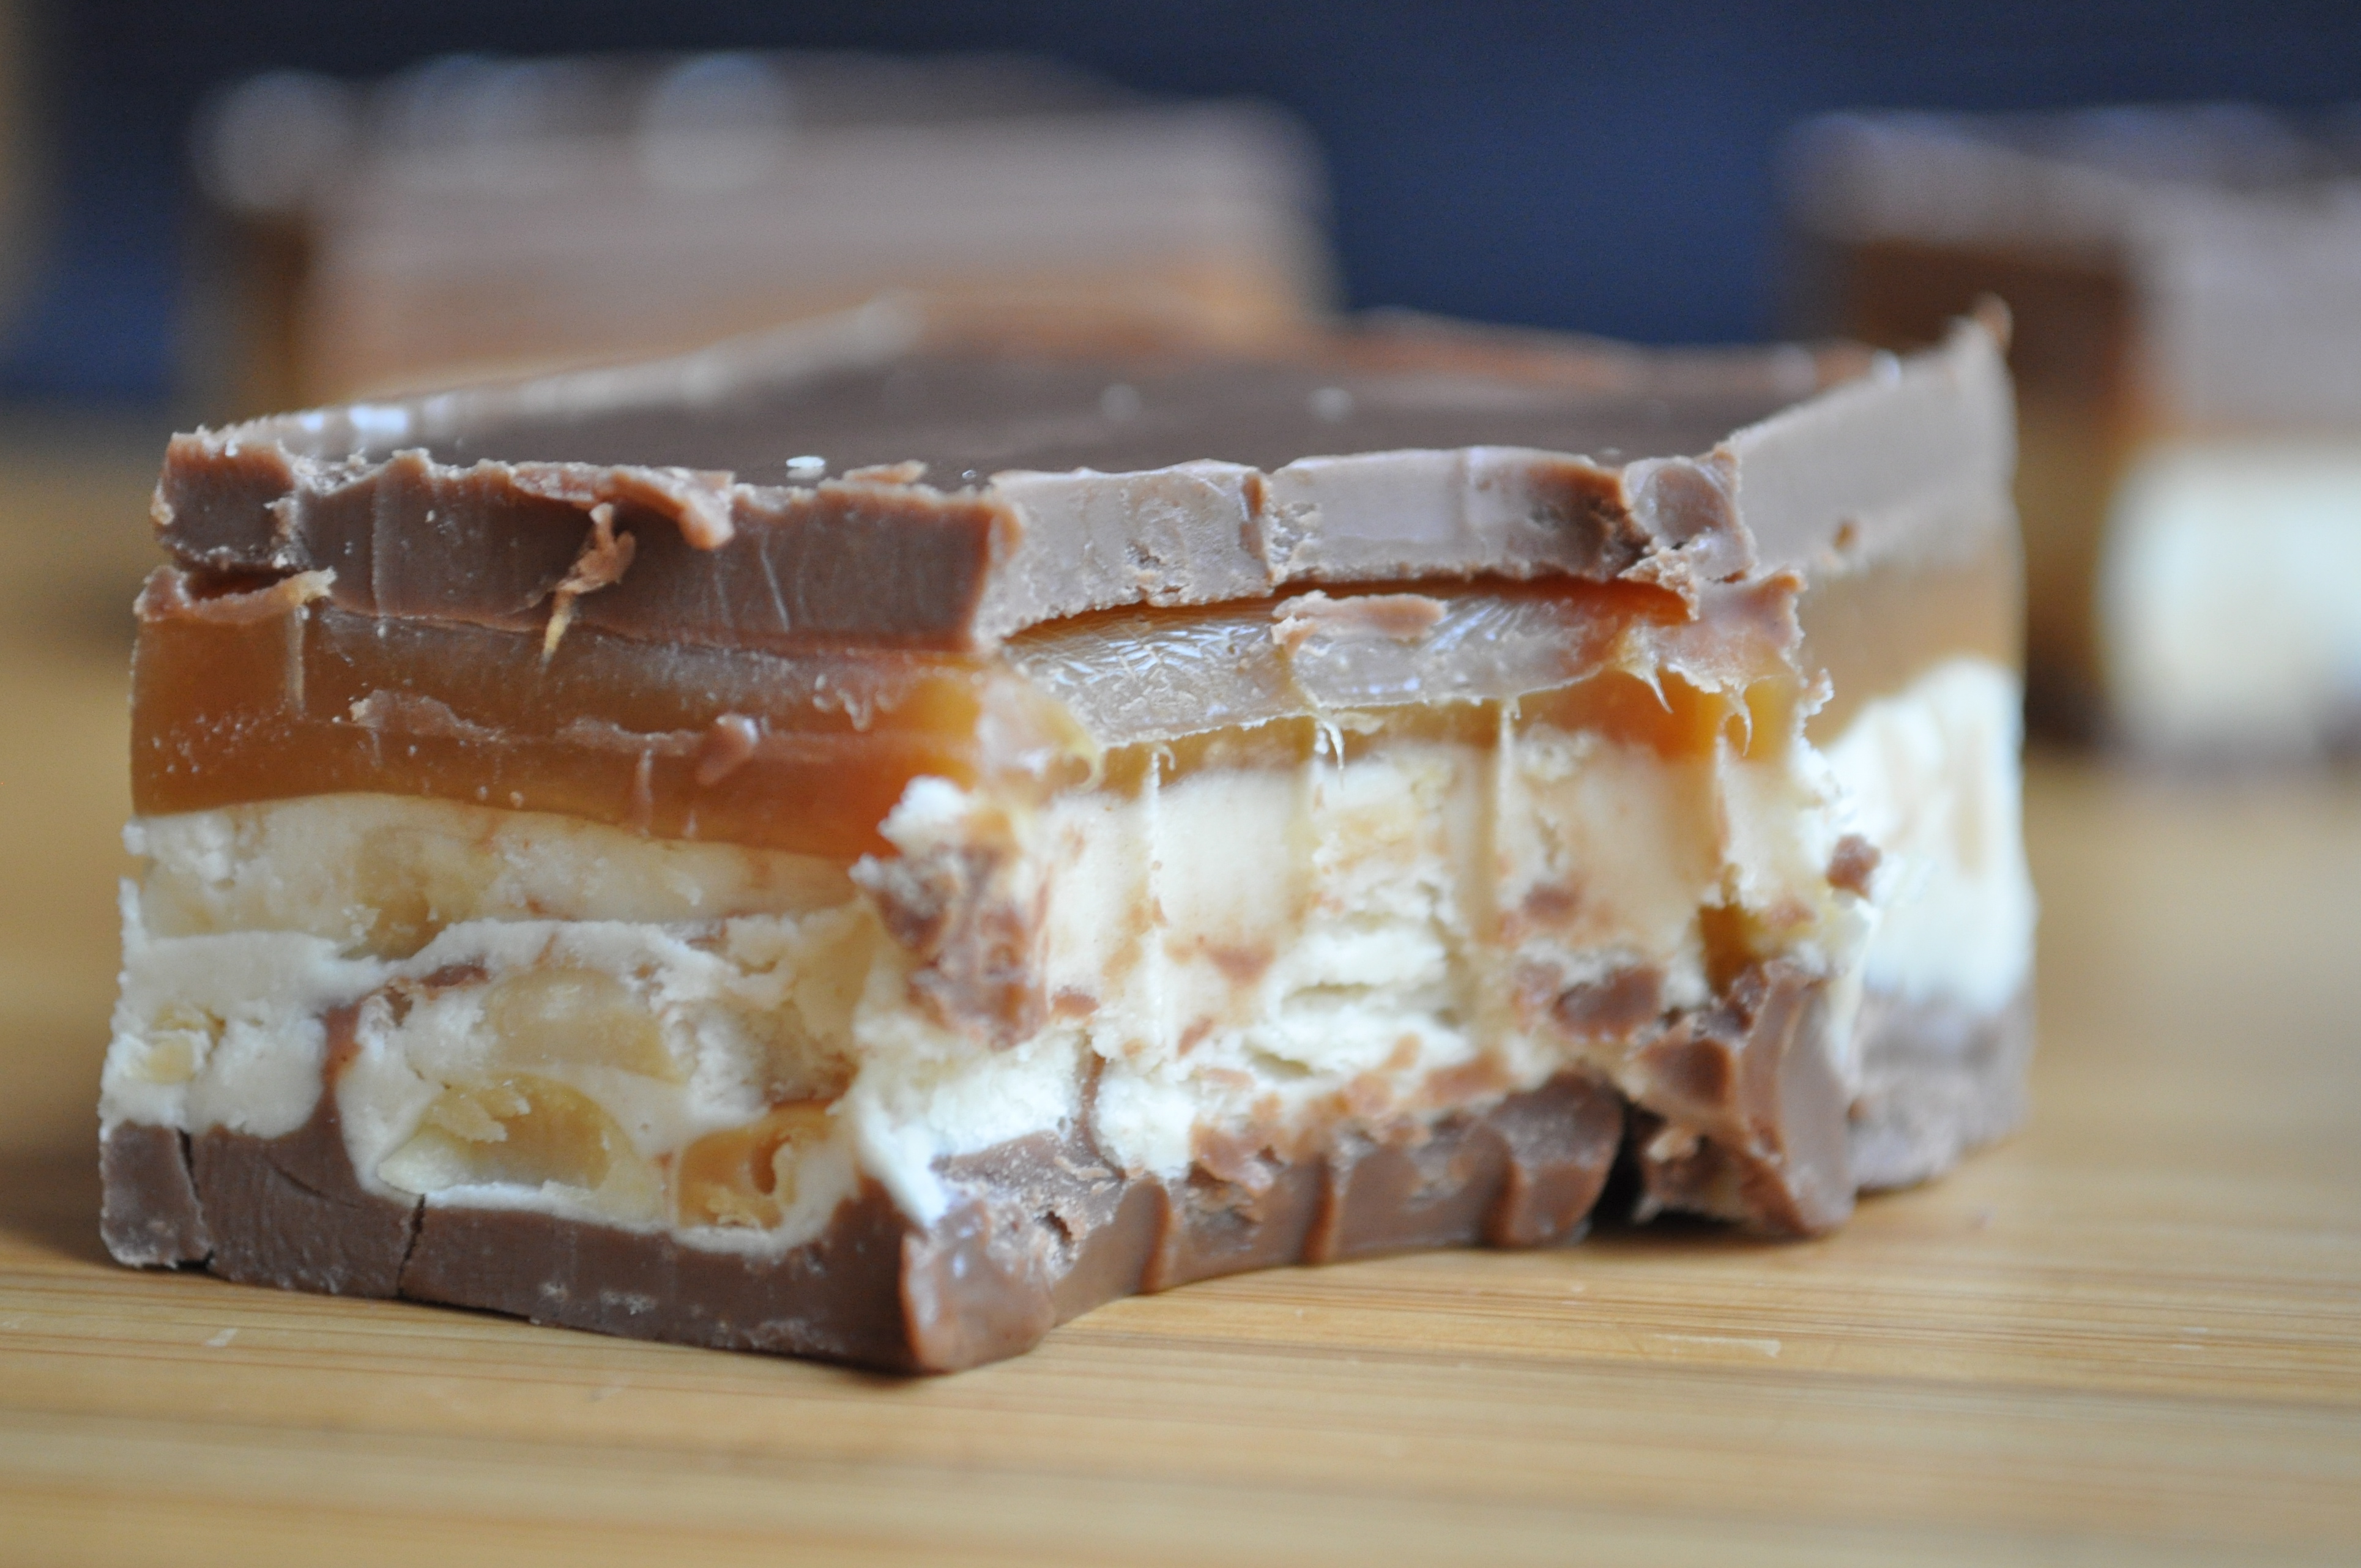
Happy Father’s Day to all of the wonderful fathers out there! I know I promised you a summer drink recipe, but that had to be bumped by the above discovery. I had been searching for a sweet treat to make for my dad for today’s celebration when I came across a recipe for homemade Snickers bars. My dad is a huge fan of chocolate, nuts, and chewiness, so I knew these would be a winner. The recipe takes some time, as these bars require four separate layers with setting times in between, but it is so easy. I drank wine and watched a Diners, Drive-Ins, and Dives marathon in between each step. Made the time fly by! Bowls also had to be licked clean, so I kind of had my work cut out for me. 😉

These bars were whipped up last night and then set overnight in the fridge. I took them out this morning, let them sit on the counter for about 10 minutes, and then sliced them up into nice little squares. We ate a few for post-brunch dessert (dessert should be mandatory after every meal, don’t you agree?) and then I popped the rest into my dad’s freezer. He is a sucker for frozen chocolate bars, so I doubt they will last very long. I may or may not have snuck a few pieces home with me…and may or may not have just tiptoed downstairs at a rather late hour to drink a glass of water go to the bathroom eat one. These are seriously good. And dangerously addictive.

To my Dad – thank you…for loving me for 27 years, no matter what. For teaching me how to throw a ball, ride a bike, and drive a car (that last one was a bit of a challenge, wasn’t it?). For still loving me after that one time when you picked me up from school when I was sick and I threw up all over your back when you were carrying me to the car (sorry about that). For cheering me on and coaching me in the sports I played. For helping me with my Math homework (until it became too complicated for the both of us to understand). For showing me the value of having a good sense of humor, for always making me laugh, and for passing along a good dose of stubbornness. A competitive nature too. For encouraging me. For offering to beat up anyone who hurt my feelings. For wiping my tears and telling me it will be okay, even when I didn’t believe it. For supporting me, through it all. For everything. I love you more than words can say.

Homemade Snickers Bars (from How Sweet It Is)

Layer One (chocolate):

1 1/4 cups milk chocolate chips

1/4 cup peanut butter

Spray a 9 x 13 inch baking pan with non-stick spray. Melt the chocolate and peanut butter together in a double boiler, then pour into the baking dish and spread until even. Let cool in the fridge until completely set.

Layer Two (nougat):

1/4 cup unsalted butter

1 cup granulated sugar

1/4 cup evaporated milk

1 1/2 cups marshmallow fluff

1/4 cup peanut butter

1 1/2 cup salted peanuts, roughly chopped

1 tsp. vanilla

Melt butter in a saucepan over medium heat. Add in the sugar and evaporated milk, stirring until dissolved. Bring to a boil and let cook for 5 minutes, stirring occasionally. Add in the marshmallow fluff, peanut butter, and vanilla, stirring until smooth. Turn off the heat and fold in the peanuts, then pour over bottom chocolate layer and spread evenly. Return to fridge to cool completely.

Layer Three (caramel):

1 14-ounce bag of caramels (just under 2 cups)

1/4 cup whipping cream

Combine ingredients in a saucepan over low heat. Let melt, stirring occasionally, until smooth. Pour over the nougat layer and return to fridge to cool completely.

Top layer (chocolate):

1 1/4 cups milk chocolate chips

1/4 cup peanut butter

Follow the same steps as you did for the first layer. Allow to set in the fridge, then cover and return to fridge and leave overnight. Cut into small squares.

Whatever you do, make these. And if you can’t, I will make some for you. But only if I can keep a few for myself.

Celebrating Mom | Pistachio Baklava with Cinnamon Honey Syrup

Friends, in case you’ve forgotten, tomorrow is Mother’s Day. A day to take time to celebrate and thank the wonderful mothers in our lives for all that they do.

We’ve all got them. Whether they are our mothers, mothers-in-law, grandmothers, or other women in our lives who have encouraged us as mothers do, we all have “mothers” to be thankful for. I hope that you are able to share some love with the mamas in your life tomorrow.

My mom is wonderful – a serious frontrunner for Best Mom Ever. I consider myself very lucky to have her. My mom is loving, caring, kind, and considerate. She is smart. She is generous, and tends to put the needs of others before her own. She is encouraging. She is patient. My mom is fun too. And she has healing powers. The power to heal a skinned knee with a kiss, or a broken heart with hugs and sweet words, my mom has always been there for me, through thick and thin, in good times and bad (and really, really bad). She gave me life, and she has saved my life, countless times.

Thank you Mom, for being you. I can only hope that one day, I can be the kind of mom to my children that you are to me.

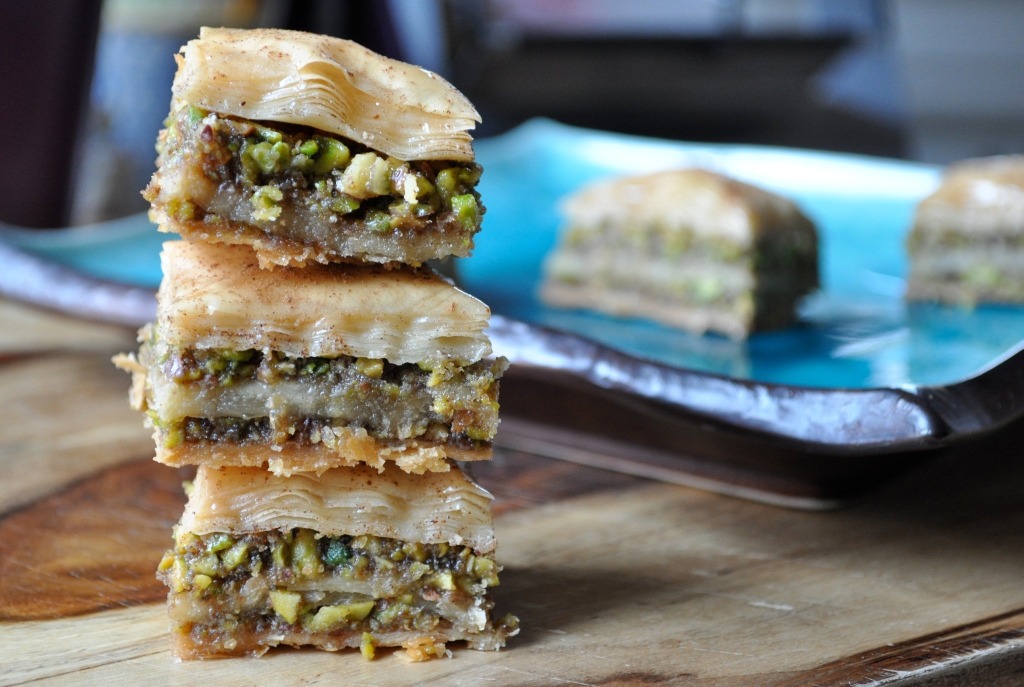
Food is one of the ways that I share love with people. And a perfect way to share love on Mother’s Day. I made this baklava a few weeks ago. I have been wanting to try to make baklava for ages, but it always seemed like such a difficult, involved recipe. In all honesty, baklava is not as difficult to make as you might think! Sure, it takes some time and patience, but I can assure you that there are no crazy skills involved. I put on some good tunes, poured myself a glass of wine, and spent an hour dancing around my kitchen, buttering layers of phyllo to the rhythm of the music. I didn’t stress about any tiny tears in the phyllo (no one will know!), and I didn’t dwell over the spilt syrup on the floor that my feet stuck to for days afterwards.

And I was rewarded with this rich and deliciously sticky baklava at the end of it all. Totally worth it. Don’t even try to tell me that you can’t do it, because you can. Just don’t make the same mistake that I did, and look up the nutritional content of one wee square of baklava. Let’s just say that it accounts for an unfortunate amount of your daily recommended intake of fat, sugar, and everything else bad for you. But that doesn’t mean I stopped eating after just one square. You must know me better than that by now. 😉

Pistachio Baklava with Cinnamon Honey Syrup (from First Look Then Cook)

2 cups plus 8 TBSP. sugar, divided

2/3 cup honey

1 cup water

2 cinnamon sticks

3 cups shelled pistachios, toasted

2 tsp. ground cinnamon

1 cup unsalted butter, melted

18 14×9-inch sheets fresh phyllo pastry or frozen, thawed (from one 16-ounce package)

In a saucepan over medium heat, combine 2 cups of the sugar, honey, water and cinnamon sticks, stirring to dissolve the sugar. Bring to a boil and then simmer over medium heat until reduced to approximately 2 cups, about 15 minutes. Cool.

Place the pistachios and 2 tablespoons of the remaining sugar into a food processor. Pulse until most of nuts are finely ground (the largest pieces should be the size of small peas). Mix the nuts, 6 tablespoons sugar, and cinnamon in medium bowl and set aside.

Preheat the oven to 350°F. Generously brush a 9×13-inch glass baking dish with melted butter. Place 1 phyllo sheet folded over on bottom of dish (to fit the dish). Brush lightly with melted butter. Repeat 5 more times with phyllo and melted butter. (You’ll want to work quickly so that your phyllo doesn’t dry out. Cover the phyllo that is waiting to be used with a damp towel.) Sprinkle half of the pistachio mixture (about 1 1/2 cups) evenly over phyllo. Place 1 phyllo sheet (folded over) over nuts; brush lightly with butter. Repeat 5 more times with phyllo sheets and melted butter. Sprinkle the remaining pistachio mixture evenly overtop. Place 1 phyllo sheet atop nuts folded in half; brush with butter. Repeat 5 more times with phyllo sheets and melted butter.

Using a very sharp knife, cut diagonally through the top phyllo layer from the top left corner to the bottom right corner. Cut the top layer of phyllo into 1-inch-wide rows parallel to both sides of first cut. Turn the pan and cut rows about 2 1/4 inches wide, forming a diamond pattern. Bake the baklava until golden brown and crisp, about 50 to 55 minutes. Drizzle the syrup evenly over the hot baklava. Cool and then recut the baklava along lines all the way through layers. Serve!

See, easy as pie! If baklava doesn’t float your mom’s boat, here are some other tasty ideas to share for Mother’s Day:

Nana’s Cinnamon Buns (I’ve got a batch of these rising on my countertop right now)

Banana Bread Oatmeal Pancakes

Blueberry Lemon Muffins

Whole Wheat Apple Cinnamon Muffins

Red Velvet Sandwiches

The Perfect Chocolate Chip Cookie

Happy Mother’s Day to all the mamas out there! xoxo

What The What? | Lentil and Oat Cookies

What the what?!

There are moments in life that prompt this question. Consider it the G-rated cousin to the more popular phrase: “What the f&@#”?!

What the what?! popped into my head a several times over this past week. Let me explain.

1.On the weekend I was standing in line at the grocery store. Sundays afternoons are a busy time at the grocery store, and nearly every Sunday I ask myself why I choose to come at this time. The place is crowded, lines are long, and people are just…weird. More than normal. I was two people back in an obnoxiously long line at the check-out when I witnessed the guy who was about to pay for his groceries say to the cashier “Hold on, I just have to run to the bathroom.” Umm…what the what?! Dude, do you really think that this is the most opportune time to go and relieve yourself?! Apparently so. Three minutes later, he returned and paid for his groceries and left, whistling on his way out.

2.I share laundry facilities with the people that live in the basement suite below me. Sharing laundry facilities with strangers is not recommended. I’ve been trying to determine why these people are always using the washer and dryer (seriously, at least 6 out of 7 days per week). Either they’re hiding a family of 8 down there or they each own approximately one pair of socks and underwear, one shirt, and one pair of pants. Those are the only explanations I can think of for why 2 twenty-somethings would need to be doing laundry so often. As a result, I find myself doing laundry marathons on the rare occasions that I find the washer and dryer free. Good times. But not really.

3.Children are strange creatures. I took my little sister swimming recently to the local YMCA. I was floating on a floaty-raft-thing, minding my own business, when a wee little 7-ish year old boy backed into me (read: his fault). He turned around, scowled (viciously) at me, shook my floaty-raft-thing violently for about 5 seconds, then shoved it as hard as he could before turning around and carrying on. What the what?!

4.It is still snowing here. Apparently Mother Nature isn’t aware that it’s SUPPOSED TO BE SPRING TIME. Pay attention for crying out loud.

5.Yesterday, the girl next to me in my yoga class farted during Warrior 2. She acted like nothing happened. This has always puzzled me, because if I ever farted in yoga class I’d t0tally start laughing. Maybe even sum up the courage to say excuse me. I realize that it would be totally embarrassing, but just ignoring it when everyone knows exactly where that sound came from just seems worse. In fact, I almost started laughing. I’m incredibly mature.

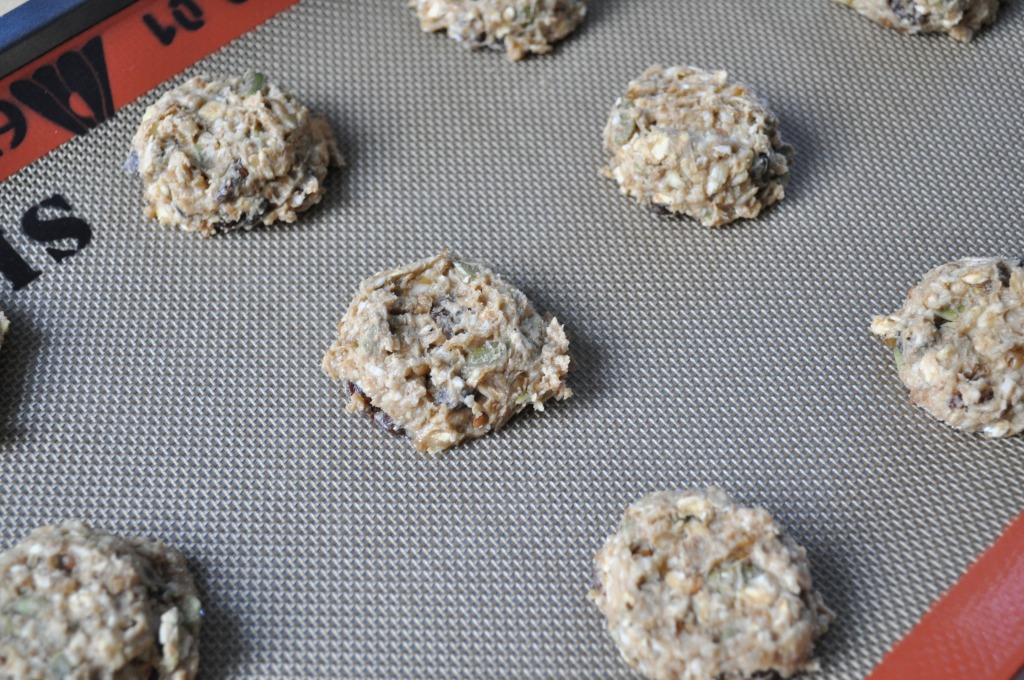
6.I saw this recipe for lentil oat cookies a few weeks ago on the Food Network. And I thought “Lentils in cookies?! What the what?!” But let me tell you, it totally works. These taste like an oatmeal cookie with an extra oomph of health. Very hearty and satisfying. And a great way to use up leftover lentils!

Lentil and Oat Cookies (adapted from Bal Arneson, Spice Goddess)

1 cup butter, softened

1 cup brown sugar, packed

1 cup lentils, cooked and crushed with a fork

1 egg

1 tsp. vanilla

1 cup whole wheat flour

1 cup large flake oats

1 cup pumpkin seeds

1/2 cup slivered almonds

1/2 cup coconut

1/2 cup raisins

1/2 cup dark chocolate chips

Preheat the oven to 375°F. Prepare your cookie sheets by lining them with parchment paper, a Silpat, or spraying with non-stick spray.

In a large bowl, cream the lentils, butter, and brown sugar together and then add the egg and mix well. Add the flour, baking soda, and vanilla. Stir in the oats, almonds, pumpkin seeds, coconut, raisins, and chocolate chips and mix well. Feel free to choose mix-ins that suit your tastes (ie. different nuts, dried cranberries, etc.).

Drop cookies by the spoonful onto the prepared baking sheet and flatten. Bake the cookies for 13 to 15 minutes, or until lightly browned, and allow to cool on a baking rack. This recipe makes a large amount of cookies, but leftovers do freeze well!


Hope you’re having a great week friends!

How To: Easter Fun | Chocolate Nests

How to have fun this Easter…

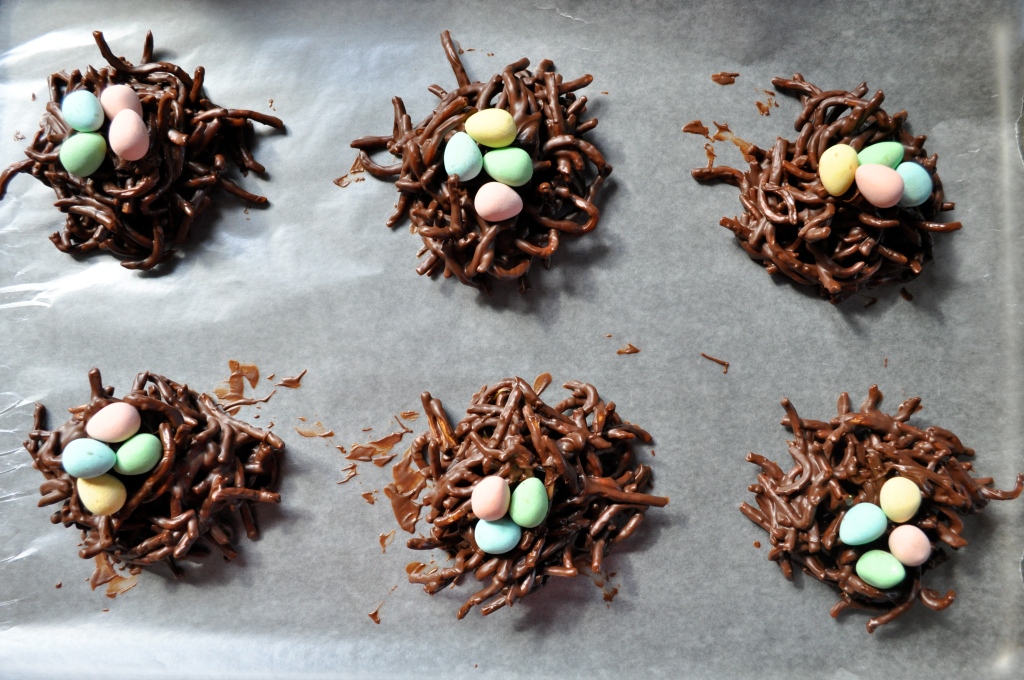
Grab some easy ingredients and throw ’em all together. We’re talking four ingredients, friends. Easy as pie. Actually, way easier than pie. Do it!

Whatever way you’re spending this Easter weekend, I hope it involves much food, love, and happiness. And most importantly, chocolate!


Chocolate Nests (from The Pastry Affair)

Makes 8 nests. 

1/2 cup peanut butter

1 cup chocolate chips

3 cups chow-mein noodles

Mini-eggs (or jelly beans)

In a saucepan over low heat, melt the chocolate and peanut butter and stir until smooth. Pour over top of the chow mein noodles and stir until evenly coated. Drop by spoonfuls onto a cookie sheet lined with waxed or parchment paper. Try to create “nest” shapes as you work, leaving an indentation on the top of each nest. Allow the nests to set in the refrigerator for at least 30 minutes before decorating with chocolate eggs or jelly beans.

PS. The fun level of this activity is exponentially higher when you have help from little hands. 🙂

Snack Attack | Brownie Larabar Bites

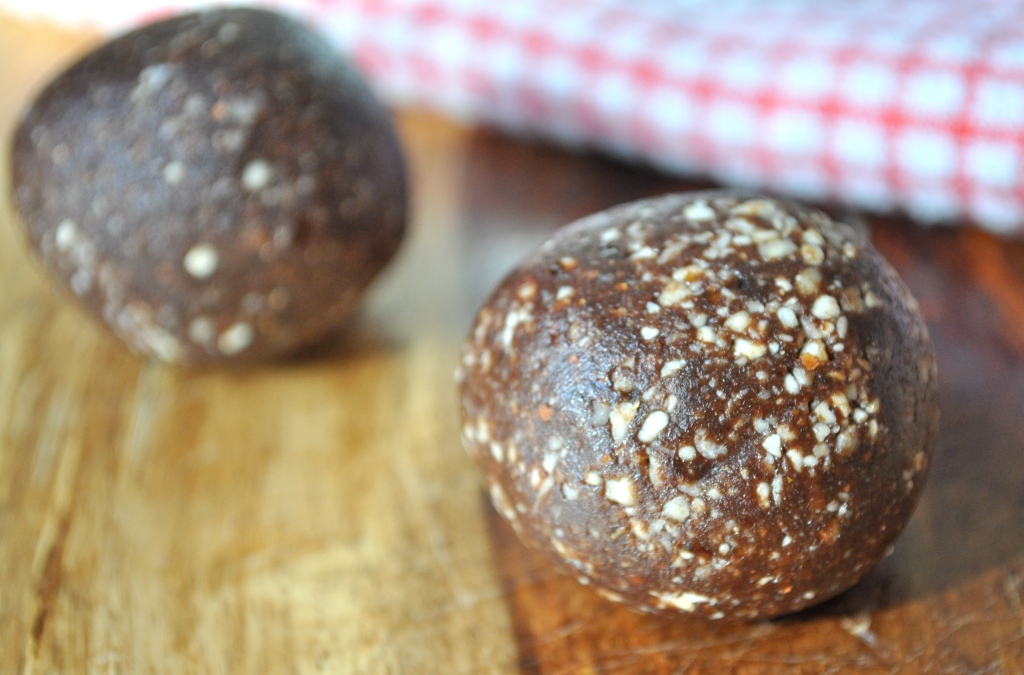
What if I told you that I made something healthy that tastes like a brownie? That you can totally enjoy, guilt-free, for a snack or a burst of energy before or after exercise. What if I told you that these “brownie bites” have no added sugar or fat, are vegan and gluten-free, and are made with only 5 ingredients. Bonus? They can be whipped up in just minutes.

About a year and half ago, whilst in the throes of a one-month challenge of eating no grains, I was searching for a healthy, filling, and nutrient-dense snack to eat between meals or before exercise. No grains meant no easy-to-grab items like granola bars, and I’d totally had my fill of trail mix, apples smothered in peanut butter, and veggies and hummus. One day while at the grocery store, I picked up a Larabar to try, after reading the ingredient list and determining that it passed the grain-free test. It was satisfying, both in taste and in curbing my appetite, and I appreciated the short ingredient list (just nuts and dried fruit). However, at $2.49 a pop, these little bars are a pricey snack.

Thankfully, these bars are a cinch to recreate in your own kitchen at a fraction of the cost. All you need is a food processor and a good supply of dates and nuts. Then, you can jazz up these little bites with additional flavors, like cocoa powder, coconut, spices, and extracts. Larabar has an impressive variety of flavors, from key lime pie to cappuccino, and peanut butter and jelly to ginger snap.

Without further adieu, here is my recipe for brownie Larabar bites. But be warned, once you pop one of these little nuggets of joy, you won’t be able to stop. Stash them in an airtight container in the fridge and grab them as needed for quick snacks or exercise fuel. They also do a mighty fine job of silencing a late-night sweet tooth. Not that I have that problem.

Brownie Larabar Bites

Makes 8-10 golf ball sized bites.

1/2 cup whole almonds

1/2 cup walnuts (or pecans)

10-12 Medjool dates, pitted

4 TBSP. cocoa powder

1 tsp. vanilla

Add all ingredients into a food processor and process until everything is finely ground and the mixture comes together in your fingers. Roll the mixture into small balls and store in an airtight container (I put mine in the fridge). You make also form the mixture into actual bars, but the recipe will yield a smaller amount (likely about 4 bars).

Conquering Fear | Chocolate Glazed Doughnuts

Well hello there friends! I bet you were starting to think that I’d fallen off the face of the earth. Fortunately, I’m still kicking. In truth, I’ve been working my arse off. The intense training schedule continues. After a day of work and a hard run, I’m lucky if I get some decent food past my lips, let alone photograph it and come up with an accompanying witty post.

But I must admit, I’m kind of using this whole running thing as a license to eat whatever the hell I want. Thankfully I’m a reasonable person (most of the time), and I’m trying to find a good balance between eating healthy and indulging from time to time. A few weeks ago, I had this sudden urge to try making doughnuts from scratch. And it wouldn’t. go. away. So I enlisted the help of a trusty friend of mine and we went to work on a few different recipes.

First, there were sour cream glazed doughnuts. They turned out alright, but not fantastic. Too dense, not cakey enough, and not the right flavor. So we moved onto pumpkin spice cake doughnuts. They were almost fantastic, especially when eaten still warm with a hefty coating of cinnamon sugar. And so we decided to try out a simple yeast doughnut with a rich chocolate glaze. Money.

These were delicious. The doughnut itself is not overly sweet, but the chocolate glaze adds a nice kick of sweet and chocolate.

Ladies and gents, it’s time to conquer our fears.

Yes, fear. I know what you’re thinking. Yeast? Hot oil?! Frying things??!

Don’t be afraid! It’s a lot easier, and more fun, than it looks. Especially in the company of a lovely friend, with some good tunes and a couple glasses of the red stuff. If only all fears were this easy to conquer! And hello?! There are doughnuts at the end of this lil’ journey. If that’s not motivation, I don’t know what is.

Let’s do this!

We start by making a simple yeast dough. Then we let it rise for a little bit until it doubles in size. Look at this beautiful ball of dough! Ain’t she perrty?

Then we roll out the dough and make doughnuts! Supposedly there are fancy doughnut cutters out there, but why not save that cash for another bottle of vino and use a wine glass and a shot glass instead! Doughnut + hole = done! Lay out your cut doughnuts on a lined cookie sheet, cover with a clean tea towel, and allow to rise for another half hour. Get your oil heating while the doughnuts rise.

The one special gadget you will require for this adventure is an oil/candy thermometer. I bought one for $10. When your thermometer reaches 325°F, it’s go time!

Fry, cool, glaze. Easy as pie. And then, EAT!

You can do it, I have faith in you!

Special shout-out to the lovelies that helped me eat my way through these doughnut trials. My heart (and thighs) thank you.

Chocolate Glazed Doughnuts (adapted from La Mia Vita Dolce)

These doughnuts are best enjoyed immediately after they are made, but leftovers can be stored in an airtight container for a couple of days. I recommend warming leftovers briefly in the microwave before enjoying. 

4 tsp. active dry yeast

1/4 cup water

1 cup whole milk

4 TBSP. sugar

1/4 cup butter, melted

4 1/4 cups all-purpose flour

3 eggs

Vegetable oil for deep-frying

Measure the water and milk into a small saucepan and heat over low heat until warm (do not let it boil!). Pour the warm water/milk mixture into a large bowl, and add 1 TBSP. of the sugar, as well as the yeast. Set aside for 10 minutes. The mixture will start to foam, meaning the yeast is working! Add the butter, flour, eggs and remaining sugar to the yeast mixture and mix until a sticky dough forms. Knead the dough on a lightly floured surface to bring it together. Place the dough in an oiled bowl, cover with a tea towel and set aside in a warm place for 45 minutes or until doubled in size.

Knead the dough on a lightly floured surface for 5 minutes or until it feels smooth and elastic when pressed. I punched my dough a few times, and it felt good! I may or may not have pretended that the dough was someone’s face. Unfortunately, karma bit me in the booty and I hit the counter instead. You win some and you lose some. Anyways…

Roll out the dough on a lightly floured surface until 1 cm (1 1/2 inches) thick. Cut 8 cm (3 1/4 inch) rounds with a cutter.  Cut a 3.5 cm (1 1/4 inch) hole in the middle of the rounds. Place on a tray lined with non-stick baking paper, cover with a tea towel and set aside in a warm place for 30 minutes or until risen.

In the meantime, heat the oil (2 inches deep) in a large pot over medium-low heat.  Gently drop the doughnuts one by one into the hot oil. Cook the doughnuts a few at a time for 1 minute each side or until just golden. Drain on a cooling rack set over paper towels.

Chocolate Glaze

2 1/2 cups icing sugar, sifted

1/2 cup unsalted butter

1/4 cup whole milk

1 TBSP. honey

2 tsp. vanilla

4 ounces bittersweet or semisweet chocolate, chopped

Sift icing sugar into a small bowl and set aside. Combine the butter, milk, honey, and vanilla in a medium saucepan and heat over medium heat until butter is melted. Decrease the heat to low, add the chocolate, and whisk until melted. Turn off the heat, add the icing sugar, and whisk until smooth. Dip slightly cooled doughnuts into the glaze and allow to set. Eat immediately!

Run Forrest Run! | Chocolate Cupcakes with Salted Caramel Buttercream


Sleep. Eat. Work. Run. Eat. Sleep.

Eat. Work. Run. Eat. Sleep.

Work. Eat. Yoga. Eat. Run. Sleep.


That was the jist of my life over the past week. Half-marathon training started with a bang and I’m pushing myself to establish a steady running schedule. It feels so good to be running again. Runner’s high, indeed!

The only problem is the weather. The last few days have brought temperatures as low as minus 44 degrees (celsius!) with the wind chill. Hello Winter!


I’m committed to this training. I really am. But a girl’s gotta draw the line somewhere, and for me the line gets drawn at about minus 25 degrees. Following a 7.5km run last weekend in minus 30 degree temperatures, I had a chill that I couldn’t shake for several days. Days. Thank goodness for a couple of local indoor tracks – I was able to keep up with the training schedule and get in a couple of indoor runs this week. Running indoors is a bit mundane, but it’s reassuring to know that I’ll still have all of my fingers and toes by the end of the run! I appreciate my extremities. 🙂


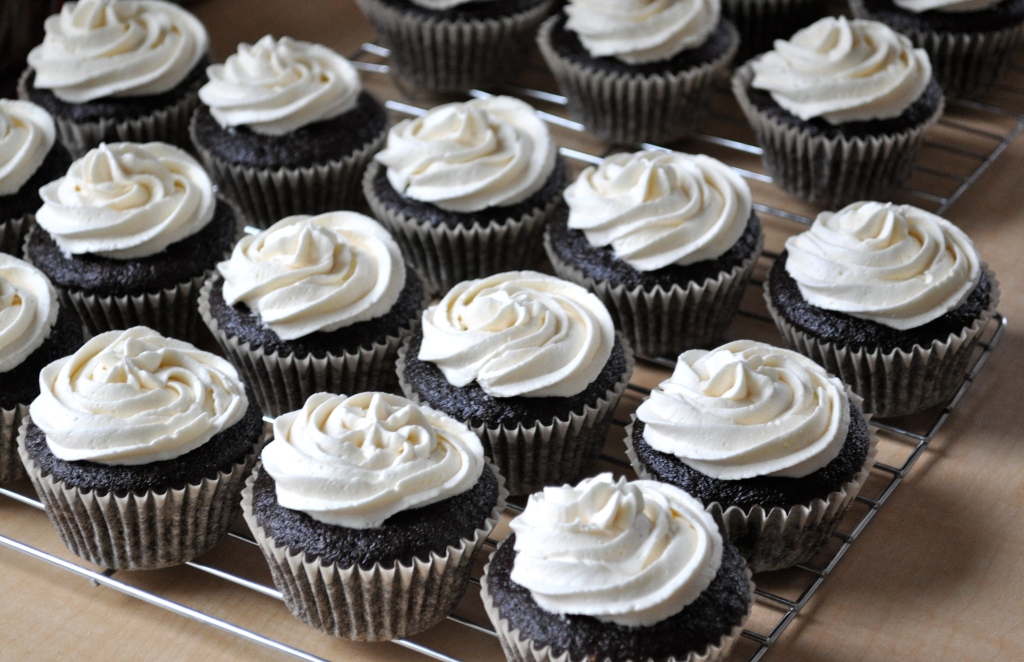
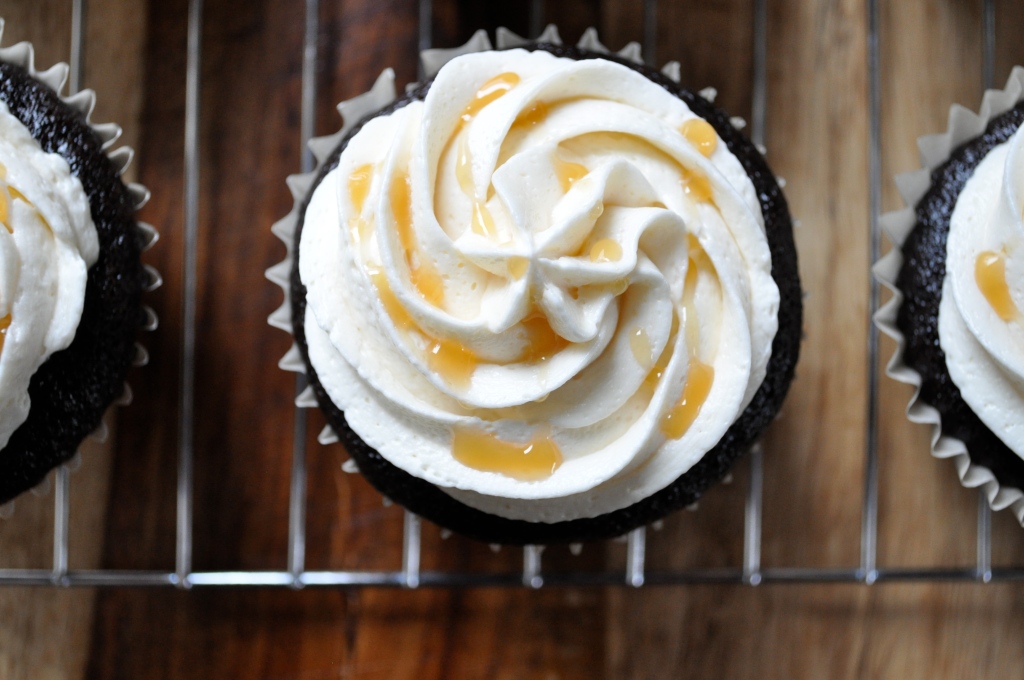
Fortunately (or unfortunately, depending on how you look at it), all this running has kicked my metabolism into overdrive. I am hungry all. the. time. And whether it’s wrong or right, I feel that eating cupcakes (I’m thinking right) and drinking red wine (yep, definitely right) is totally 100% justified by all of this exercise. It’s probably wrong…but if eating rich chocolate cupcakes topped with a swirl of salted caramel buttercream and then drizzled with more salted caramel is wrong, I don’t give a rough one about being right. Ever.

Plus, becoming a better cupcake decorator was one of my new year’s goals, and to become better at something, one must practice, practice, practice. I’m quite certain that taste-testing is mandatory.


Chocolate Cupcakes with Salted Caramel Buttercream

24 chocolate cupcakes – I used this, my favorite chocolate cupcake recipe. It’s vegan too!

Salted Caramel Buttercream (from Good Thymes and Good Food)

1 cup butter, softened

2 1/4 cups icing sugar

1/8 tsp. salt

2 tsp. vanilla

3 TBSP. salted caramel sauce + more for drizzling (I used store-bought, but you could make your own!)

2 TBSP. heavy cream

In a standing mixer, beat the butter at medium-high speed until smooth, about 20 seconds. Add in the icing sugar and salt; beat at medium-low speed until most of the sugar is combined, about 45 seconds. Scrape down the bowl and beat at medium speed until the mixture is fully combined, about 15 seconds; scrape down the bowl and add the vanilla, caramel sauce, and heavy cream. Beat at medium speed until incorporated, about 10 seconds. Increase speed to medium-high and beat until light and fluffy, about 4 minutes, scraping down bowl once or twice. Frost the cupcakes however you wish (I used a pastry bag with a star attachment), and then drizzle with more salted caramel sauce. Filling a small Ziploc bag with the caramel and cutting a teeny, tiny hole in one of the corners worked beautifully for me. Devour!


I’m starving. What’s for lunch?

Please tell me it’s cupcakes.

One Last Taste for 2011 | Egg Nog Cupcakes


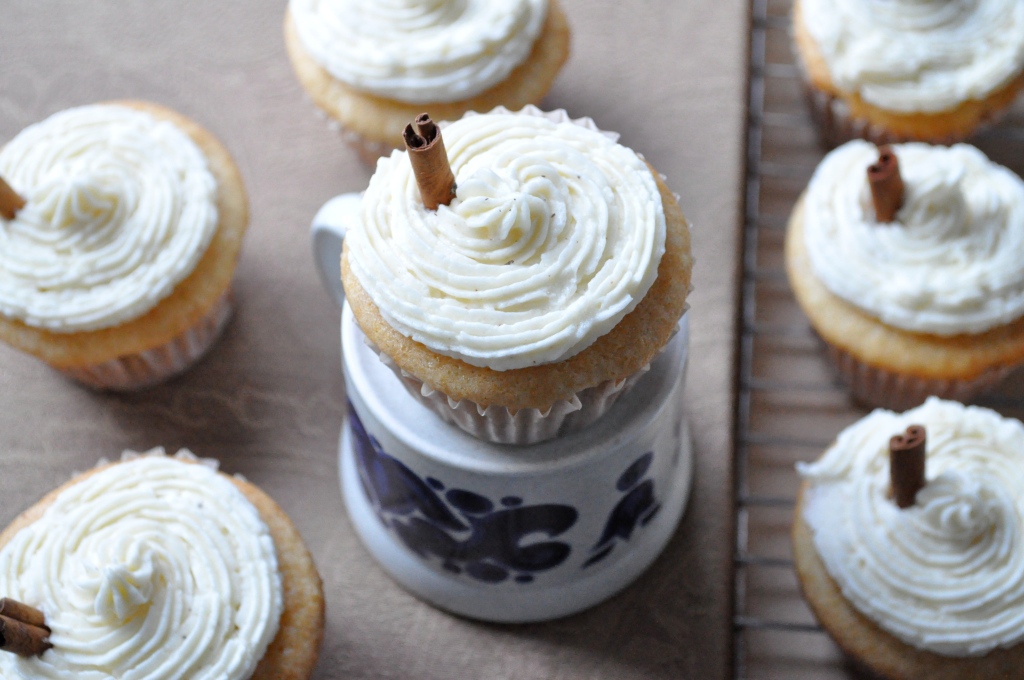
2011. A year filled with a few ups, many downs, and lots of in-betweens. I feel a buzz of excitement for the fresh start that the new year will bring. But first, one final recipe for 2011. I made these cupcakes for dessert on Christmas Day, and they were a much bigger hit than I expected. I wanted to use up the last of the egg nog in my fridge, so I thought I’d make these once more for a New Year’s Eve party that I’m heading to tonight. They really are delicious.


My brain is filled with many words, but I’m going to keep it short and sweet. Thank you my dear readers – friends, family, and strangers who come here for a little peek into my kitchen – without you, this blog would be nothing. From my heart to yours, I wish you all the best in the coming year. Cheers to happiness, love, adventure, and much more in 2012!

Much love,

Amanda


Egg Nog Cupcakes (adapted from the always lovely Annie’s Eats)

For the cupcakes:

1 1/3 cups all-purpose flour

1/2 tsp. baking soda

1 tsp. baking powder

Pinch of salt

1/4 tsp. nutmeg

1/4 cup dark rum or bourbon

1 cup egg nog

1/4 cup vegetable oil

1 TBSP. apple cider vinegar (or plain vinegar)

1 tsp. vanilla

1 cup sugar

For the icing:

1 cup of butter, room temperature

2 1/2 cups icing sugar

Pinch of nutmeg

2 1/2 TBSP. egg nog

1 TBSP. dark rum

For the cupcakes: Preheat the oven to 350°F. Line a 12-count muffin tin with liners of your choice. In a medium bowl, combine the flour, baking soda, baking powder, salt, and nutmeg and whisk together. In the bowl of an electric mixer, combine the remaining ingredients, and beat until well-mixed. Slowly add in the flour mixture and beat until just combined. Fill the muffin tins 2/3 full and bake for about 24 minutes, or until a toothpick inserted into the centre comes out clean. Cool completely.

For the icing: Place the butter in the bowl of an electric mixer fitted with a whisk attachment. Beat the butter on medium-high speed until smooth, about 30 seconds. Add in the icing sugar and nutmeg, and mix on medium-high speed until smooth, about 1 minute. Add in the eggnog and whip on medium-high speed until light and fluffy, about two minutes. Finally, add in the rum, and mix on low speed until blended.

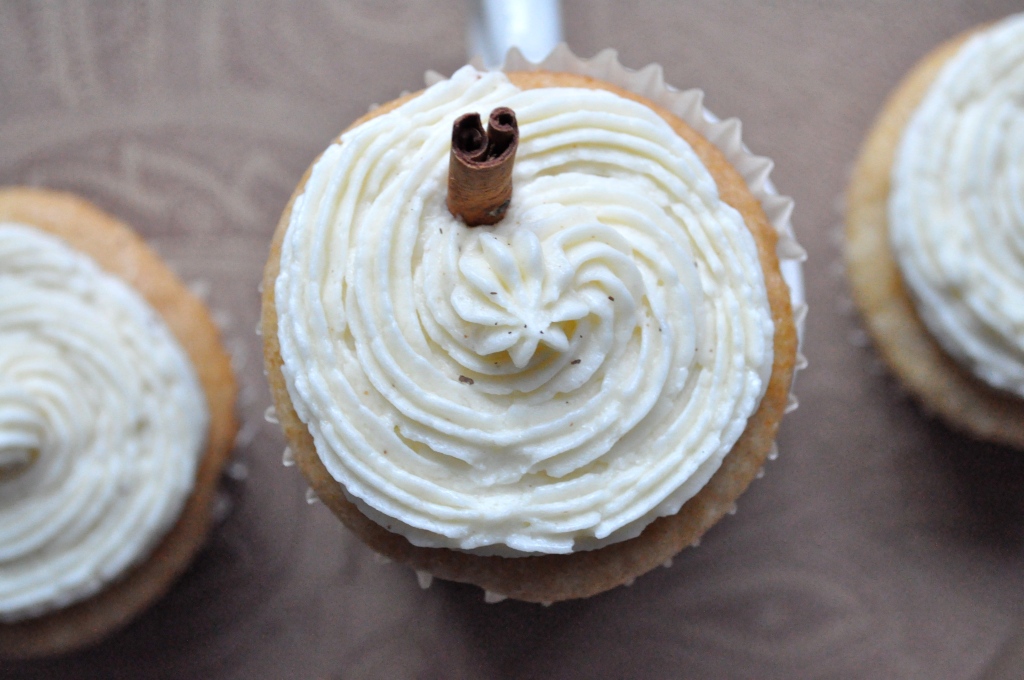
Use a pastry bag to decorate the cooled cupcakes, or spread the icing on with a knife. For an extra special garnish, poke half a cinnamon stick into each iced cupcake, and/or sprinkle with nutmeg. Store uneaten cupcakes (not that you’ll have any) in the refrigerator for up to 3 days.


PS. Just stating the obvious here, but…maybe I’ll be a cupcake decorator in my next life.