Pleasure in the Belly | My Spaghetti Sauce

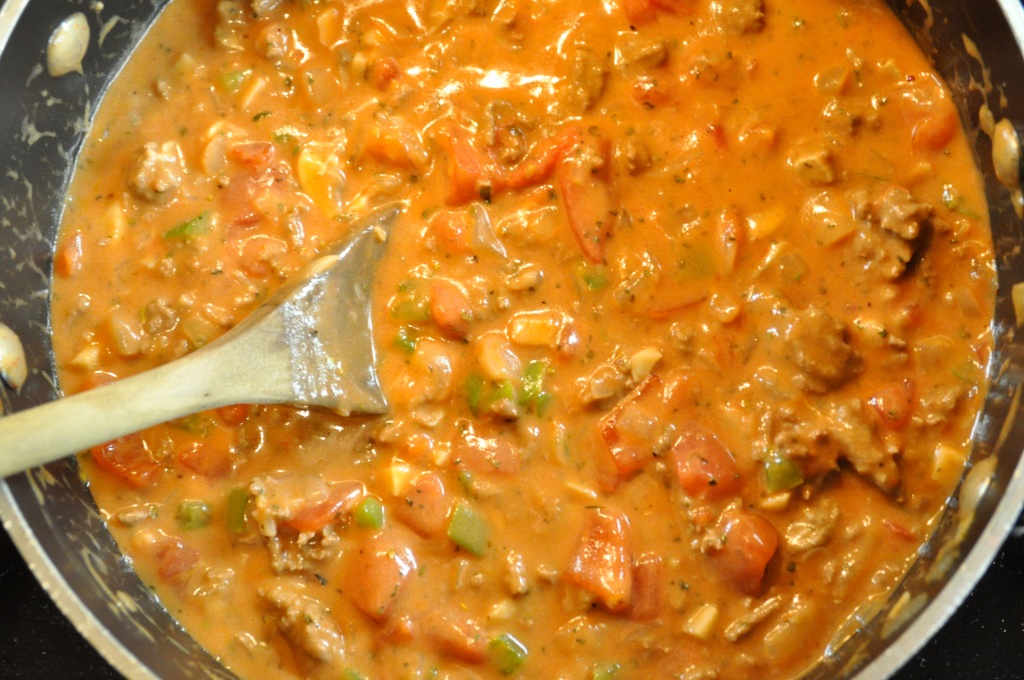
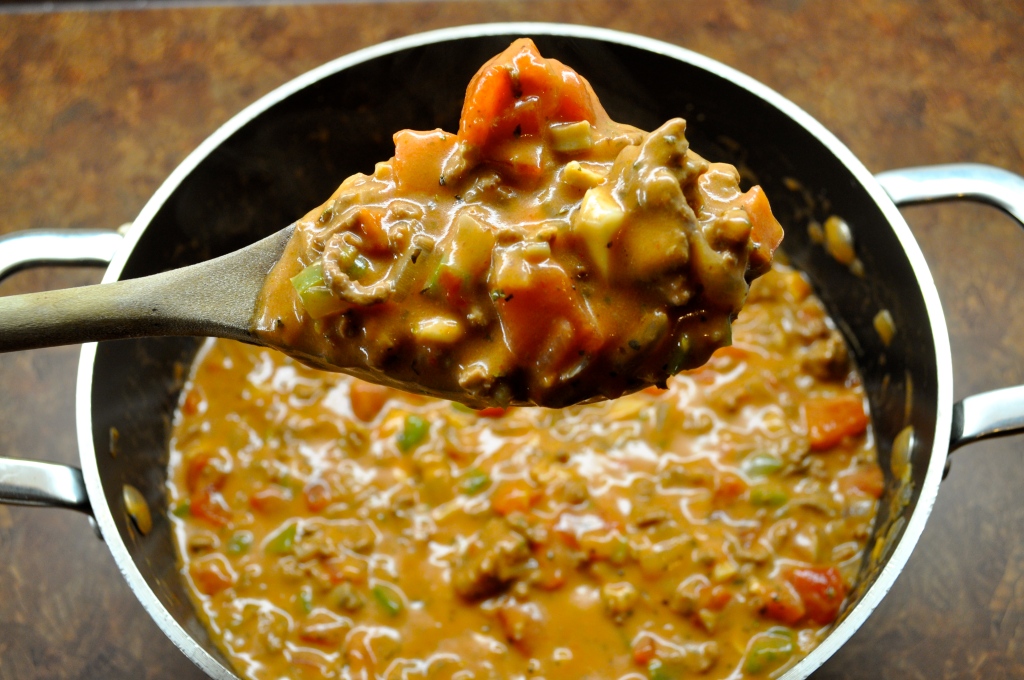
Spaghetti is one of my favorite comfort foods. Nothing feels quite as wonderful and comforting as a belly full of spaghetti and homemade sauce. This recipe originally came from my Nana, but it has evolved as it has been passed down through the generations. To be honest, I never make it the exact same way twice! There is room for some flexibility, depending on personal preference. Therefore, I give you the basic recipe, and suggest possible additions. Plus, it is so quick to prepare – perfect for the days before Christmas when you’re running around and barely have time to think about what to make for dinner!

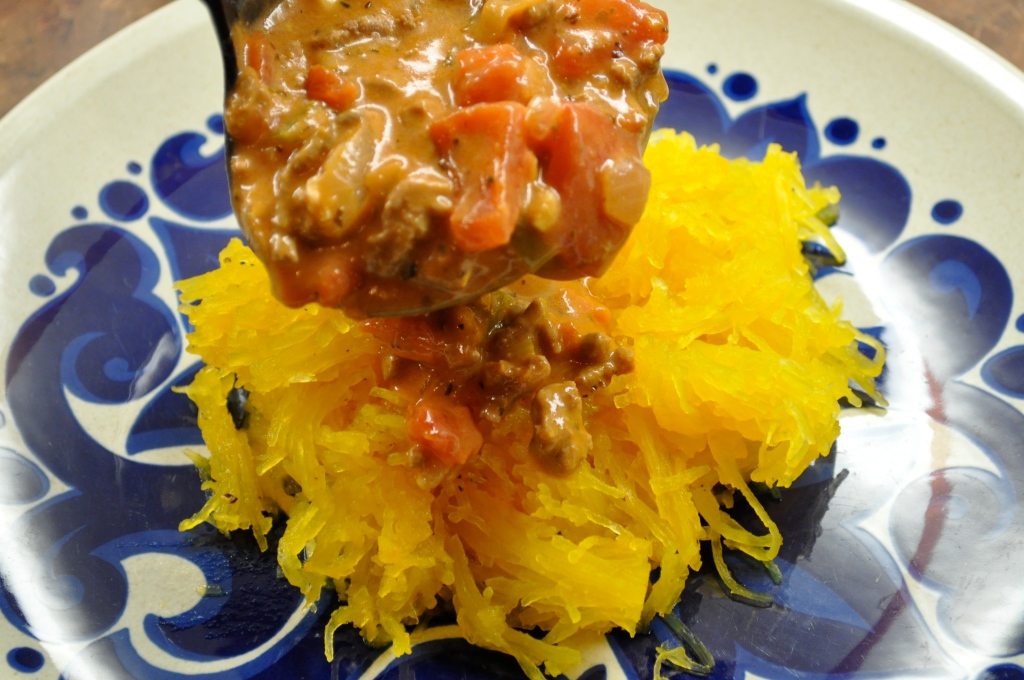
When I made this batch of sauce a few weeks ago, honey and I were still in the throes of our no-grains challenge, and so we ate the sauce over spaghetti squash. It certainly wasn’t better than pasta, but it was definitely a good substitute!


My Spaghetti Sauce

1 onion, diced small

6 cloves of garlic, minced

1 pound lean ground beef

1 large can of diced tomatoes

1 can of condensed tomato soup

1 can condensed cream of mushroom soup

1 tsp. dried basil

1 tsp. dried oregano

Salt and freshly ground pepper, to taste

Add-in options: 2 stalks celery (diced small), 1 green pepper (diced small), 20 mushrooms (sliced), 1 cup frozen peas, a couple of handfuls of fresh spinach.

Brown the ground beef and drain. Set aside. In a big pot, saute the onion for a couple of minutes in a little bit of olive oil over medium-high heat. Add the garlic and cook for one minute. If using celery, green pepper, or mushrooms, add them in now. When the veggies are tender, add the cooked ground beef, followed by the tomatoes, soups, and spices. (If you like your sauce really tomato-y, feel free to add a second can of diced tomatoes). Simmer over low heat for at least 30 minutes, longer if possible. If using the peas and/or spinach, add in at the end and allow to warm (peas) or wilt (spinach). Serve over your favorite pasta (or spaghetti squash), and enjoy with fresh bread. Happy eating!

PS. Only 1 more sleep until Christmas!
Chicken Etiquette | Classy Chicken

Although I do have another couple of cookie recipes that I want to share (and still might try to squeeze in before Christmas), I thought I better share something different and give your sweet tooths (teeth?) a break! This casserole is quick and yummy, and great for a quick dinner during the holiday season.

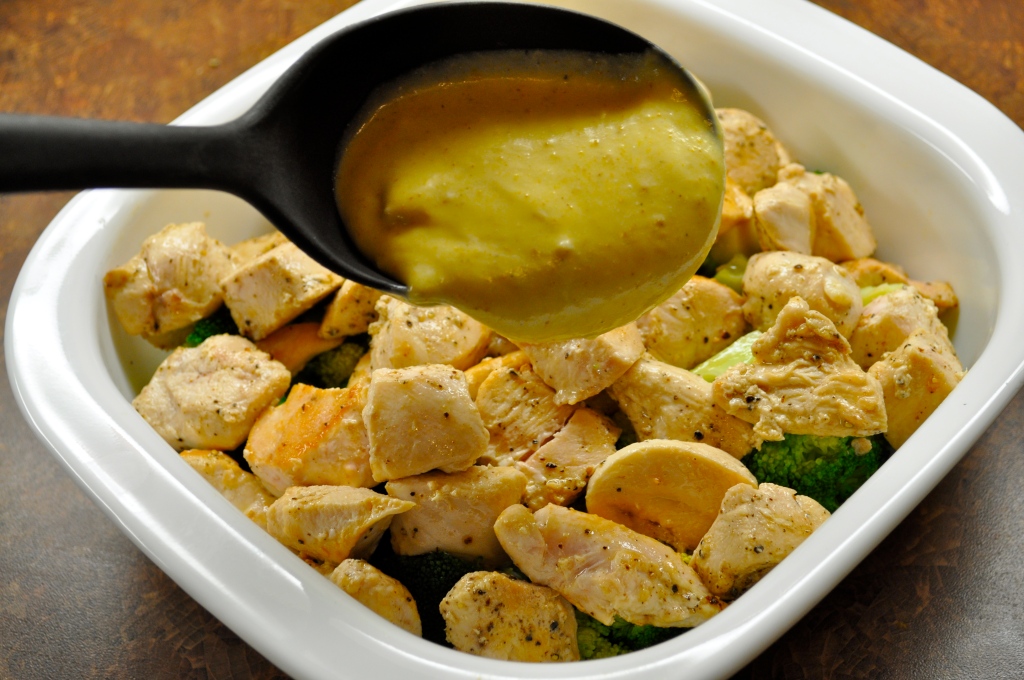
How to turn your chicken into a classy bird: Classy Chicken. This recipe is SO tasty and SO easy – definitely one of the most simple and delicious chicken dinners you can throw together quickly. I have made this recipe many times since it was introduced to me by a family friend, and it has never disappointed. The slight note of curry gives it some dimension, and the cream of chicken soup lends lots of flavor.

Do me a favor though and please do not use the low-fat cream of chicken soup or fat-free mayonnaise! I have tried this tactic before and it just does not lead to a dish quite as delicious as using the higher-fat alternatives. You can spare the extra calories for this dish, just trust me.

This dish is also great for sharing with a friend. If someone in your life is going through a bit of a rough time, why not take the task of making dinner off their hands? Prepare the dish up until the baking point, cover it with foil, attach baking instructions, and drop it off at their place. Include some rice if you so desire. Wouldn’t that be a nice delivery? “It’s not delivery, it’s Classy Chicken!” 😀

PS. Aren’t you just incredibly jealous of the awful lighting in these photos? Argh. My kitchen is a cave! Oh well, it doesn’t stop me from enjoying all of this food.

PPS. You can also whip this up the night before. Dinner will be a snap – get home from work/school/whatever, throw this bad boy in the oven, put on a pot of rice, and 30 minutes later dinner will be ready!

Classy Chicken (from The Best of the Best, vol. 1)

3 chicken breasts, cut into bite-sized pieces

Fresh ground pepper to taste

3 TBSP. oil

1-10 ounce package of frozen asparagus or broccoli (I always make this with a whole head of fresh broccoli)

1 can of cream of chicken soup (NOT low-fat)

1/2 cup light mayonnaise (NOT fat-free)

1 tsp. curry powder

1 tsp. fresh lemon juice

1/2 to 1 cup grated cheddar cheese

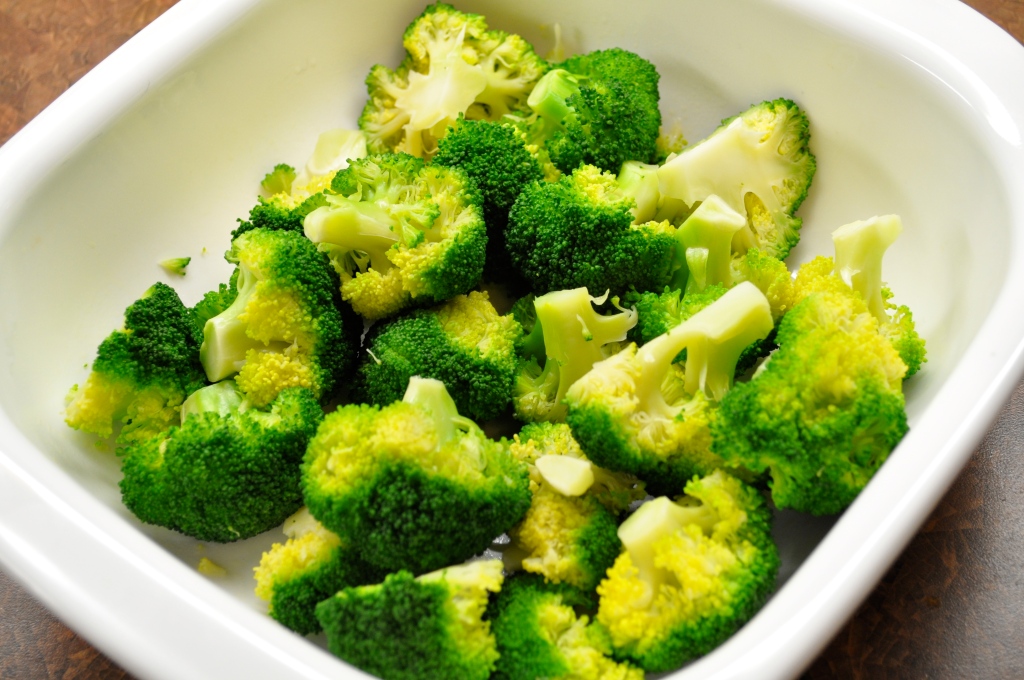
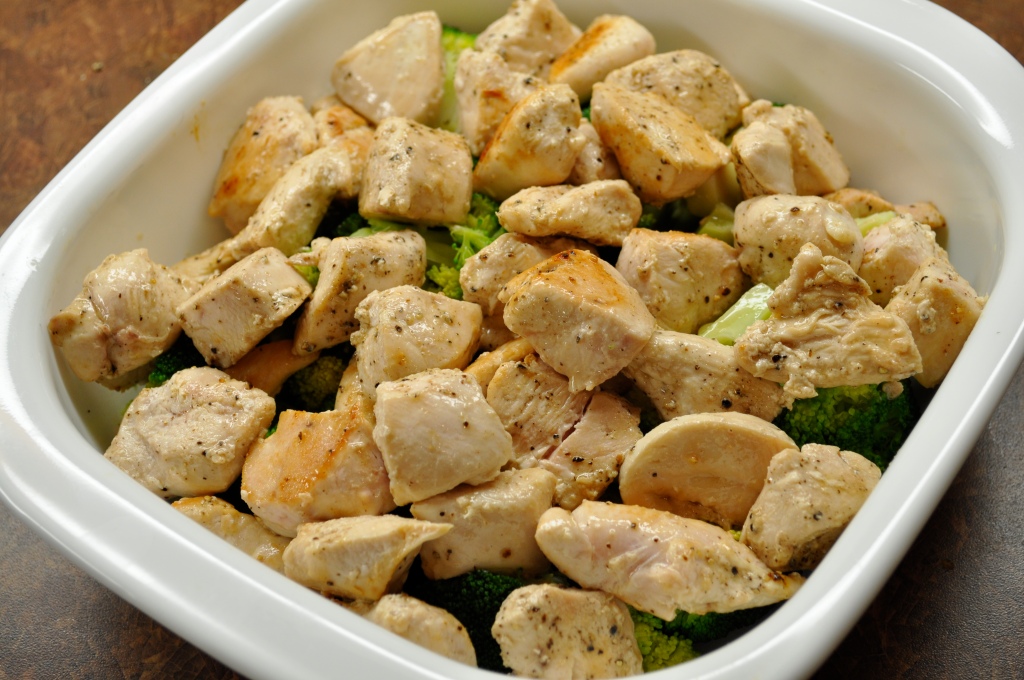
Sprinkle the bite-sized chicken pieces with freshly ground black pepper. Saute quickly in olive oil over medium heat just until opaque. Don’t overcook or the chicken will get tough! Drain. Cook the broccoli (or asparagus) until crunchy. I usually steam my broccoli just until it turns bright green. Drain the broccoli and arrange it in the bottom of a buttered casserole. Place the chicken on top. Mix together the soup, mayonnaise, curry, and lemon juice and pour over the chicken. Sprinkle with cheddar cheese and bake, uncovered, at 350 degrees F for 30-35 minutes. Serve alone, or over rice. Happy eating!

A Festive Treat | Christmas Biscotti

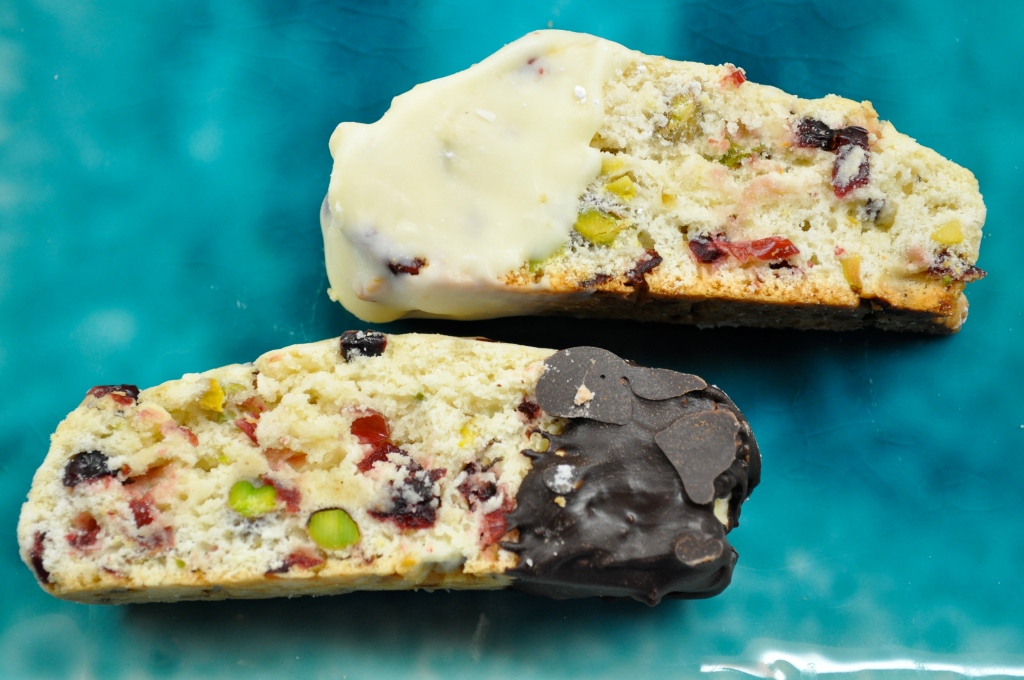
My mom brought these delectable treats to the cookie exchange last weekend. I spent the afternoon in the kitchen with her the day before, and we worked through the recipe together (neither of us had ever made biscotti before). This biscotti is quite delightful, if I do say so myself. The original recipe called for dried raspberries or strawberries, but my mom could not find either, no matter how hard she looked, so we improvised and used cranberries. The biscotti are loaded with pistachios, cranberries, and little bits of white chocolate, making them look rather festive and fitting for the holiday season! Not to mention the fact that they are delicious, especially with a nice cup of coffee or tea.

Never made biscotti before? Have no fear! They are fairly simple to make, just more time-consuming since they are baked twice. Stay inside where it’s warm, take an afternoon to bake these, and fill your home with the delicious scent of biscotti! These would taste great at any time of year I am sure, but the colors and ingredients fit with the holidays perfectly. Happy eating!


Pistachio, Cranberry, and White Chocolate Biscotti (adapted from Bon Appétit magazine, Dec. 2005)

3 cups all-purpose flour

2 TBSP. canola oil

2 tsp. baking powder

2 ½ tsp. almond extract

½ tsp. salt

¾ cup shelled raw unsalted natural pistachios

1 cup sugar

1 cup dried cranberries

3 large eggs

½ cup chopped high-quality white chocolate (such as Lindt or Perugina)

8 ounces high-quality white chocolate (such as Lindt or Perugina) and/or 8 ounces bittersweet or semisweet chocolate, chopped

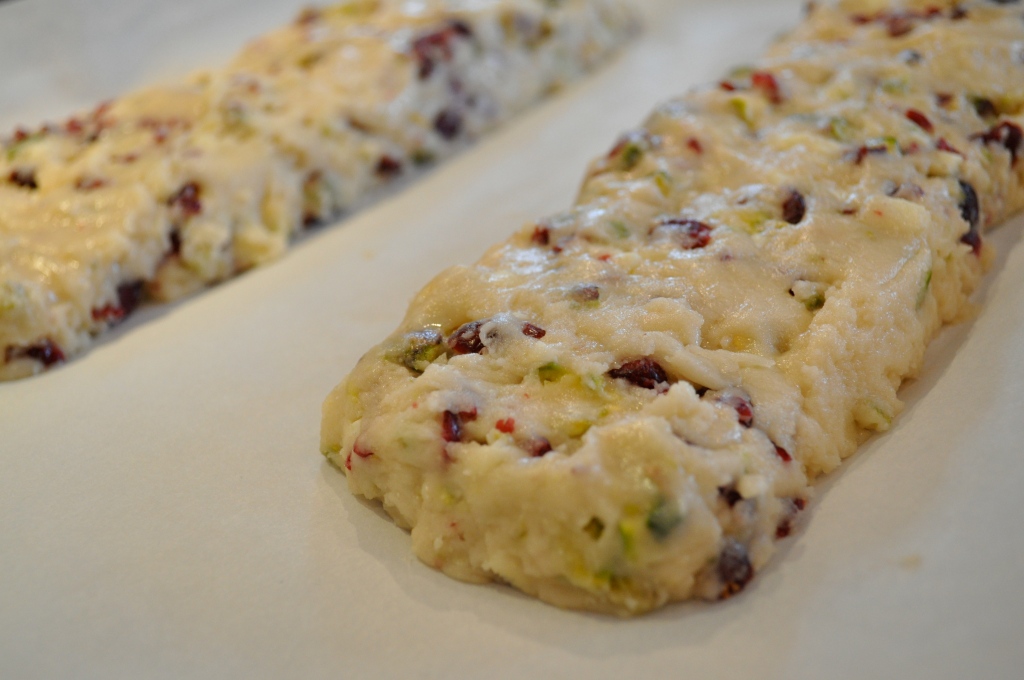
Preheat oven to 350oF. Line a large baking sheet with parchment paper. Whisk flour, baking powder, and salt in a medium bowl to blend. Using an electric mixer, beat sugar, eggs, oil, and almond extract in a large bowl until well blended. Add flour mixture and beat until smooth. Stir in pistachios, dried cranberries, and ½ cup white chocolate. Drop dough by heaping tablespoonfuls in two 12-inch long strips on prepared baking sheet, spacing strips 3 inches apart. Using wet fingertips, shape each strip into a 3-inch-wide log, pressing evenly (logs may look slightly lumpy). Bake logs until lightly browned and almost firm to the touch, about 30 minutes. Cool logs for 30 minutes. Reduce oven temperature to 325oF.

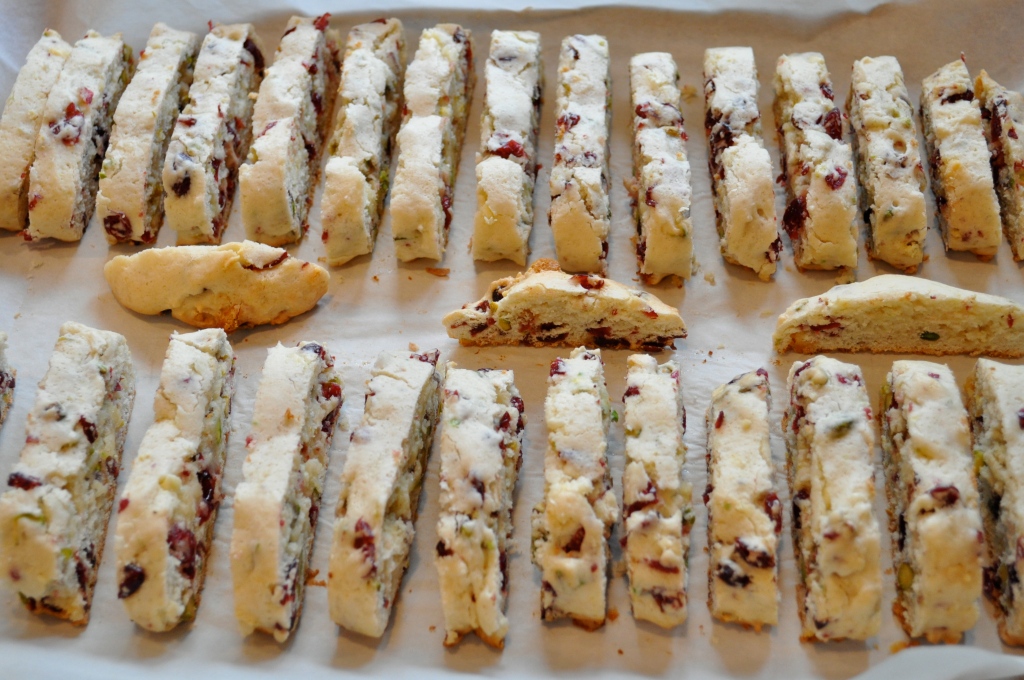
Carefully transfer the logs to a cutting board. Use the same parchment-lined baking sheet. Cut each log crosswise into generous ½-inch-thick slices. Stand biscotti upright, spacing about ¼ inch apart, in 3 rows on baking sheet. Bake until pale golden (biscotti may be soft but will firm as they cool), about 20 minutes. Cool completely.

Line another large baking sheet with parchment paper. Place 8 ounces chopped white (or bittersweet) chocolate in medium glass bowl. Microwave for 20-second intervals just until chocolate is soft to touch, about 40 seconds total (do not overheat or chocolate will burn or seize). Stir chocolate until smooth. Dip 1 end or 1 side of each biscotti in chocolate; place on baking sheet. Chill until chocolate has set, about 30 minutes. To store, arrange in single layer in airtight container and chill up to 5 days or freeze up to 2 weeks.  Makes about 3 dozen.

The Exchange | Neapolitan Cookies

Ready for more cookie recipes yet? ‘Cause there are a few coming down the pipe! Today I hosted a cookie exchange with some of my favorite family and friends. There were so many delicious cookies to share – I fear that I may end up eating my body weight in baked goods in the coming weeks! Clearly the afternoon was a success – check out my haul!

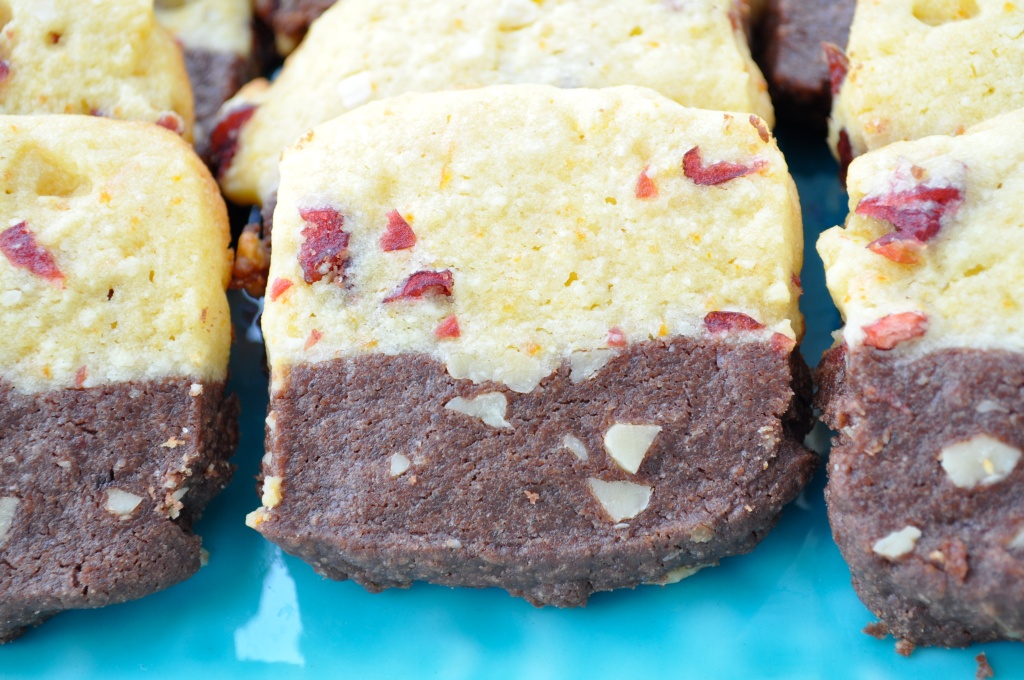
So many amazing treats – I can’t wait to try them all! I decided to share a recipe that I came across last holiday season – Martha Stewart’s Neapolitan cookies. I adapted the original recipe slightly (it also called for espresso powder in the chocolate half of the cookie, but I wanted to keep it a little more simple). The cookies were very well received last year, so I definitely wanted to share them with everyone this year. They take a little bit of time to make, but overall are quite easy, and they taste wonderful. The flavor of the orange, almonds, and cranberries blend perfectly with the chocolate and walnuts. These would make such a lovely homemade gift!


Christmas can be such a stressful time of year, with many demands (cooking, preparing for guests, shopping for gifts), but baking cookies is such a relaxing experience for me. I better be careful – at this rate I may end up with an insane amount of cookies to eat. But that would just mean more for sharing, one of my favorite holiday activities. Wouldn’t you love to receive a tin of homemade cookies from a friend? Try sharing these cookies (or making them for yourself). You won’t be disappointed. Happy eating!

Neapolitan Cookies (adapted from Martha Stewart)

For the orange-sable dough:                                         For the chocolate-walnut dough:

1 ¼ cups whole blanched almonds                              1 ½ cups all-purpose flour

1 cup sugar                                                                           ½ cup Dutch-process cocoa powder

¾ cup unsalted butter, room temp.                               1 cup unsalted butter, room temp.

3 TBSP. finely grated orange zest (2-3 oranges)       1 cup sugar

1 large egg                                                                            1 tsp. vanilla extract

1 TBSP. freshly squeezed lemon juice                           1 cup walnuts, coarsely chopped

1 ½ cups all-purpose flour

1 cup dried cranberries, roughly chopped

To make the orange-sable dough: Place almonds and sugar in the bowl of a food processor. Process until the mixture resembles coarse cornmeal. Add the flour and set aside. Place the butter and zest in a bowl and mix using an electric mixer. Beat on medium speed until white and fluffy, 2-3 minutes. On low speed, add the almond mixture; beat until combined. Add egg and lemon juice; combine. Wrap in plastic and store in the refrigerator until ready to use.

To make the chocolate dough: Sift flour and cocoa powder into a large bowl and set aside. Using an electric mixer, beat the butter, sugar, and vanilla until creamy, 3-4 minutes. Working in additions, gradually beat in flour mixture, scraping down sides of bowl twice. Wrap in plastic and store in refrigerator until ready to use.

Line an 8-inch square baking pan with plastic wrap. In a large bowl, stir the cranberries into the orange-sable dough. In another large bowl, stir the walnuts into the chocolate dough. Press the orange mixture into the bottom of the pan. Using an offset spatula, (or wet fingers) smooth top evenly. Spread chocolate mixture over the orange mixture and smooth evenly. Cover with plastic wrap and chill for at least 2 hours.

Heat oven to 350oF. Line two baking sheets with parchment paper. Shake the dough out of the pan and remove plastic. Cut into 2-by-8-inch bricks; cut bricks into ¼-inch-thick slices. Place slices on sheets, spaced 1 ½ inches apart. Bake for 12-15 minutes, or until firm to the touch. Transfer cookies to a wire rack to cool. Store in an airtight container.  Makes about 6 dozen.

PS. Later this week…Christmas Biscotti!

PPS. What is your favorite Christmas cookie recipe?

The Baking Begins | Cherry Almond Butter Cookies

There is something about holiday baking that just gets me feelin’ the Christmas spirit. Maybe it’s the warmth that comes from the oven and fills the kitchen in contrast with the cold outside, maybe it’s the sweet scent of baking butter and sugar that teases your tummy, or maybe it’s the thoughts of sharing delicious cookies and treats with friends and family as you get together to celebrate the season. Whatever it is, I adore it and can’t seem to get enough.

Baking is a big Christmas tradition in my family, and there is never a shortage of sweet treats to choose from. In fact, one might be inclined to skimp on turkey and mashed potatoes in an effort to leave extra room for cookies and squares and tarts!

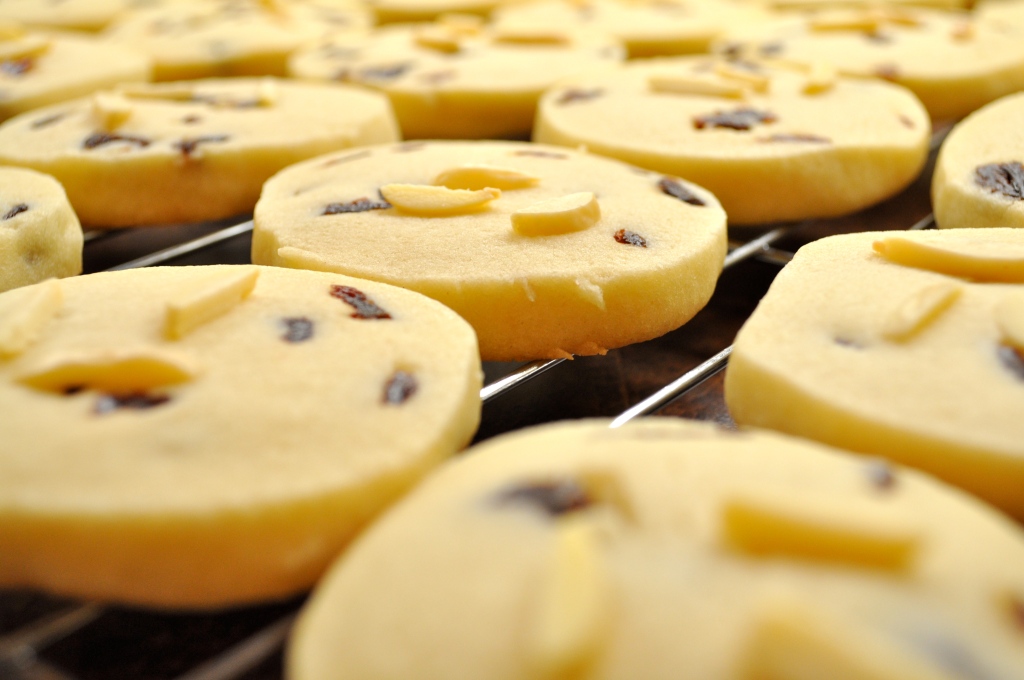
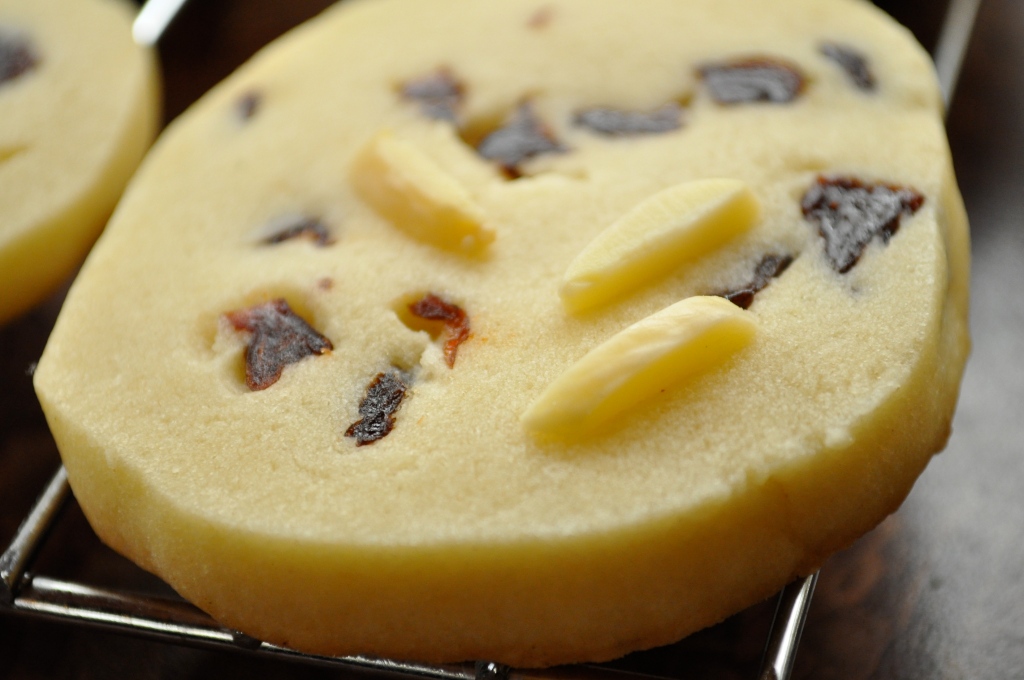
There are a few Christmas cookie recipes that I turn to year after year, but I also try to pick a couple of new recipes to try every holiday season. These cookies, Cherry Almond Butter Cookies, joined my recipe stash a few years ago when I impulsively bought the Company’s Coming Most Loved Cookies cookbook right before Christmas. Their butter content might make you think of shortbread, and they have a similar buttery sweetness, but the addition of tart dried cherries and crunchy toasted almonds give them a delicate uniqueness. They have become one of my favorites, and if you give them a try, they might become one of your favorites too!

Cherry Almond Butter Cookies (from Company’s Coming Most Loved Cookies)

2 cups of butter, softened (room temperature)

1 1/2 cups of sugar

1 egg

2 tsp. vanilla

5 cups of all-purpose flour

2 tsp. baking powder

1/2 tsp. salt

1 1/3 cups of dried cherries (roughly chopped)

1 cup of toasted slivered almonds

Cream the butter and sugar together in a large bowl. Add the egg and beat well. Add the vanilla and beat until smooth. Combine the flour, baking powder, and salt together in a medium bowl. Add to the butter mixture in 3 additions, mixing well after each addition until no dry flour remains.

Add the cherries and mix well. Divide the dough into 3 portions. Shape each portion into an 8-inch (20 cm) long log. Wrap each log with waxed paper. Chill for at least 6 hours or overnight.  (This is an important step as it makes the cookie dough firm and easy to slice before baking). When ready to bake, discard the wax paper from each log. Cut into 1/3-inch (1 cm) slices. (I was able to get about 20 slices out of each log, for a total of 60 cookies). Arrange about 2 inches (5cm) apart on cookie sheets lined with parchment paper.

Gently press 2 or 3 almond slivers* in a decorative pattern on top of each slice. Bake at 350 degrees F for about 10 minutes or until just golden. Let stand on cookie sheets for 5 minutes before removing to wire racks to cool.

*To toast the almond slivers, spread them evenly in an ungreased shallow pan. Bake in a 350 degree F oven for 5-10 minutes, stirring or shaking often, until lightly golden.

PS. Honey just informed me that when he found these in the freezer this afternoon, he polished off 8 cookies in one sitting. Hide these if you want them to make it until Christmas!

PPS. I apologize for the terrible light in my photos. I have zero natural light in my condo, and since I do much of my cooking/baking in the evening after work, the light is even worse! The odd Saturday or Sunday cooking venture might yield more favorable results, but I’m not going to limit myself to just those two days per week.


How Sweet! | Fruit Salsa and Cinnamon Chips

Honey and I hosted a Christmas party last night! We had a wonderful time with great friends and family – it was a fabulous way to kick off the holiday season! We also spent the 48 hours prior to the party in preparation mode – food and drink planning, grocery shopping, housecleaning…we ended up with about 8 appetizer and dessert dishes. I photographed all of the dishes as I was making them, but once the party got going and I started putting the food out, I was too preoccupied with visiting and of course, eating, to take photos of the finished products! I am kicking myself now, because there were a couple of other recipes that I really wanted to share with you! Oh well, perhaps they will be recreated over the course of the holidays and I will be better prepared to capture them with my camera!

This fruit salsa with cinnamon chips is another family favorite that has made an appearance at many parties and get-togethers. It can be an appetizer, it can be a dessert, and it is so deliciously refreshing. It can take a little bit of time, dicing up the fruit and baking the cinnamon chips, but your efforts will be rewarded once you sink your teeth into the sweet, crispy chips, and the fresh, succulent salsa. The colors and flavors make it very season-appropriate, although it is a wonderful summer treat as well.

Try making this fruit salsa for a holiday party that you’re hosting or attending, and I guarantee your guests will not be disappointed. Stay tuned for Christmas cookie recipes, coming up this week! Happy eating!

Fruit Salsa with Cinnamon Chips

2 apples, peeled, cored, and diced (Granny Smiths work well)

2 kiwis, peeled and diced

1 pint of raspberries, chopped

1 pound of strawberries, diced

2 TBSP. white sugar

1 TBSP. brown sugar

3 TBSP. fruit jam, either strawberry or raspberry

Fresh mint (optional)

10 10-inch whole wheat tortillas

1/2 cup butter, melted

2 cups of cinnamon sugar (2 cups of white sugar mixed with 2 TBSP. of cinnamon)

For the salsa: In a large bowl, combine the apples, kiwis, raspberries, strawberries, sugars, and jam. Cover and chill in the refrigerator for at least 30 minutes (I usually make the salsa the night before and chill it overnight).

For the cinnamon chips: Preheat the oven to 350 degrees F. Brush both sides of each tortilla with butter, and generously sprinkle with the cinnamon sugar. Cut each tortilla into 8 wedges and arrange in a single layer on a baking sheet lined with parchment paper. Bake for 8-10 minutes, or until the tortillas are lightly browned. Cool for at least 15 minutes before eating. Store the chips in an airtight container if you will not be eating them right away.

Serve the salsa and cinnamon chips together just like you would serve savory salsa and tortilla chips. Garnish the salsa with fresh mint, if desired. Enjoy!

Celebration! | Morning Magic Muffins

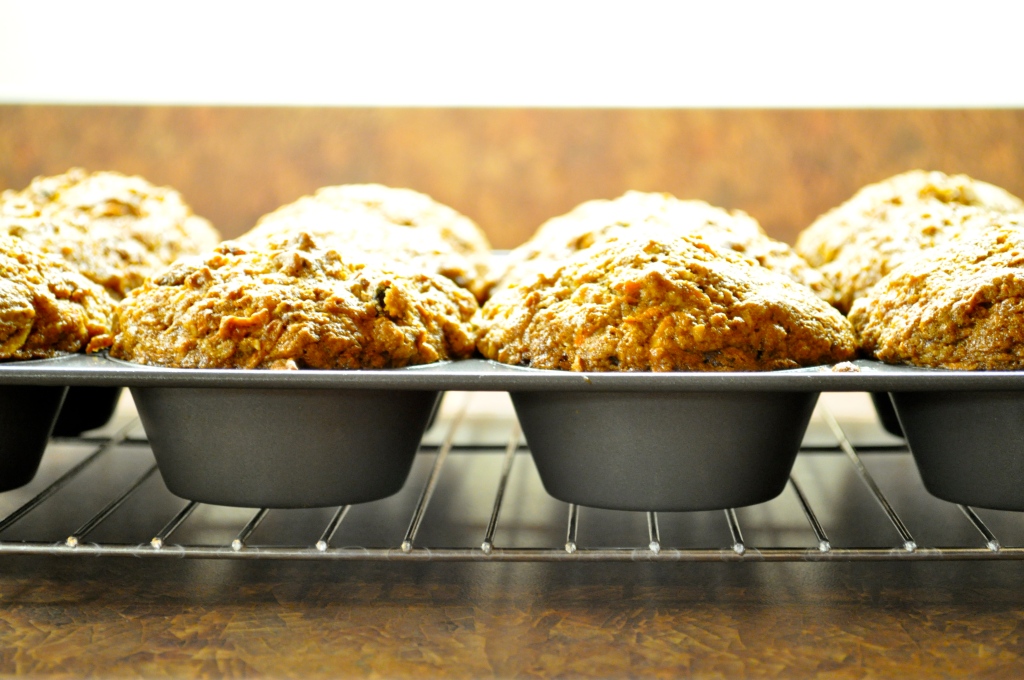
Mmmmmmuffins! Who doesn’t love muffins?! I am a “healthy” muffin lover – I adore hearty and wholesome muffins with good texture and lots of flavor. I even prefer this kind of muffin to the cakey, dessert-like kind. I’m much more likely to reach for a bran muffin than a chocolate chip muffin on most occasions. Call me crazy.

Honey and I just finished our latest food challenge – to go 30 days without eating grains. As in, no bread, no pasta, no rice, no oats, and many other NOs! It was an unbelievable challenge. You might think it would be easy, but when you really start looking closely at food (especially prepackaged food), much of it includes some form of grain. There is a science behind this diet, you can read more here if you’re interested. Anyways, despite a few grumpy days and almost constant hunger…we are impressed with the results, not to mention very proud of ourselves. We ate more fruit, vegetables and lean protein than normal, since we could not rely on filler items such as rice, pasta, and bread to complete our meals. Ok, we did cheat a couple of times, but only when absolutely necessary! Isn’t cheating an essential component of every diet?

Food challenges are great for opening your stomachs to new ideas! Regardless, today marks the last day of our challenge, and I decided to make these amazing muffins in celebration. Although we are going back to grains (as if I’m going to be able to enjoy the holiday season without all that delicious baking that will be showing up everywhere I set foot in the next month!), we are going to try to eat less of them on a regular basis.

This recipe comes from a colleague of mine, although I have altered the recipe a little to my taste. Try these muffins – they are loaded with wholesome ingredients to help you gain energy for the day ahead. They are lovely all on their own, but a little butter and/or jam never hurt anyone. Happy eating!

PS. Stay tuned for some delectable holiday cookie recipes next week!

Morning Magic Muffins

2 cups whole wheat flour

3/4 cup brown sugar

1/2 cup white sugar

2 tsp. baking soda

2 tsp. cinnamon

A large pinch of salt

2 cups of peeled, grated carrots

1 apple, peeled and grated

1/2 cup raisins

1/2 cup chopped nuts (almonds are my favorite)

1/2 cup coconut

3 eggs

3/4 cup canola oil

2 tsp. vanilla

Combine the first 11 ingredients in a large mixing bowl. Stir well to blend. Beat the eggs, oil, and vanilla in a small bowl. Add to the dry ingredients, stirring just until moistened (the batter will be very thick). Grease a 12-count muffin tin and fill the cups nearly to the top (or you may make 18 smaller muffins). Bake at 350°F for 20-25 minutes or until a toothpick inserted into the muffin comes out clean. Enjoy!

Get Fresh | Broccoli Slaw Salad with Five-Spice Tofu

Honey and I decided to challenge our bodies and minds in 2009 and go the entire year without eating meat. A “vegetarian” diet. We continued to eat fish, but stayed away from chicken and red meat. It was a great challenge and really opened our eyes (and stomachs!) to different kinds of vegetables and legumes. We have since returned to our carnivorous ways, but continue to try to eat vegetarian a couple of times per week. I came across this recipe in the latest edition of Vegetarian Times magazine, and decided to give it a try. We made a meal out of it, but it would also go well as a side dish. Makes for great lunch leftovers as well! I would recommend making the salad the day before you eat it – only because I think the flavors really developed by sitting in the fridge overnight. I enjoyed it much more the second day than I did immediately after throwing it together. And for those of you out there who are afraid of tofu – give it a shot! Tofu takes on the flavor of whatever you cook it in/with, so get creative! This recipe calls for pre-packaged five-spice tofu, but I’m not a fan of the pre-marinated tofu, and prefer to marinate it myself. Either way…happy eating!

Broccoli Slaw Salad with Five-Spice Tofu (adapted from Vegetarian Times, Nov./Dec. 2010)

Dressing:

2 TBSP. roasted sesame oil

2 TBSP. Chinese black vinegar (or 1 TBSP. rice vinegar plus 1 TBSP. balsamic vinegar)

1 tsp. sriracha or any chile-garlic sauce

1 tsp. sugar

To make the dressing: Whisk together all ingredients into a small bowl. Season with salt (and pepper), if desired.

Salad:

1-lb. package broccoli slaw (I used half broccoli slaw/half broccoli florets)

1 small red bell pepper, thinly sliced

7 ounces five-spice pressed tofu, sliced into matchsticks

1/2 chopped cilantro

2 green onions, chopped

4 TBSP. chopped roasted peanuts

To make salad: Toss together all of the ingredients in a large bowl. Add the dressing and toss well. Eat immediately, or put in the fridge overnight to let the flavors mingle.  *You may also use plain extra-firm tofu, and let in marinate in your own mixture (ie. 1 TBSP. sesame oil, 1 TBSP. soy sauce, 1 tsp. chinese five-spice) for at least 30 minutes. I also fried the tofu in a little bit of vegetable oil before adding it to the salad, just enough to brown it and add some crispness.

Something Sweet | Lemon Poppy Seed Cake

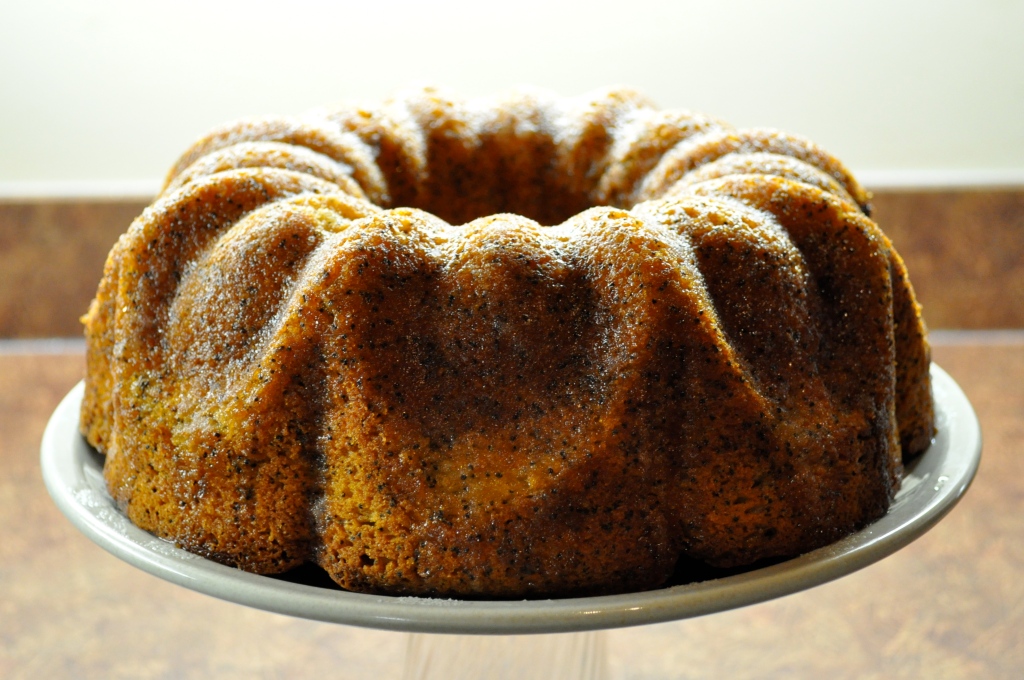
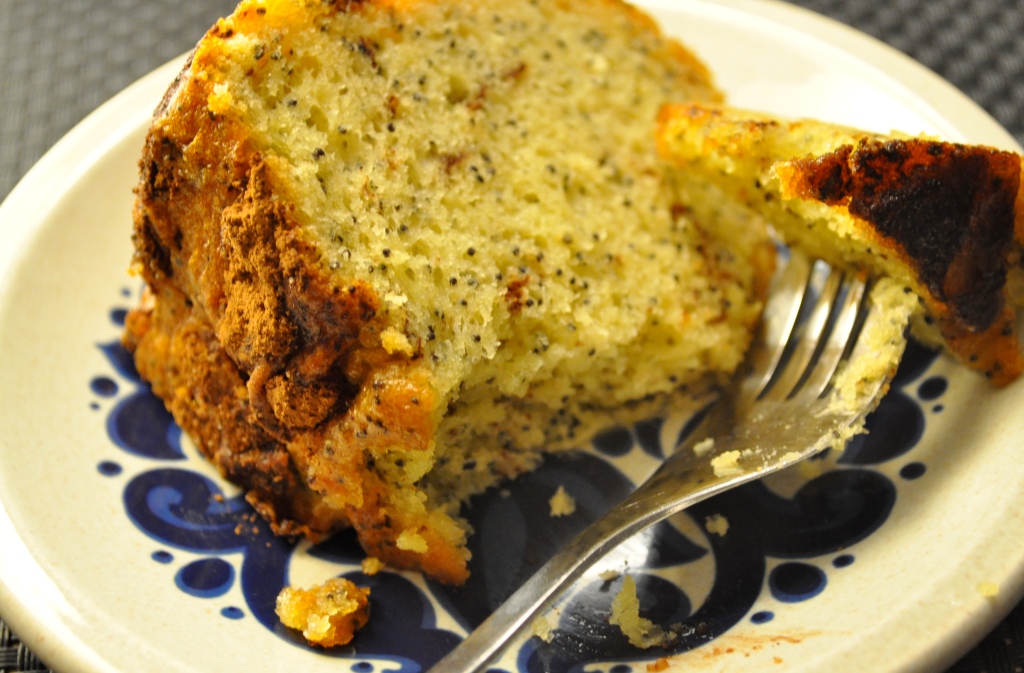
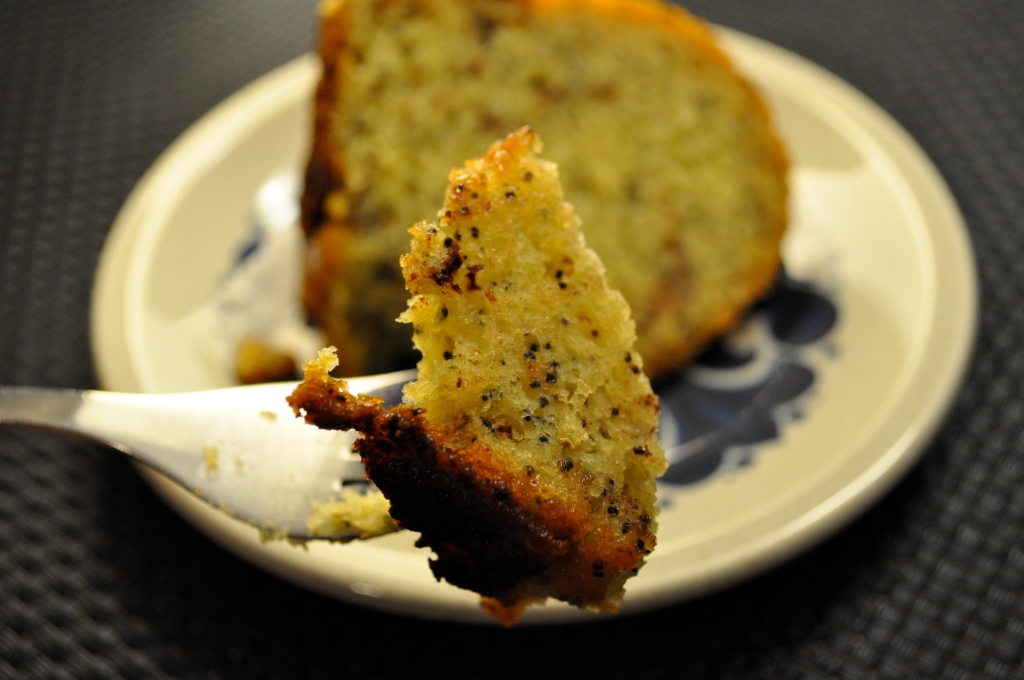
Confession: I love lemon (almost as much as I love chocolate). And I love cake. If you share these loves, then you will adore this cake! It is a wonderful, moist, lemony cake with a little bit of a twist on your typical lemon poppy seed cake. While it starts off with a cake mix, there are a few extra additions that make this cake something special. It is so easy to prepare, and it is delicious! What more could you ask for?!

Last night, I whipped this bad boy up and took it to work today for my coworker’s birthday. I came home with just one little sliver of cake for Honey to try, so evidently it was enjoyed by all. Try this cake. I guarantee you will love it. In fact, I’m so sure you’ll love it that I will make you a deal. If you make this cake, and don’t enjoy it wildly, I will come over and eat it for you.

Enough talk. Here’s the recipe.

Lemon Poppy Seed Cake (from Winners)

To start, mix together 1/4 cup of poppy seeds with 1/4 cup of milk and let soak in the fridge overnight. (I have been in a hurry with this recipe before and have just let the poppy seeds soak for half an hour before, and it’s turned out just fine).

Then, in a large mixing bowl, add:

1 box of lemon cake mix (ie. Betty Crocker)

1 3-ounce package of instant vanilla pudding

4 eggs

1/2 cup canola oil

1 cup of warm water

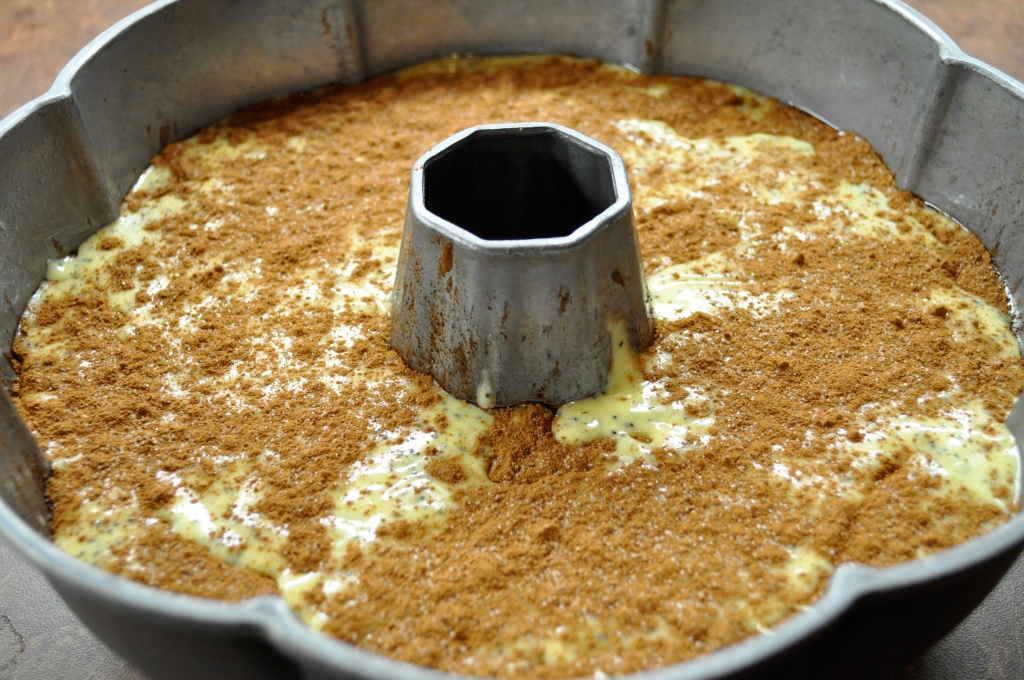
Mix the ingredients together well using an electric mixer. Add the poppy seed mixture and mix well. Set aside for a moment. In a small bowl, mix together the spice mixture – 1 TBSP. each of cocoa, cinnamon, and white sugar. Next, grease and flour a bundt pan. Pour in a little bit of batter, then sprinkle on a layer of the spice mixture. Repeat the process several times, alternating the batter and the spice mixture until everything is in the bundt pan. Bake at 350F for 1 hour, or until a toothpick inserted into the cake comes out clean. Allow the cake to cool, and then turn the cake out of the pan. Mix together 3 TBSP. fresh lemon juice with 6 TBSP. white sugar, and drizzle over the cake (the lemon drizzle really boosts the lemon flavor and gives it a lovely tang). Now, try not to eat the entire cake in one sitting. With company, it would definitely be possible. Happy eating!


A Family Favorite | Nana’s Hamburger Soup

I have been on a kick with belly-warming recipes lately, even though Mother Nature has been rather kind to us with decent November temperatures. Perhaps it is because there is just something so satisfying about the sights, smells, and sounds of a delicious hearty meal bubbling on the stove. Last week I whipped up this old family favorite, known affectionately to us as Nana’s Hamburger Soup. I truly had thought it was a recipe developed by my wonderful late grandmother, but was recently informed that this recipe originally comes from one of the Best of Bridge cookbook series. However, in my heart, this was Nana’s recipe, and I am sticking with that!

Our family used to take this soup along on winter ski trips, as it made a very satisfying lunch as we tried to warm up our fingers and toes before heading back out onto the hill. If you’re looking for a comforting new soup to try, look no further. This recipe will help you through the long winter months ahead (at least if you live in Alberta, that is), and may just become one of your family favorites. Try it, you’ll see!

Nana’s Hamburger Soup

1 lb. ground beef

2 cups diced carrots

2 cups diced celery

1 onion, diced

3 cloves of garlic, minced

3 cans consomme soup

2 cans water

1 can of diced tomatoes with juice (796 mL)

1 can of tomato soup (398 mL)

8 TBSP. barley

1/2 tsp. each of dried thyme and rosemary

1 tsp. dried basil

3 bay leaves

Salt and pepper to taste

In a large pot, brown the ground beef and drain. Add in the carrots, celery, and onion, and cook over medium heat for a few minutes. Add the garlic and cook for one minute. Add in the rest of the ingredients and simmer over low heat for ~ 1 hour. Enjoy with baking powder biscuits or a nice crusty loaf of bread.

This recipe makes quite a large pot of soup – if you’re feeding a small group (or if you’re like me, and just cooking for two), you will probably have a significant amount of leftovers. We were able to devour the leftovers over the next couple of days, but this soup also freezes well. Happy eating!